
4%20sticks)%20unsalted%20butter,%20melted,%20plus%20more%20for%20greasing%20the%20baking%20dish&text=preheat%20your%20oven%20to%20350%c2%b0f%20(175%c2%b0c)&text=in%20a%20medium%20bowl,%20beat%20the%20cream%20cheese,%20melted%20butter,%20powdered%20sugar,%20and%20kosher%20salt%20until%20smooth%20and%20creamy
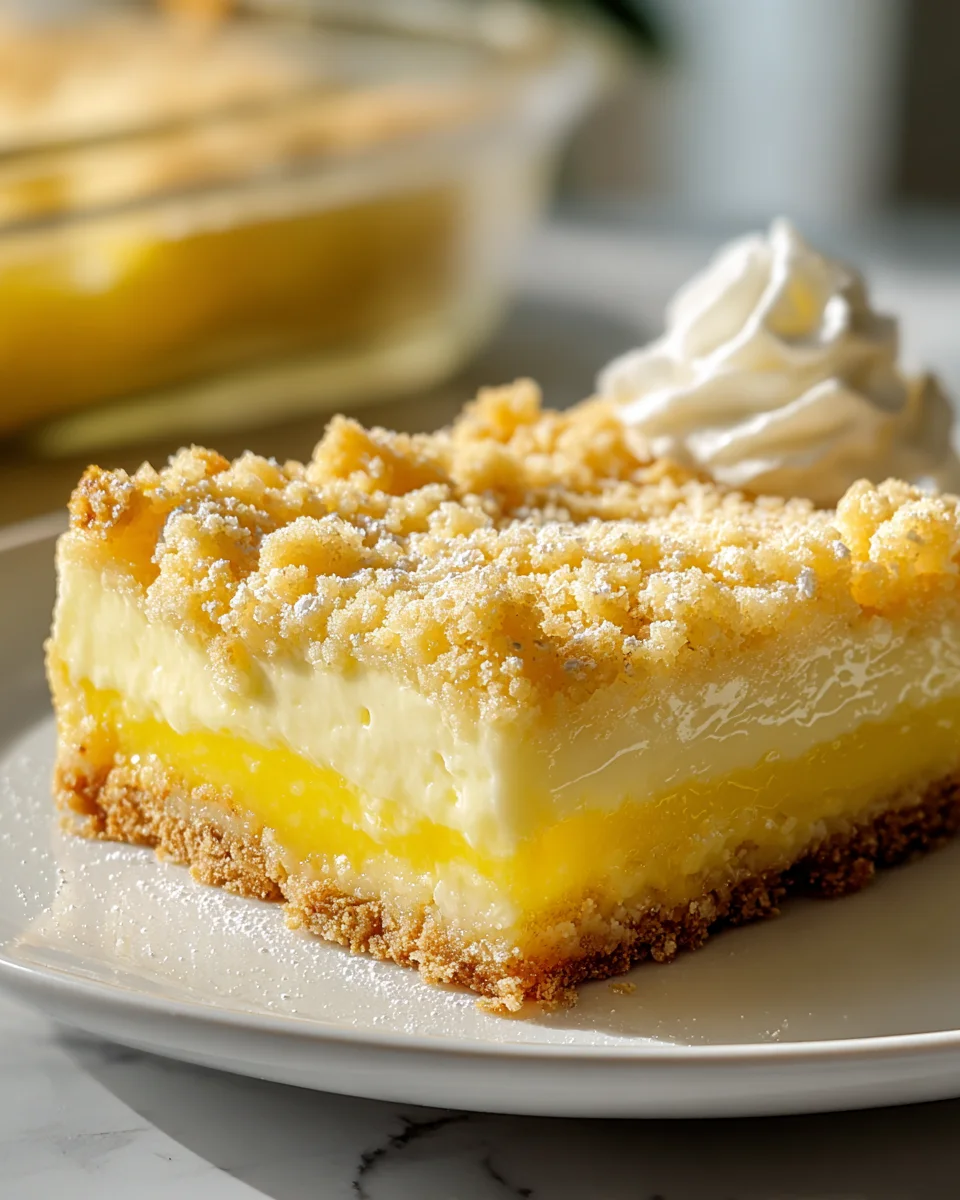
Get ready for a truly indulgent treat that’s about to become your new favorite obsession! This recipe, which centers around the incredible combination of melted butter, tangy cream cheese, and sweet powdered sugar, isn’t just a dessert – it’s an experience. Imagine a rich, creamy, and utterly smooth mixture, beaten to perfection, that transforms in your oven into something wonderfully gooey and irresistibly decadent. What makes this dish so special is its luxurious texture and incredible depth of flavor; the generous amount of butter lends an unparalleled richness, perfectly balanced by the slight tang of cream cheese and a hint of salt to elevate the sweetness. You’ll absolutely love how straightforward it is to create this dreamy delight, yielding a baked good that’s soft, luscious, and melts in your mouth with every single bite. It’s the ultimate comfort food for your sweet tooth, perfect for sharing (or not!).
Welcome, fellow bakers! Today, we’re diving into the heart of what makes many of our favorite desserts truly special: that rich, creamy, and utterly irresistible layer of lusciousness. We’re focusing on the foundational steps for creating a sublime cream cheese mixture – the kind that promises pure indulgence in every bite. This isn’t just a component; it’s a symphony of textures and flavors waiting to elevate your next baked creation, whether it’s a bar, a pie, or a decadent cake filling. Let’s get started on perfecting this creamy dream!
Ingredient Notes
Crafting this smooth and creamy mixture starts with understanding our core ingredients. Each plays a crucial role in achieving the perfect consistency and flavor that this recipe snippet is all about.
- Unsalted Butter (4 sticks, melted): When the recipe calls for four sticks of unsalted butter, it means serious business – that’s a whole pound! Using unsalted butter is key because it gives you complete control over the saltiness of your final product. Melting it is essential for it to fully incorporate into the cream cheese mixture, ensuring a seamless blend. To melt, you can gently heat it in a saucepan over low heat until just melted, or use a microwave in 30-second intervals, stirring in between, until liquid. Be careful not to brown it unless specified by a full recipe (which ours isn’t, so keep it just melted). For greasing your baking dish, a little extra melted butter (or even softened butter) is ideal. I always find a pastry brush makes this task super easy, ensuring every nook and cranny is coated.
- Cream Cheese: For this type of recipe, a full-fat block of cream cheese is almost always preferred. It provides the necessary richness and body for that smooth, creamy texture we’re aiming for. Make sure your cream cheese is softened to room temperature before you start. This is perhaps one of the most critical tips for avoiding lumps. Cold cream cheese will fight you every step of the way, resulting in a chunky, uneven mixture no matter how long you beat it.
- Powdered Sugar: Also known as confectioners’ sugar, this finely milled sugar not only sweetens our mixture but also contributes significantly to its smooth texture. Its fine particles dissolve easily, helping to create that velvety mouthfeel. While not explicitly stated, I sometimes like to give my powdered sugar a quick sift, especially if it’s been sitting in the pantry for a while and might have clumps. This ensures an even smoother result.
- Kosher Salt: Don’t underestimate the power of salt in sweet recipes! Just a pinch of kosher salt (which has larger crystals and a cleaner taste than table salt) helps to balance the sweetness, enhance the other flavors, and prevent the mixture from tasting overly one-note. It brightens everything up without making it taste salty.
Step-by-Step Instructions
Let’s walk through these initial, vital steps to prepare our rich and creamy mixture for whatever decadent treat you have in mind.
- Preheat Your Oven to 350°F (175°C): Before you even think about mixing, get your oven up to temperature. This ensures that once your creamy mixture is ready for its next stage (whether it’s baking on its own or as part of a larger dessert), it goes into a hot oven immediately. Consistent oven temperature is key for even baking and proper setting.
- Prepare Your Baking Dish: While your oven is preheating, take a moment to grease your baking dish. The instruction mentions “plus more for greasing the baking dish,” so grab some of that beautiful melted unsalted butter (or a fresh pat of softened butter) and thoroughly coat the bottom and sides of your chosen baking dish. This crucial step prevents sticking and ensures your finished product releases cleanly. I like to use a pastry brush to get into all the corners and really make sure there’s an even layer.
- Combine and Beat the Creamy Mixture: In a medium bowl, it’s time to bring together the stars of our show! Add the softened cream cheese, the melted unsalted butter, the powdered sugar, and the kosher salt. Using an electric mixer (either a hand-held one or a stand mixer with the paddle attachment), beat these ingredients together. Start on a low speed to prevent a cloud of powdered sugar from enveloping your kitchen, then gradually increase to medium speed. Continue beating until the mixture is completely smooth and creamy. There should be no lumps of cream cheese or streaks of butter. It should look homogenous, light, and utterly inviting. This usually takes about 2-3 minutes of active beating once everything is initially combined. Scrape down the sides of the bowl occasionally to ensure everything is incorporated.
At this point, your incredibly smooth and creamy mixture is ready to be used as a luscious layer, filling, or topping in your specific dessert recipe!
Tips & Suggestions
Getting this cream cheese mixture just right is foundational. Here are my top tips to ensure your success:
- Room Temperature Cream Cheese is Non-Negotiable: I cannot stress this enough! If your cream cheese isn’t soft, it won’t beat smoothly, and you’ll end up with frustrating lumps. Take it out of the fridge at least an hour before you plan to bake. If you’re in a hurry, you can unwrap it and microwave it for 10-15 seconds on low power, checking frequently, but be careful not to actually melt it.
- Don’t Over-Melt Your Butter: While the butter needs to be melted, avoid letting it get too hot or browned unless your full recipe specifically calls for it. Just melted is perfect. If it’s too hot, it can potentially seize up the cream cheese when combined or affect the final texture. Let it cool slightly if it’s piping hot.
- Scrape the Bowl Often: As you’re beating, ingredients tend to cling to the sides and bottom of the bowl. Periodically stop your mixer and use a rubber spatula to scrape everything down into the center. This ensures every bit gets incorporated, leading to a truly uniform and smooth mixture.
- Sift Your Powdered Sugar (Optional, but Recommended): While not explicitly in the snippet, I find a quick sift of the powdered sugar before adding it helps eliminate any tiny clumps, contributing to an even silkier texture.
- Quality Matters: Since there are so few ingredients, the quality of each really shines through. Use a good quality unsalted butter and your favorite brand of full-fat cream cheese for the best results.
- Consider Vanilla (If Adding Later): While not part of this specific snippet, for most cream cheese mixtures, a splash of vanilla extract (or even a scraped vanilla bean) would be a fantastic addition once this base is smooth and creamy. It complements the richness beautifully.
Storage
Proper storage is essential, whether you’re saving the prepared mixture for later or dealing with a finished product that incorporates this delicious layer.
- Storing the Unbaked Mixture: If, for some reason, you prepare this smooth and creamy mixture but aren’t ready to use it immediately, you can store it in the refrigerator. Transfer the mixture to an airtight container. It should keep well for up to 2-3 days. Before using, let it come back to room temperature (or close to it) and give it a quick whisk or beat to re-emulsify if it has separated slightly, ensuring it’s smooth and pliable for spreading.
- Storing Baked Goods with This Mixture: Assuming this mixture becomes part of a baked dessert (like bars, a cheesecake, or a layered cake), the finished product almost always needs to be refrigerated due to the cream cheese content. Cover the dessert tightly with plastic wrap or place it in an airtight container. Most cream cheese-based baked goods will stay fresh in the refrigerator for 3-5 days.
- Freezing: Freezing this unbaked mixture isn’t typically recommended as it can affect the texture of the cream cheese, potentially making it grainy upon thawing. However, many baked goods containing a cream cheese layer can be successfully frozen. Once baked and completely cooled, wrap individual portions or the entire dish tightly in plastic wrap, then a layer of aluminum foil. Label with the date. It can be frozen for up to 1-2 months. Thaw overnight in the refrigerator before serving.

Final Thoughts
This recipe, 4%20sticks)%20unsalted%20butter,%20melted,%20plus%20more%20for%20greasing%20the%20baking%20dish&text=preheat%20your%20oven%20to%20350%c2%b0f%20(175%c2%b0c)&text=in%20a%20medium%20bowl,%20beat%20the%20cream%20cheese,%20melted%20butter,%20powdered%20sugar,%20and%20kosher%20salt%20until%20smooth%20and%20creamy, isn’t just a recipe; it’s an invitation to pure, creamy bliss! I truly believe you’ll adore how effortlessly the simple steps of preheating your oven and beating together that wonderful combination of cream cheese, generous melted butter, powdered sugar, and a touch of kosher salt come together. The resulting smooth and creamy base promises a dessert that’s rich, comforting, and utterly delightful. This is definitely one I recommend adding to your baking repertoire for those moments when only something truly decadent will do. Go on, give it a try – your taste buds will thank you!


Leave a Comment