
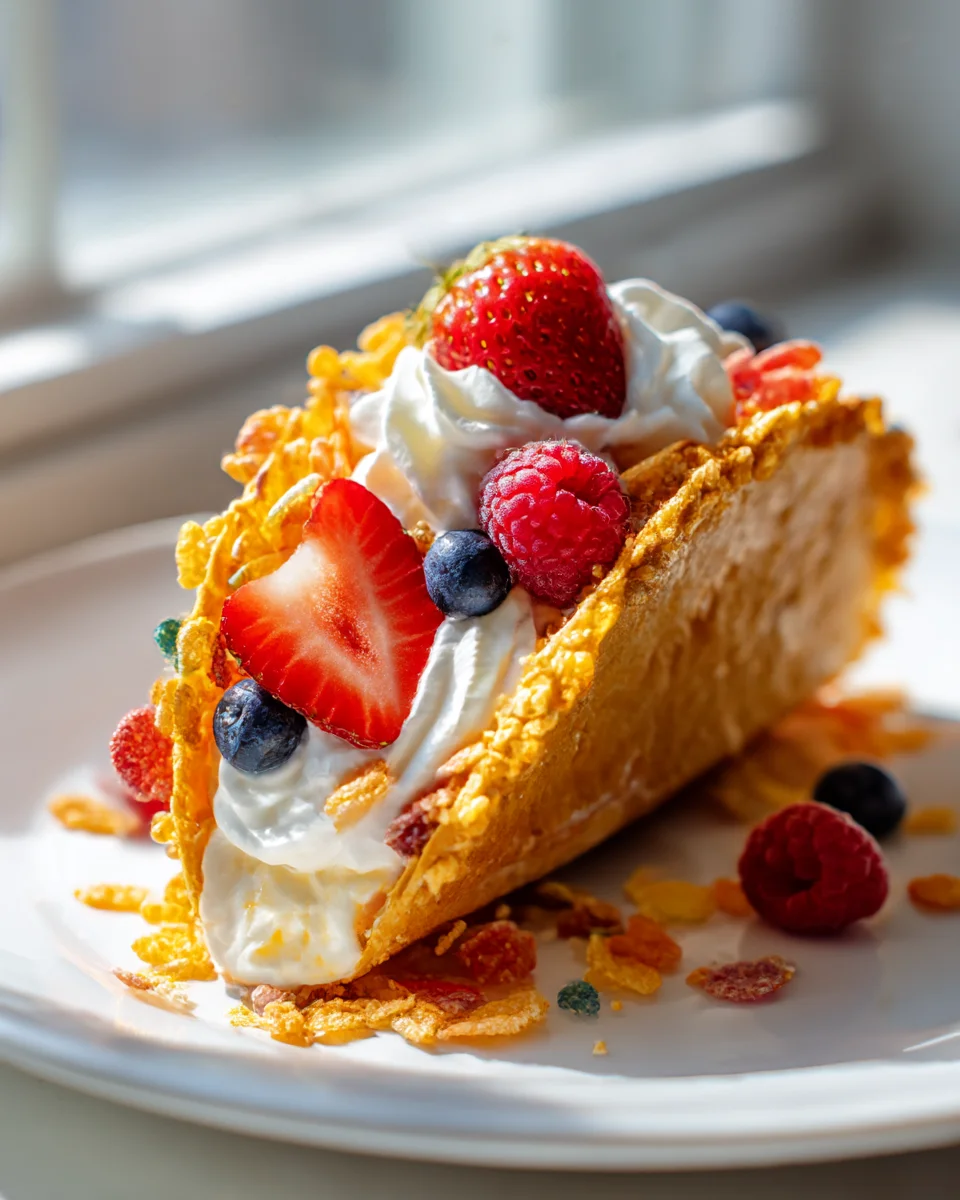
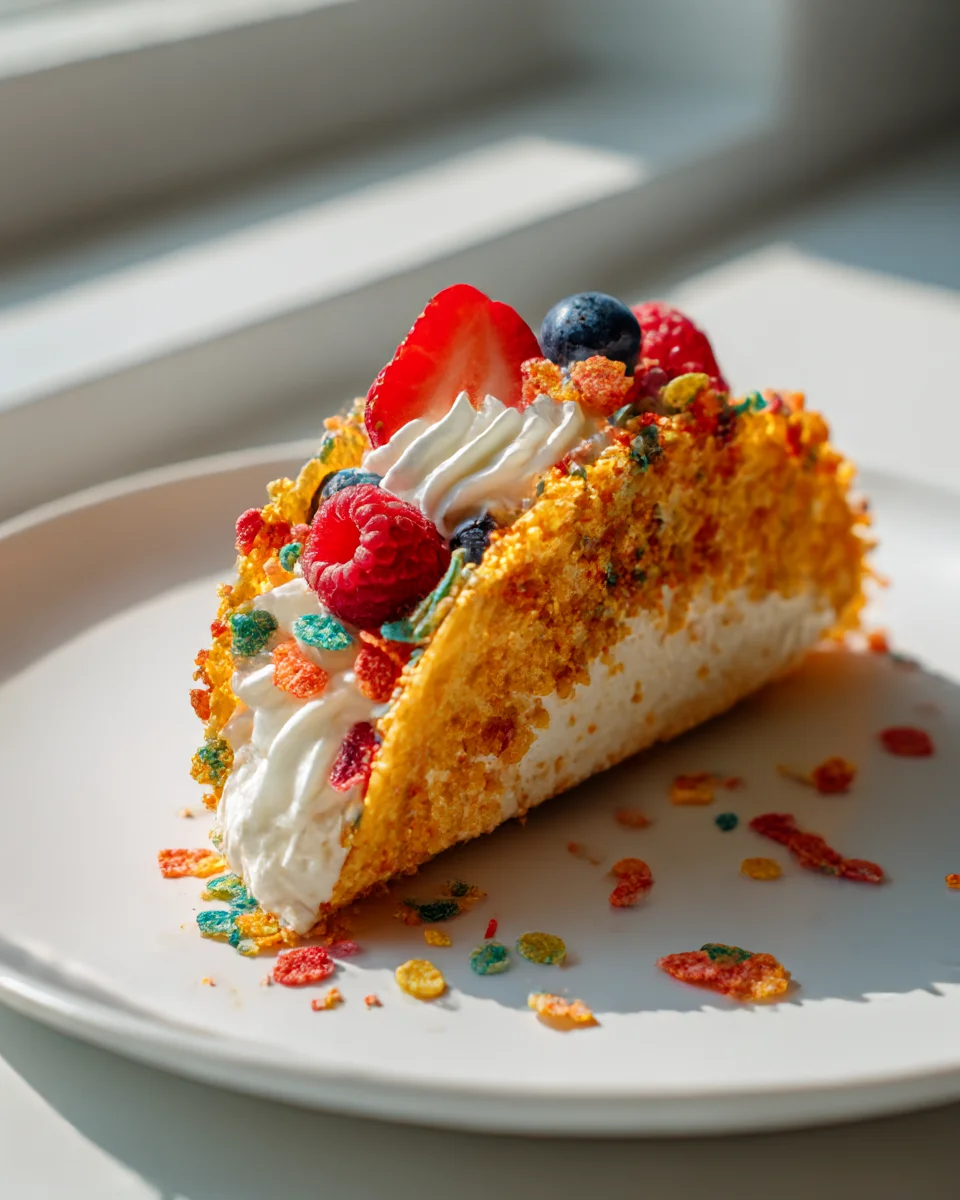
Fruity Pebbles Cheesecake Tacos!
Oh my goodness, folks, prepare yourselves because I am about to introduce you to a dessert that will absolutely blow your mind! Fruity Pebbles Cheesecake Tacos! Yes, you read that right – this isn’t just another dessert; it’s a playful, vibrant, and utterly delicious mashup that combines all the whimsical joy of your favorite childhood cereal with the rich, creamy decadence of cheesecake, all wrapped up in a fun, handheld taco form.
What makes these tacos so incredibly special? Well, for starters, it’s the sheer audacity of it all! We’re taking the ordinary and turning it into something extraordinary. Imagine the satisfying crunch of a sweet, crispy “taco” shell, giving way to a smooth, tangy cheesecake filling that’s studded with those iconic, colorful, and fruity cereal pieces. It’s a symphony of textures and flavors that dances on your palate, bringing back memories of Saturday morning cartoons while delivering a surprisingly sophisticated sweet treat.
I guarantee you’re going to love these. They’re not just a dessert; they’re an experience! Perfect for parties, a unique treat for the kids (and let’s be honest, for the inner child in all of us!), or simply when you want to surprise your taste buds with something truly different. Every bite of these Fruity Pebbles Cheesecake Tacos is a burst of vibrant color and an explosion of sweet, creamy, and fruity goodness that will have everyone asking for more.
So, get ready to create these edible works of art. We’re talking about sweet, crispy shells, filled to the brim with a luscious cheesecake mixture, then generously adorned with an avalanche of those unmistakably colorful Fruity Pebbles. It’s a dessert that’s as fun to make as it is to eat, and trust me, it’s going to be the star of your next gathering!
Ingredient Notes
Creating these delightful Fruity Pebbles Cheesecake Tacos is all about balancing the creamy, dreamy cheesecake filling with that iconic, crunchy, and colorful cereal. I’ve refined this recipe to ensure every bite is a burst of fun and flavor. Here’s a breakdown of the key ingredients you’ll need to make these edible masterpieces!
- Waffle Cone “Taco” Shells: This is where the magic starts! I typically use store-bought flat-bottom waffle cones. They’re easy to work with once gently warmed, allowing you to shape them into that distinct taco form. For a crispier, more cookie-like shell, you could also use pizzelle cookies or even homemade thin sugar cookies, carefully molded while still warm. If you’re feeling adventurous, small flour tortillas, lightly fried or baked until crisp, can also be shaped into a taco shell for a different texture.
- Cream Cheese: You absolutely need full-fat cream cheese for that rich, tangy cheesecake base. Make sure it’s softened to room temperature – this is crucial for a smooth, lump-free filling. Trust me, cold cream cheese will leave you with a lumpy mess, and nobody wants that!
- Powdered Sugar: Rather than granulated sugar, I prefer powdered sugar (confectioners’ sugar) for the cheesecake filling. It dissolves instantly, giving you a silky-smooth texture without any graininess.
- Vanilla Extract: A good quality vanilla extract elevates the flavor profile of the cheesecake. It adds a warmth and depth that complements the sweetness of the sugar and cream cheese.
- Heavy Cream: Whipped heavy cream is what gives our cheesecake filling that light, airy, and pipeable consistency, making it less dense than a traditional baked cheesecake. Make sure it’s very cold before whipping for the best results.
- Fruity Pebbles Cereal: The star of the show! You’ll need a generous amount of fresh Fruity Pebbles. They’re essential for the crunchy coating on the taco shells and can even be folded into the cheesecake filling for an extra pop of color and texture. Their vibrant colors and fruity flavor are what truly make these tacos shine.
- White Chocolate or Candy Melts: This is our edible “glue” and adds a lovely sweet coating to the taco shells. White chocolate chips or white candy melts work perfectly. I find candy melts easier to work with for dipping as they set quicker and have a smoother consistency when melted. You can also opt for colored candy melts to make them even more festive!
- Optional Embellishments: A dollop of whipped cream on top, extra sprinkles, or a few more Fruity Pebbles sprinkled over the filling just before serving can add a professional finish and extra visual appeal.
Substitutions:
- Cream Cheese: For a slightly richer, milder flavor, you could experiment with using mascarpone cheese instead of, or in combination with, the cream cheese.
- Fruity Pebbles: While Fruity Pebbles are iconic here, other colorful cereals like Froot Loops, Lucky Charms (especially the marshmallows!), or even crushed graham crackers for a more traditional crust flavor, could be used for the coating.
- White Chocolate: Milk chocolate or dark chocolate can definitely be used if you prefer those flavors, but be aware that they will change the visual contrast with the colorful Fruity Pebbles.
- Taco Shells: As mentioned, homemade thin sugar cookies, pizzelles, or even small baked/fried flour tortillas can serve as the base if waffle cones aren’t available or if you want a different texture.
Step-by-Step Instructions
Making Fruity Pebbles Cheesecake Tacos is a fun and surprisingly simple process. Here’s how I bring these vibrant, delicious treats to life in my kitchen:
- Prepare Your Waffle Cone Taco Shells:
This is the trickiest but most crucial part! Gently warm your store-bought flat-bottom waffle cones (or pizzelles/thin cookies). I usually do this in a microwave for 10-15 seconds or a low oven (around 200°F/95°C) for 2-3 minutes. You want them pliable but not hot. Once warm, carefully drape each cone over a wooden dowel, a handle of a wooden spoon, or a specialty taco stand to create that iconic taco shape. Hold it in place for a few seconds until it cools and sets. Repeat for all your cones. If using flour tortillas, lightly brush with oil, bake or fry until crisp, then shape similarly while warm. Set them aside on a wire rack to cool completely.
- Make the Dreamy Cheesecake Filling:
In a large bowl, using an electric mixer, beat the softened cream cheese until it’s perfectly smooth and creamy, with no lumps. Gradually add the powdered sugar and vanilla extract, continuing to beat until everything is well combined and fluffy. In a separate, very cold bowl, whip the cold heavy cream until it forms stiff peaks. This takes a few minutes, so be patient! Once whipped, gently fold the whipped cream into the cream cheese mixture using a spatula. Be careful not to deflate the air – this keeps your filling light and airy. If you want a hint of Fruity Pebbles inside, fold in about ¼ cup of crushed cereal here.
- Prepare the Fruity Pebbles Coating and Dip the Shells:
Pour your Fruity Pebbles onto a shallow plate or baking sheet – this makes dipping easier. In a microwave-safe bowl, melt your white chocolate or candy melts according to package directions, stirring until completely smooth. Dip the outer edge of each cooled, shaped waffle cone taco shell into the melted chocolate, letting any excess drip off. Immediately press the chocolate-dipped edge into the Fruity Pebbles, coating it thoroughly. Place the decorated shells back on a wire rack or parchment-lined tray, allowing the chocolate to set. You can pop them in the fridge for a few minutes to speed this up.
- Fill Your Fruity Pebbles Cheesecake Tacos:
Once your shells are set and firm, transfer the cheesecake filling into a piping bag fitted with a large star tip (or just a large round tip). If you don’t have a piping bag, a sturdy freezer bag with a corner snipped off works too, or you can simply spoon the filling into each taco. Carefully pipe or spoon the cheesecake filling into each prepared taco shell, filling it generously but leaving a little space at the top for optional garnishes.
- Chill and Serve:
Arrange your filled Fruity Pebbles Cheesecake Tacos on a serving platter or baking sheet. Place them in the refrigerator to chill for at least 1-2 hours. This chilling time is essential for the cheesecake filling to set properly and for the flavors to meld beautifully. Once chilled, they’re ready to be devoured! I sometimes add a small dollop of whipped cream and a sprinkle of extra Fruity Pebbles just before serving for that extra visual pop.
Tips & Suggestions
These Fruity Pebbles Cheesecake Tacos are always a hit, and over time, I’ve picked up a few tricks to make them absolutely perfect. Here are my top tips and suggestions to ensure your tacos are not just delicious, but also visually stunning and easy to make:
- Gentle Shaping of Taco Shells: When warming your waffle cones, go slowly! They can become brittle if too hot, or snap if not warm enough. The goal is just enough pliability to bend them gently without breaking. If one does crack, don’t despair! You can often “glue” it back together with a dab of melted chocolate before dipping.
- Don’t Overmix the Cream Cheese: While you want the cream cheese smooth, avoid over-beating it once the sugar is added. This can incorporate too much air, making the filling less stable. Once the heavy cream is folded in, be gentle to maintain that lovely, airy texture.
- Cold Cream is Key: For the best whipped cream, ensure both your heavy cream and your mixing bowl (and even beaters!) are very cold. This helps the cream whip up faster and hold its peaks better, giving you a stable, fluffy cheesecake filling.
- Crush Fruity Pebbles Properly: For the coating, I like a mix of whole and slightly crushed Fruity Pebbles. Too finely crushed, and you lose some of that satisfying crunch and visual appeal. Just a light press with your hands or a rolling pin will do the trick for some pieces.
- Chill Time is Crucial: Resist the urge to dive in immediately! The chilling time allows the cheesecake filling to firm up, making the tacos much easier and cleaner to eat. It also helps the flavors deepen and meld.
- Make Ahead Magic: You can prepare the cheesecake filling a day in advance and keep it refrigerated. You can also shape and dip the taco shells ahead of time. However, I recommend filling them no more than a few hours before serving to keep the shells as crisp as possible, especially if the weather is humid.
- Customization Fun: Feel free to experiment! Instead of just dipping the edges, you could fully dip the entire inside of the taco shell in chocolate for a full chocolate lining before filling. You could also swirl in a bit of fruit puree (like raspberry or strawberry) into a portion of the cheesecake filling for a different flavor profile. Other cereals like Froot Loops or even finely crushed cookies could stand in for Fruity Pebbles for a different twist.
- Presentation Matters: These tacos are so colorful and fun, they practically decorate themselves! However, arranging them on a nice platter, perhaps with a dusting of powdered sugar or a few extra whole Fruity Pebbles, really makes them pop.
Storage
Once you’ve gone to the effort of creating these delightful Fruity Pebbles Cheesecake Tacos, you’ll want to store them properly to maintain their freshness and texture. Here’s what I recommend:
- Refrigeration is Essential: Since these tacos contain a cream cheese-based filling, they absolutely must be stored in the refrigerator. Cheesecake filling is perishable, so keep them chilled until just before serving.
- Airtight Container: To prevent them from drying out, absorbing refrigerator odors, and to keep the Fruity Pebbles (and shells) from getting soggy too quickly, store the tacos in an airtight container.
- Preventing Sogginess: If you’ve coated the shells with chocolate before adding the Fruity Pebbles, they tend to hold up better against moisture. However, if the shells are just plain or if the Fruity Pebbles are directly exposed, they can soften over time. I usually line the bottom of my container with a paper towel to absorb any excess moisture, which helps keep the shells crisper for longer.
- Shelf Life: Enjoy your Fruity Pebbles Cheesecake Tacos within 2-3 days for the best quality. After that, the taco shells may begin to soften significantly, even with careful storage, and the Fruity Pebbles might lose their crunch.
- Freezing: I generally don’t recommend freezing these tacos. While the cheesecake filling itself might freeze reasonably well, the delicate waffle cone shells will likely become soggy and lose their crisp texture upon thawing. It’s best to enjoy them fresh from the fridge.
Final Thoughts
Well, there you have it! I truly hope you’re as excited as I am about this incredible creation. Making Fruity Pebbles Cheesecake Tacos! isn’t just baking; it’s an adventure in flavor and fun. From the delightful crunch of the taco shell to the creamy, tangy cheesecake filling, all topped off with the vibrant, fruity explosion of Fruity Pebbles, every bite is a joyful surprise. This isn’t just a dessert; it’s a conversation starter, a party favorite, and a guaranteed smile-maker. I promise you, once you taste the whimsical magic of these Fruity Pebbles Cheesecake Tacos!, you’ll understand why they’re an absolute must-try. Go on, unleash your inner child and treat yourself to this wonderfully unique and utterly delicious experience!

Leave a Comment