
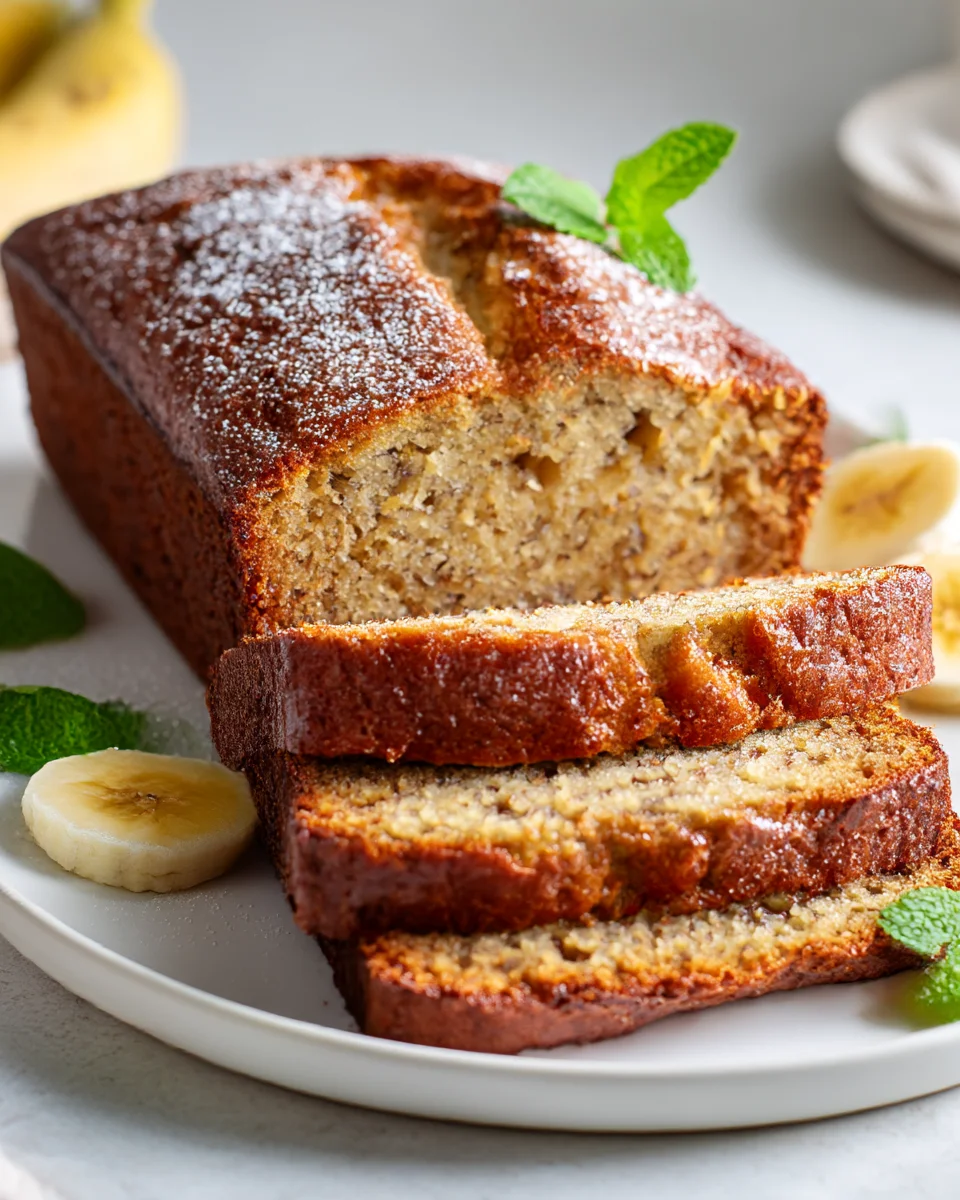
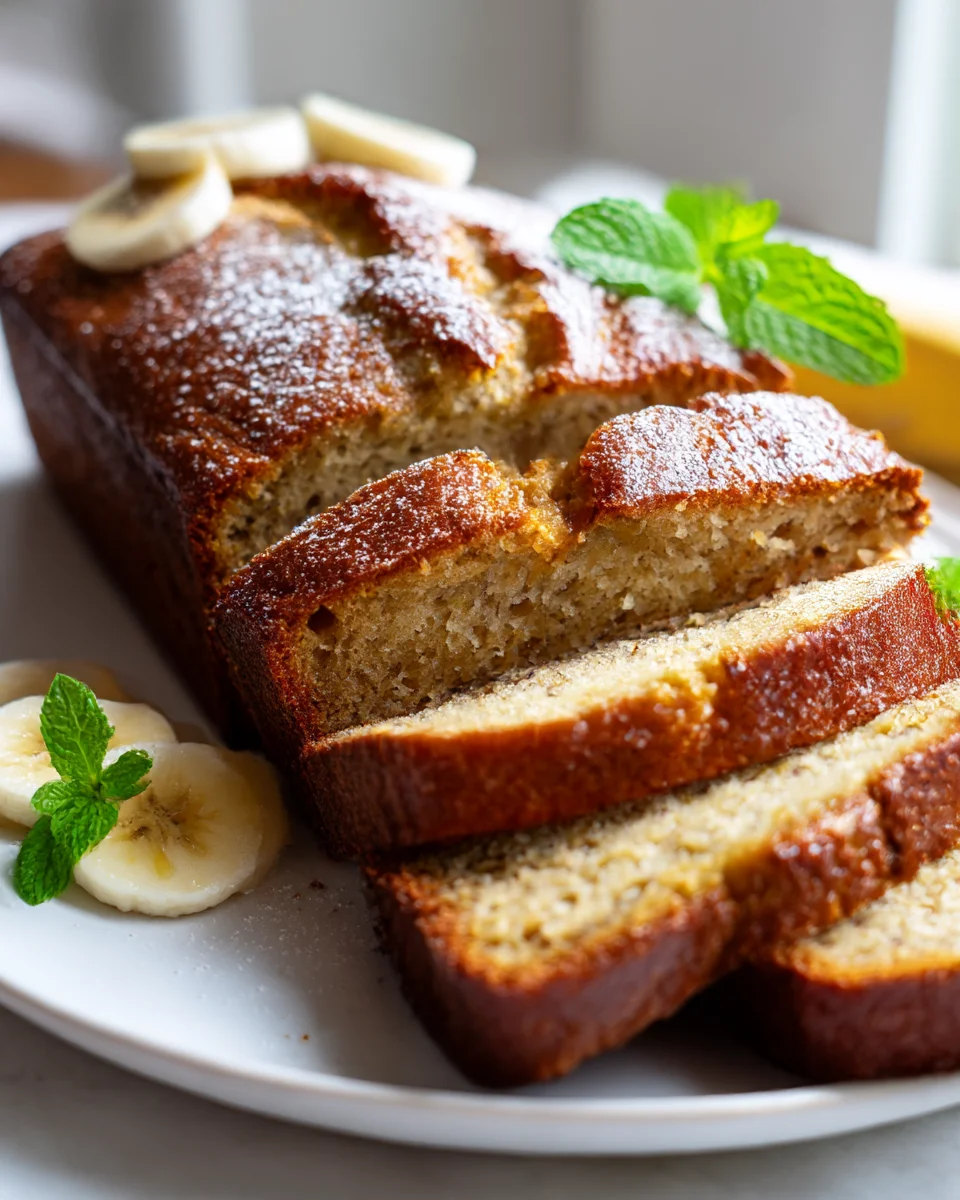
Classic Banana Bread Loaf (moist & Easy Bake)
Oh, the humble banana bread! Is there anything more comforting than the sweet, warm aroma filling your kitchen? When it comes to a truly satisfying treat, my Classic Banana Bread Loaf (moist & Easy Bake) is an absolute game-changer. This isn’t just any banana bread; it’s the kind that brings back childhood memories, makes a rainy afternoon feel cozy, and instantly brightens any morning. We’re talking about a beautifully golden-brown loaf, perfectly sweet, and unbelievably tender – a true classic in every sense.
What makes this particular recipe so special, you ask? Well, for starters, it absolutely delivers on its promise of being wonderfully moist. No dry, crumbly slices here! I’ve perfected the balance of ripe bananas and other simple ingredients to create a rich, dense crumb that practically melts in your mouth. And the “Easy Bake” part? That’s not just a marketing slogan; it’s genuinely simple to whip up. You don’t need fancy equipment or advanced baking skills to achieve perfection with this recipe. Readers will adore this loaf because it’s a fail-proof way to transform those forgotten, overripe bananas on your counter into a delicious, crowd-pleasing delight. Whether you’re enjoying a slice with your morning coffee, sharing it with friends, or simply savoring a quiet moment, this banana bread is pure, unadulterated comfort in every bite. Get ready to fall in love with your new go-to banana bread recipe!
Ingredient Notes
Creating a truly ‘Classic Banana Bread Loaf’ that’s wonderfully moist and easy to bake starts with understanding a few key ingredients. I find that good quality ingredients make all the difference, but I’ll also share some helpful substitutions!
- Very Ripe Bananas: This is the absolute star of the show! For the best flavor, sweetness, and that essential moisture, your bananas should be beyond ripe – I mean, covered in brown spots or even mostly black. The riper they are, the sweeter and softer they become, making them super easy to mash and incorporate. Don’t use firm, yellow bananas; they won’t give you the same results. For a standard loaf, I typically use 3 medium-large bananas.
- All-Purpose Flour: Simple and effective. I like to measure it by lightly spooning it into my measuring cup and leveling it off to avoid a dense loaf. Sifting is optional but can help ensure a lighter texture.
- Granulated Sugar & Brown Sugar: A combination of both gives the best flavor and texture. Granulated sugar provides sweetness, while brown sugar adds moisture, a lovely caramel note, and helps keep the bread soft. If you only have one, you can use all granulated or all brown sugar, but the texture might vary slightly (all brown sugar will be even moister and chewier).
- Melted Butter or Neutral Oil: For that signature moist crumb, fat is crucial. I usually opt for melted unsalted butter for its rich flavor, but a neutral-flavored oil like vegetable or canola oil works beautifully and often results in an even more consistently moist loaf. Using oil is also a great option if you need a dairy-free version.
- Eggs: Large eggs act as a binder, helping to hold everything together and contributing to the bread’s structure and richness. Make sure they’re at room temperature for better emulsion with other ingredients. If you need an egg substitute, flax eggs (1 tbsp ground flaxseed + 3 tbsp water per egg, let sit 5 mins) or unsweetened applesauce (1/4 cup per egg) can work, though the texture may be slightly different.
- Baking Soda: This is our leavening agent. It reacts with the natural acids in the ripe bananas to give the bread its lift and tender crumb. Ensure your baking soda is fresh for optimal results.
- Salt: A pinch of salt is essential to balance the sweetness and enhance all the other flavors. Don’t skip it!
- Vanilla Extract: Pure vanilla extract adds a beautiful depth of flavor that complements the banana perfectly.
- Optional Add-ins: For a true classic, I often add a cup of chocolate chips (milk, semi-sweet, or dark work well!) or chopped walnuts for a delightful texture and flavor contrast. You can also use pecans, shredded coconut, or a blend of spices like cinnamon or nutmeg for an extra layer of warmth.
Step-by-Step Instructions
Get ready to bake the easiest, most delicious classic banana bread loaf! My method is designed to be straightforward, ensuring a perfectly moist outcome every time. Just follow these simple steps:
- Preheat & Prepare Your Pan: Start by preheating your oven to 350°F (175°C). Then, lightly grease and flour a standard 9×5-inch loaf pan, or line it with parchment paper for easy removal. This step ensures your beautiful loaf doesn’t stick!
- Mash Your Bananas: In a large mixing bowl, thoroughly mash your very ripe bananas with a fork or a potato masher until mostly smooth with a few small lumps remaining. I find those little lumps add a nice bit of texture to the finished bread. The riper they are, the easier this step will be!
- Combine Wet Ingredients: To the mashed bananas, add your melted butter (or oil), both granulated and brown sugars, eggs, and vanilla extract. Whisk everything together really well until the mixture is cohesive and looks creamy. This ensures all the wet components are evenly distributed.
- Whisk Dry Ingredients: In a separate medium bowl, whisk together the all-purpose flour, baking soda, and salt. If you’re adding any spices like cinnamon or nutmeg, incorporate them here as well. Whisking ensures the leavening and salt are evenly distributed throughout the flour.
- Gently Combine Wet and Dry: Pour the dry ingredient mixture into the wet ingredient mixture. Using a spatula or wooden spoon, gently fold them together until just combined. This is the critical step for a moist banana bread: do not overmix! Overmixing develops the gluten in the flour, leading to a tough, dry loaf. A few streaks of flour are perfectly fine – they will disappear during baking.
- Fold in Add-ins (Optional): If you’re using chocolate chips, chopped walnuts, or any other add-ins, gently fold them into the batter now. I always toss my chocolate chips with a tablespoon of flour before adding them to prevent them from sinking to the bottom of the pan.
- Pour and Bake: Pour the batter evenly into your prepared loaf pan. You can sprinkle a few extra chocolate chips or walnuts on top if you like, for an appealing finish. Place the loaf pan into the preheated oven.
- Bake to Perfection: Bake for approximately 55-65 minutes. Baking times can vary slightly depending on your oven, so keep an eye on it. The banana bread is done when a wooden skewer or toothpick inserted into the center comes out clean or with only a few moist crumbs attached (no wet batter). If the top starts to brown too quickly, you can loosely tent it with aluminum foil.
- Cool Before Slicing: Once baked, remove the loaf pan from the oven and let the banana bread cool in the pan for about 10-15 minutes. This allows it to set up properly and prevents it from falling apart. Then, carefully invert the loaf onto a wire rack to cool completely before slicing and serving. Cooling completely enhances flavor and texture!
Tips & Suggestions
Achieving that perfectly ‘moist’ and utterly delicious ‘Classic Banana Bread Loaf’ is truly simple, especially with a few tricks up my sleeve. Here are my favorite tips to ensure your bake is a success every time:
- Embrace the Brown: I cannot stress this enough – the browner your bananas are, the better! Those super ripe, almost black bananas are packed with natural sugars and moisture, which are the secret to a naturally sweet and incredibly moist loaf. Don’t be shy about letting them get really spotty.
- Don’t Overmix the Batter: This is probably the most crucial tip for a tender, moist banana bread. Once you combine the wet and dry ingredients, mix them just until the flour streaks disappear. A few lumps are completely normal and even desirable! Overmixing develops the gluten in the flour, leading to a dense, tough, and dry bread.
- Measure Flour Correctly: For consistent results, always spoon your flour into the measuring cup and then level it off with a straight edge. Scooping directly with the measuring cup can compact the flour, leading to too much flour and a dry, crumbly loaf.
- Add a Touch of Moisture Boost: If you want to take the moisture to an even higher level, try adding 2-3 tablespoons of sour cream, plain Greek yogurt, or even buttermilk to your wet ingredients. These ingredients introduce extra fat and acidity, making the bread exceptionally moist and tender without changing the classic flavor profile too much.
- Check for Doneness Accurately: Since ovens vary, don’t rely solely on the suggested baking time. Always use the toothpick test: insert a wooden skewer or toothpick into the very center of the loaf. It should come out clean or with a few moist crumbs attached, but no wet batter. If it comes out wet, continue baking for 5-10 minute intervals. Overbaking is the enemy of moisture!
- Cool Completely for Best Texture: While it’s tempting to dive into a warm loaf, letting the banana bread cool completely on a wire rack allows it to set up properly, continuing to cook slightly from residual heat, and solidifying its moist, tender texture. Slicing too early can result in a crumbly texture.
- Customize Your Loaf: While chocolate chips and walnuts are classic, feel free to experiment! Try shredded coconut, dried cranberries, a swirl of cream cheese, or a sprinkle of coarse sugar on top for a delightful crunchy crust. A pinch of cinnamon or nutmeg really enhances the banana flavor, too.
Storage
One of the best things about ‘Classic Banana Bread Loaf’ is how well it stores, especially when you want to keep that lovely moist texture. Here’s how I keep mine fresh and delicious for as long as possible:
- At Room Temperature (Short-Term):
- Once your banana bread has completely cooled (this is important to prevent condensation and sogginess), I wrap the entire loaf tightly in plastic wrap, then place it in an airtight container or a large resealable bag.
- It will stay wonderfully moist and fresh on your counter for about 3-4 days. I keep it away from direct sunlight or heat sources.
- For individual slices, wrap each slice individually in plastic wrap before placing them in an airtight container. This is great for grab-and-go snacks!
- In the Refrigerator (Medium-Term):
- If you want to extend the shelf life beyond 4 days, or if your kitchen is particularly warm, you can store the banana bread in the refrigerator.
- Wrap it tightly as described above. Refrigeration can help it last for up to a week.
- Be aware that refrigeration can sometimes alter the texture slightly, making it a bit firmer. I often find warming it up briefly in the microwave or toaster oven helps restore its soft, moist texture.
- In the Freezer (Long-Term):
- Freezing is an excellent option for long-term storage, and banana bread freezes beautifully! It’s perfect for making a big batch or saving some for later.
- Whole Loaf: Once completely cool, wrap the entire loaf tightly in plastic wrap, then wrap it again in aluminum foil. This double layer protects it from freezer burn.
- Slices: I often slice the cooled loaf first, then wrap individual slices in plastic wrap. You can then place these wrapped slices into a freezer-safe resealable bag or an airtight container. This way, you can grab just one slice at a time.
- Frozen banana bread will maintain its quality for about 2-3 months. Beyond that, it’s still safe to eat but might start to lose some flavor or texture.
- To Thaw: For a whole loaf, transfer it to the refrigerator overnight, or leave it on the counter for a few hours. For individual slices, you can simply unwrap them and let them sit at room temperature for 30-60 minutes, or warm them directly in the microwave for 20-30 seconds or in a toaster oven until warmed through.
Final Thoughts
Finally, we’ve reached the end of our baking journey for this beloved treat! I truly believe that the ‘Classic Banana Bread Loaf (moist & Easy Bake)’ is more than just a recipe; it’s an experience. There’s something so incredibly comforting about a warm slice of homemade banana bread, and this particular version delivers on all fronts. Its perfect moisture, combined with the sheer ease of baking, makes it an absolute winner for both seasoned bakers and beginners alike. Forget dry, crumbly loaves – this recipe guarantees a soft, tender crumb every single time. I genuinely hope you give this ‘Classic Banana Bread Loaf (moist & Easy Bake)’ a try. It’s destined to become a staple in your kitchen, filling your home with the most delightful aroma and your belly with pure happiness. Happy baking!


Leave a Comment