
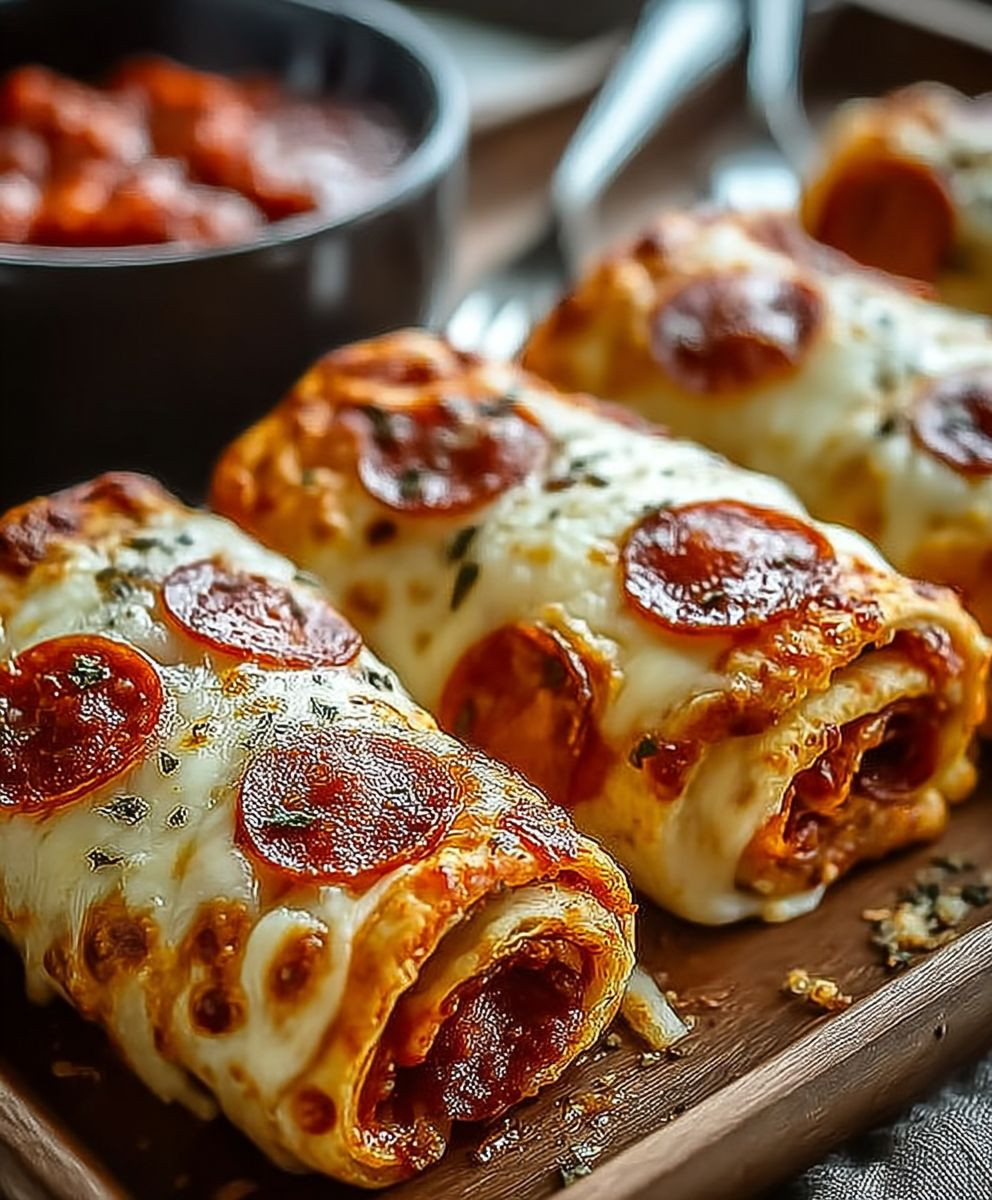
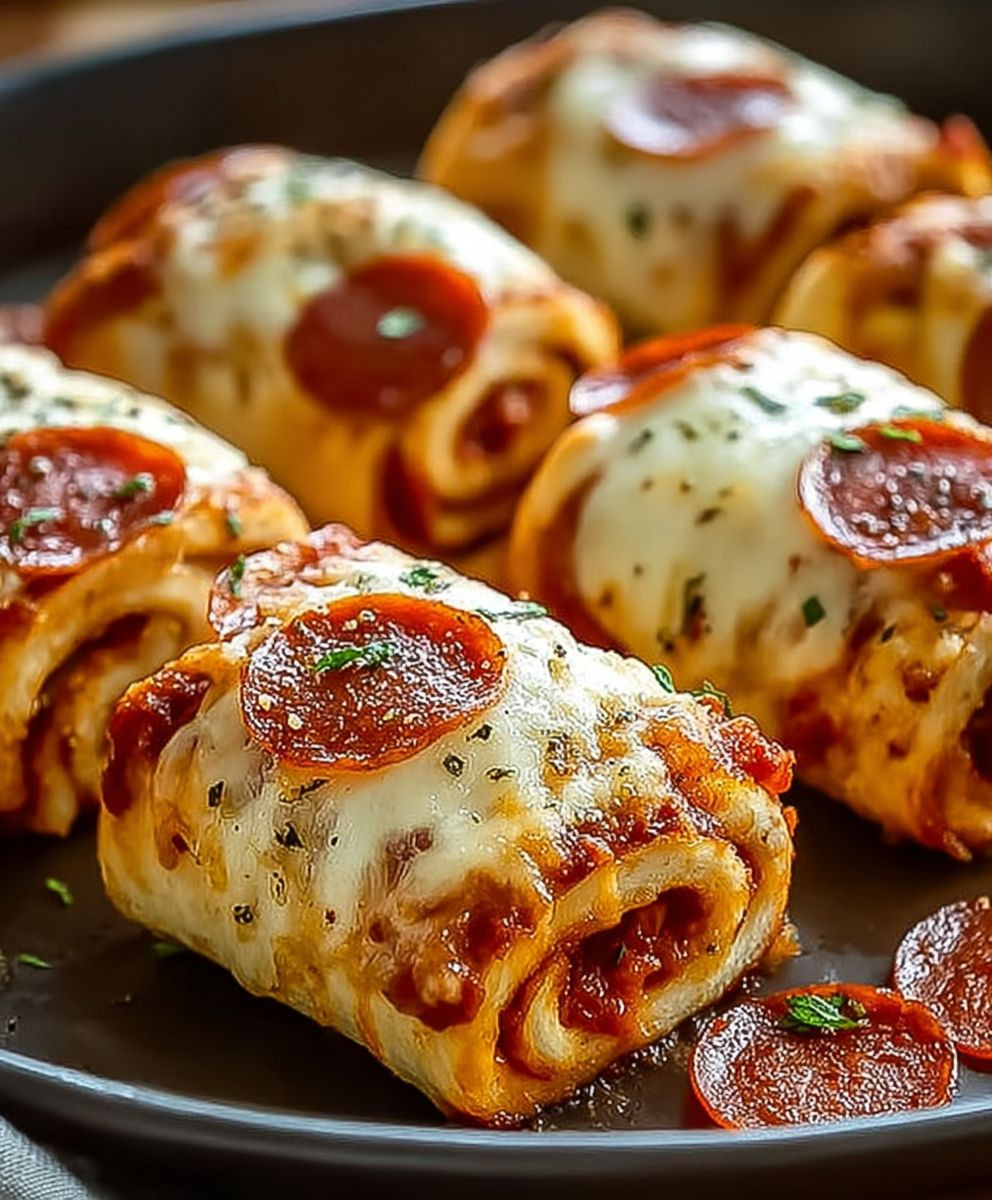
Cheesy Pepperoni Pizza Roll Ups: Get ready to transform your pizza night with a fun, bite-sized twist! Imagine all the delicious flavors of your favorite pepperoni pizza, conveniently rolled into a warm, cheesy, and utterly irresistible package. These aren’t just any appetizers; they’re a guaranteed crowd-pleaser that will have everyone reaching for more.
While the exact origins of pizza roll ups are a bit hazy, they draw inspiration from the classic Italian-American pizza, a dish that has evolved over decades from its humble Neapolitan roots. Pizza, in its various forms, has become a global phenomenon, a symbol of comfort food and shared meals. These Cheesy Pepperoni Pizza Roll Ups take that beloved tradition and make it even more accessible and fun.
What makes these roll ups so incredibly popular? It’s the perfect combination of flavors and textures. The savory pepperoni, the tangy tomato sauce, and the gooey, melted cheese create a symphony of deliciousness in every bite. Plus, they’re incredibly easy to make and perfect for parties, game days, or even a quick weeknight snack. Their convenient, handheld size makes them ideal for sharing (or not!), and their customizable nature means you can easily adapt them to suit your own taste preferences. So, ditch the pizza cutter and get ready to roll!
Ingredients:
- 1 package (13.8 ounces) refrigerated pizza dough
- 1/2 cup pizza sauce, plus more for dipping
- 2 cups shredded mozzarella cheese, divided
- 1/2 cup pepperoni slices, quartered
- 2 tablespoons grated Parmesan cheese
- 1 tablespoon olive oil
- 1 teaspoon Italian seasoning
- 1/4 teaspoon garlic powder
- Optional: Red pepper flakes, for serving
Preparing the Dough and Filling:
- Preheat your oven to 375°F (190°C). This is a crucial first step, so don’t skip it! We want that oven nice and hot for perfectly golden-brown pizza roll ups.
- Prepare your baking sheet. Line a large baking sheet with parchment paper. This will prevent the roll ups from sticking and make cleanup a breeze. Trust me, you’ll thank me later.
- Unroll the pizza dough. On a lightly floured surface, unroll the refrigerated pizza dough. If the dough is sticking, sprinkle a little more flour underneath. We want a nice, even rectangle.
- Spread the pizza sauce. Using a spatula or spoon, spread the 1/2 cup of pizza sauce evenly over the pizza dough, leaving a small border (about 1/2 inch) along one of the long edges. This border will help seal the roll ups.
- Add the mozzarella cheese. Sprinkle 1 1/2 cups of the shredded mozzarella cheese evenly over the pizza sauce. Make sure to cover the entire sauced area, as this is what will make our roll ups wonderfully cheesy.
- Distribute the pepperoni. Scatter the quartered pepperoni slices over the mozzarella cheese. Try to distribute them evenly so that each roll up gets a good amount of pepperoni goodness.
- Add Parmesan cheese. Sprinkle the 2 tablespoons of grated Parmesan cheese over the pepperoni. Parmesan adds a nice salty and nutty flavor that complements the mozzarella and pepperoni perfectly.
Rolling and Slicing:
- Begin rolling the dough. Starting from the long edge opposite the border you left sauce-free, tightly roll the pizza dough into a log. Try to keep the roll as tight as possible to prevent gaps and ensure a nice, even spiral in each roll up.
- Seal the seam. Once you’ve rolled the entire log, pinch the seam along the edge to seal it tightly. This will prevent the filling from oozing out during baking.
- Slice the roll ups. Using a sharp serrated knife, slice the pizza log into 1-inch thick rounds. You should get about 12-15 roll ups from one package of pizza dough.
- Arrange on the baking sheet. Place the sliced roll ups, cut-side up, on the prepared baking sheet. Leave a little space between each roll up to allow for even baking.
Baking and Finishing:
- Brush with olive oil. In a small bowl, combine the olive oil, Italian seasoning, and garlic powder. Brush this mixture evenly over the tops of the roll ups. This will give them a beautiful golden-brown color and add extra flavor.
- Sprinkle with remaining mozzarella. Sprinkle the remaining 1/2 cup of shredded mozzarella cheese over the tops of the roll ups. This will create a nice, melted cheese topping.
- Bake the roll ups. Bake in the preheated oven for 15-20 minutes, or until the roll ups are golden brown and the cheese is melted and bubbly. Keep a close eye on them, as baking times may vary depending on your oven.
- Let cool slightly. Remove the baking sheet from the oven and let the roll ups cool for a few minutes before serving. This will prevent you from burning your mouth on the hot cheese.
- Serve and enjoy! Serve the cheesy pepperoni pizza roll ups warm with extra pizza sauce for dipping. You can also sprinkle them with red pepper flakes for a little extra heat, if desired. These are perfect for parties, snacks, or a fun weeknight dinner.
Tips and Variations:
Spice it up!
For a spicier kick, add a pinch of red pepper flakes to the pizza sauce or sprinkle them on top of the roll ups before baking.
Add veggies!
Feel free to add your favorite vegetables to the filling. Sliced mushrooms, bell peppers, onions, or olives would all be delicious additions.
Use different cheeses!
Experiment with different types of cheese. Provolone, cheddar, or a blend of Italian cheeses would all work well.
Make it vegetarian!
Omit the pepperoni and add extra vegetables or vegetarian sausage crumbles for a vegetarian version.
Garlic Butter Dip
Instead of pizza sauce, try a garlic butter dip. Melt 1/4 cup of butter with 2 cloves of minced garlic and a pinch of Italian seasoning. Serve warm with the roll ups.
Make Ahead Instructions
You can assemble the roll ups ahead of time and store them in the refrigerator for up to 24 hours before baking. Just be sure to cover them tightly with plastic wrap to prevent them from drying out. Add about 5 minutes to the baking time if baking from cold.
Freezing Instructions
To freeze the roll ups, bake them as directed and let them cool completely. Then, place them in a single layer on a baking sheet and freeze for about 2 hours, or until solid. Transfer the frozen roll ups to a freezer-safe bag or container and store them in the freezer for up to 2 months. To reheat, bake the frozen roll ups in a preheated oven at 350°F (175°C) for 10-15 minutes, or until heated through.
Dough Variations
If you don’t have refrigerated pizza dough, you can use homemade pizza dough or even crescent roll dough. Crescent roll dough will result in a flakier, more buttery roll up.
Herb Infusion
Add fresh herbs like basil or oregano to the filling for a burst of fresh flavor. Chop the herbs finely and sprinkle them over the cheese before rolling.
Sun-Dried Tomato Pesto
For a unique twist, spread sun-dried tomato pesto instead of pizza sauce. This will add a rich, savory flavor to the roll ups.
Everything Bagel Seasoning
Sprinkle everything bagel seasoning on top of the roll ups before baking for added texture and flavor.
Different Dipping Sauces
Get creative with your dipping sauces! Try ranch dressing, marinara sauce, or even a spicy sriracha mayo.
Mini Pizza Roll Ups
For bite-sized appetizers, slice the pizza log into thinner rounds (about 1/2 inch thick). These mini roll ups are perfect for parties.
Sweet and Savory
For a sweet and savory combination, add a layer of caramelized onions to the filling. The sweetness of the onions will complement the savory pepperoni and cheese.
Ricotta Cheese
Add dollops of ricotta cheese to the filling for a creamy and tangy flavor. Be sure to drain the ricotta cheese well before adding it to prevent the roll ups from becoming soggy.
Pesto Swirl
Swirl a spoonful of pesto into the pizza sauce before spreading it on the dough. This will create a beautiful marbled effect and add a burst of flavor.
Bacon Bits
Add cooked and crumbled bacon bits to the filling for a smoky and salty flavor. Bacon and pepperoni are a match made in heaven!
Different Meats
Experiment with different types of meat. Italian sausage, ham, or ground beef would all be delicious alternatives to pepperoni.
Vegan Option
Use vegan pizza dough, vegan cheese, and vegan pepperoni for a completely vegan version of these roll ups.
Conclusion:
And there you have it! These Cheesy Pepperoni Pizza Roll Ups are more than just a snack; they’re a guaranteed crowd-pleaser, a simple weeknight dinner solution, and a fun way to get the kids involved in the kitchen. I truly believe this recipe is a must-try because it delivers maximum flavor with minimal effort. The combination of gooey mozzarella, savory pepperoni, and that perfectly seasoned pizza sauce, all wrapped in a warm, golden-brown crescent roll, is simply irresistible. It’s the kind of comfort food that makes you feel good from the inside out.
But the best part? It’s incredibly versatile! Feel free to experiment with different fillings to create your own signature roll-ups. Craving something spicier? Add a pinch of red pepper flakes to the sauce or swap out the pepperoni for some spicy Italian sausage. Vegetarian? Load them up with sautéed mushrooms, bell peppers, and onions. You could even add a sprinkle of parmesan cheese for an extra layer of cheesy goodness. The possibilities are endless!
Serving Suggestions:
These Cheesy Pepperoni Pizza Roll Ups are delicious on their own, but they’re even better with a few simple accompaniments. I love serving them with a side of marinara sauce for dipping – it really enhances the pizza flavor. A fresh garden salad with a light vinaigrette is also a great way to balance out the richness of the roll-ups. For a more substantial meal, consider pairing them with a bowl of creamy tomato soup. And if you’re feeling adventurous, try dipping them in a little ranch dressing – don’t knock it ’til you try it!
Variations to Explore:
Don’t be afraid to get creative with your fillings! Here are a few ideas to get you started:
* Hawaiian Roll-Ups: Add diced ham and pineapple to the classic pepperoni and cheese filling.
* Veggie Lovers Roll-Ups: Sauté a mix of your favorite vegetables, such as mushrooms, onions, bell peppers, and spinach, and combine them with mozzarella cheese.
* Buffalo Chicken Roll-Ups: Shred some cooked chicken and toss it with buffalo wing sauce and a little ranch dressing. Add a sprinkle of blue cheese for extra flavor.
* Breakfast Roll-Ups: Scramble some eggs and mix them with cooked sausage or bacon and cheddar cheese. These are perfect for a quick and easy breakfast on the go.
I’m confident that you’ll love these Cheesy Pepperoni Pizza Roll Ups as much as I do. They’re the perfect snack for game day, a fun addition to any party, or a simple and satisfying meal for any night of the week. They are also a great way to introduce younger chefs to the kitchen.
So, what are you waiting for? Gather your ingredients, preheat your oven, and get ready to experience the joy of these delicious roll-ups. I can’t wait to hear what you think!
Please, give this Cheesy Pepperoni Pizza Roll Ups recipe a try and let me know how it turns out! Share your photos and comments on social media using [Your Hashtag] – I’d love to see your creations and hear about your favorite variations. Happy baking!
Cheesy Pepperoni Pizza Roll Ups: Easy Recipe & Baking Tips
Fun and easy appetizer or snack made with refrigerated pizza dough, pizza sauce, mozzarella, and pepperoni. Perfect for parties or a quick weeknight meal!
Ingredients
Instructions
Recipe Notes
- Spice it up! For a spicier kick, add a pinch of red pepper flakes to the pizza sauce or sprinkle them on top of the roll ups before baking.
- Add veggies! Feel free to add your favorite vegetables to the filling. Sliced mushrooms, bell peppers, onions, or olives would all be delicious additions.
- Use different cheeses! Experiment with different types of cheese. Provolone, cheddar, or a blend of Italian cheeses would all work well.
- Make it vegetarian! Omit the pepperoni and add extra vegetables or vegetarian sausage crumbles for a vegetarian version.
- Garlic Butter Dip Instead of pizza sauce, try a garlic butter dip. Melt 1/4 cup of butter with 2 cloves of minced garlic and a pinch of Italian seasoning. Serve warm with the roll ups.
- Make Ahead Instructions You can assemble the roll ups ahead of time and store them in the refrigerator for up to 24 hours before baking. Just be sure to cover them tightly with plastic wrap to prevent them from drying out. Add about 5 minutes to the baking time if baking from cold.
- Freezing Instructions To freeze the roll ups, bake them as directed and let them cool completely. Then, place them in a single layer on a baking sheet and freeze for about 2 hours, or until solid. Transfer the frozen roll ups to a freezer-safe bag or container and store them in the freezer for up to 2 months. To reheat, bake the frozen roll ups in a preheated oven at 350°F (175°C) for 10-15 minutes, or until heated through.
- Dough Variations If you don’t have refrigerated pizza dough, you can use homemade pizza dough or even crescent roll dough. Crescent roll dough will result in a flakier, more buttery roll up.
- Herb Infusion Add fresh herbs like basil or oregano to the filling for a burst of fresh flavor. Chop the herbs finely and sprinkle them over the cheese before rolling.
- Sun-Dried Tomato Pesto For a unique twist, spread sun-dried tomato pesto instead of pizza sauce. This will add a rich, savory flavor to the roll ups.
- Everything Bagel Seasoning Sprinkle everything bagel seasoning on top of the roll ups before baking for added texture and flavor.
- Different Dipping Sauces Get creative with your dipping sauces! Try ranch dressing, marinara sauce, or even a spicy sriracha mayo.
- Mini Pizza Roll Ups For bite-sized appetizers, slice the pizza log into thinner rounds (about 1/2 inch thick). These mini roll ups are perfect for parties.
- Sweet and Savory For a sweet and savory combination, add a layer of caramelized onions to the filling. The sweetness of the onions will complement the savory pepperoni and cheese.
- Ricotta Cheese Add dollops of ricotta cheese to the filling for a creamy and tangy flavor. Be sure to drain the ricotta cheese well before adding it to prevent the roll ups from becoming soggy.
- Pesto Swirl Swirl a spoonful of pesto into the pizza sauce before spreading it on the dough. This will create a beautiful marbled effect and add a burst of flavor.
- Bacon Bits Add cooked and crumbled bacon bits to the filling for a smoky and salty flavor. Bacon and pepperoni are a match made in heaven!
- Different Meats Experiment with different types of meat. Italian sausage, ham, or ground beef would all be delicious alternatives to pepperoni.
- Vegan Option Use vegan pizza dough, vegan cheese, and vegan pepperoni for a completely vegan version of these roll ups.
Leave a Comment