
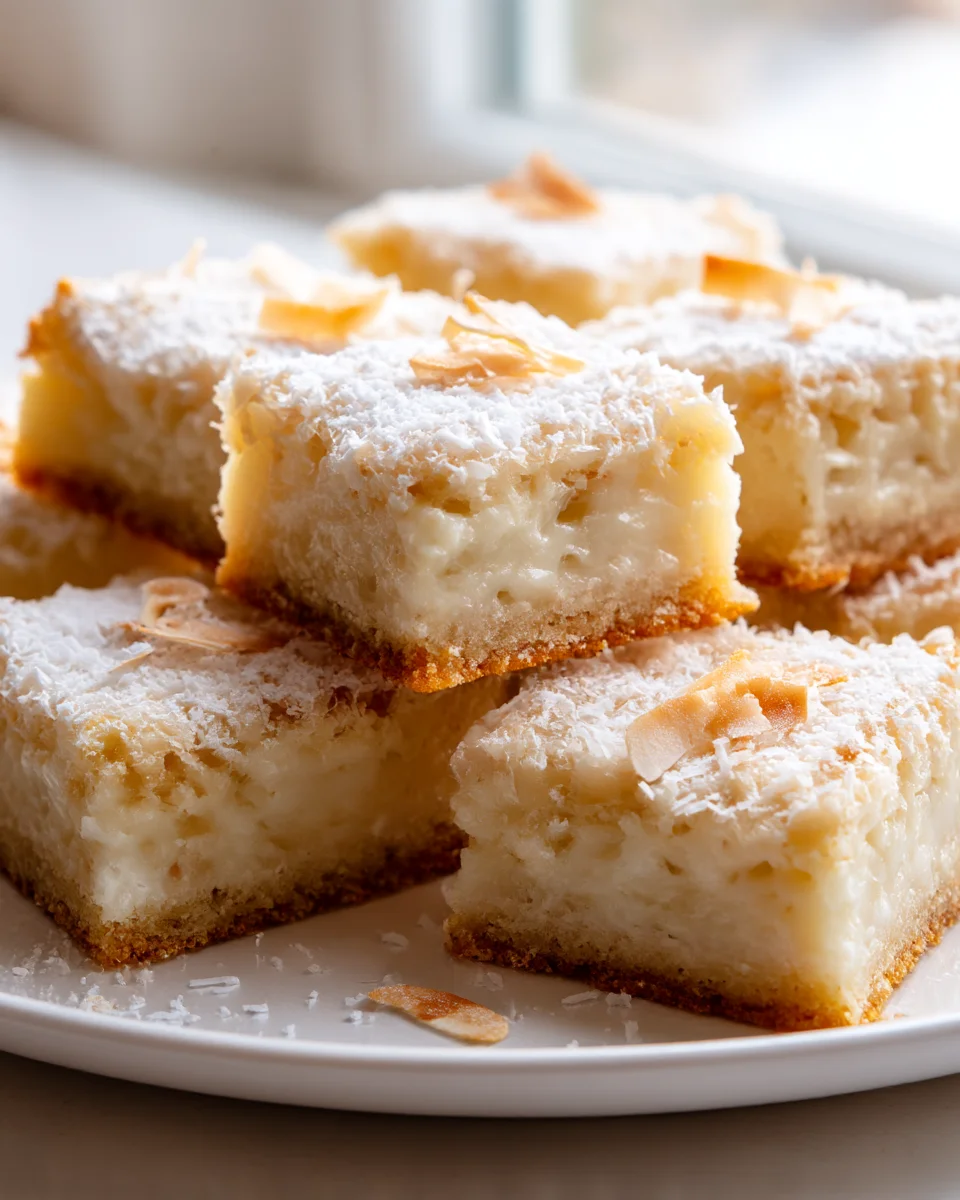
Classic Coconut Dream Bars
Oh, where do I even begin with these absolute gems? Classic Coconut Dream Bars are, for me, more than just a dessert; they’re a little bite of pure sunshine, nostalgia, and utter bliss. What makes them so incredibly special, you ask? It’s that magical combination of a perfectly buttery, golden crust that crumbles just right, topped with an incredibly moist, chewy, and intensely coconutty layer, often held together with the sweet creaminess of condensed milk. And let’s be honest, who can resist a delicate drizzle of chocolate over the top to finish things off? I promise you, readers will fall head over heels for their delightful texture contrast and tropical flavor explosion. They’re effortlessly elegant enough for any potluck or gathering, yet simple enough to whip up for a spontaneous sweet craving. Get ready to experience a classic that truly lives up to its “dream” name!
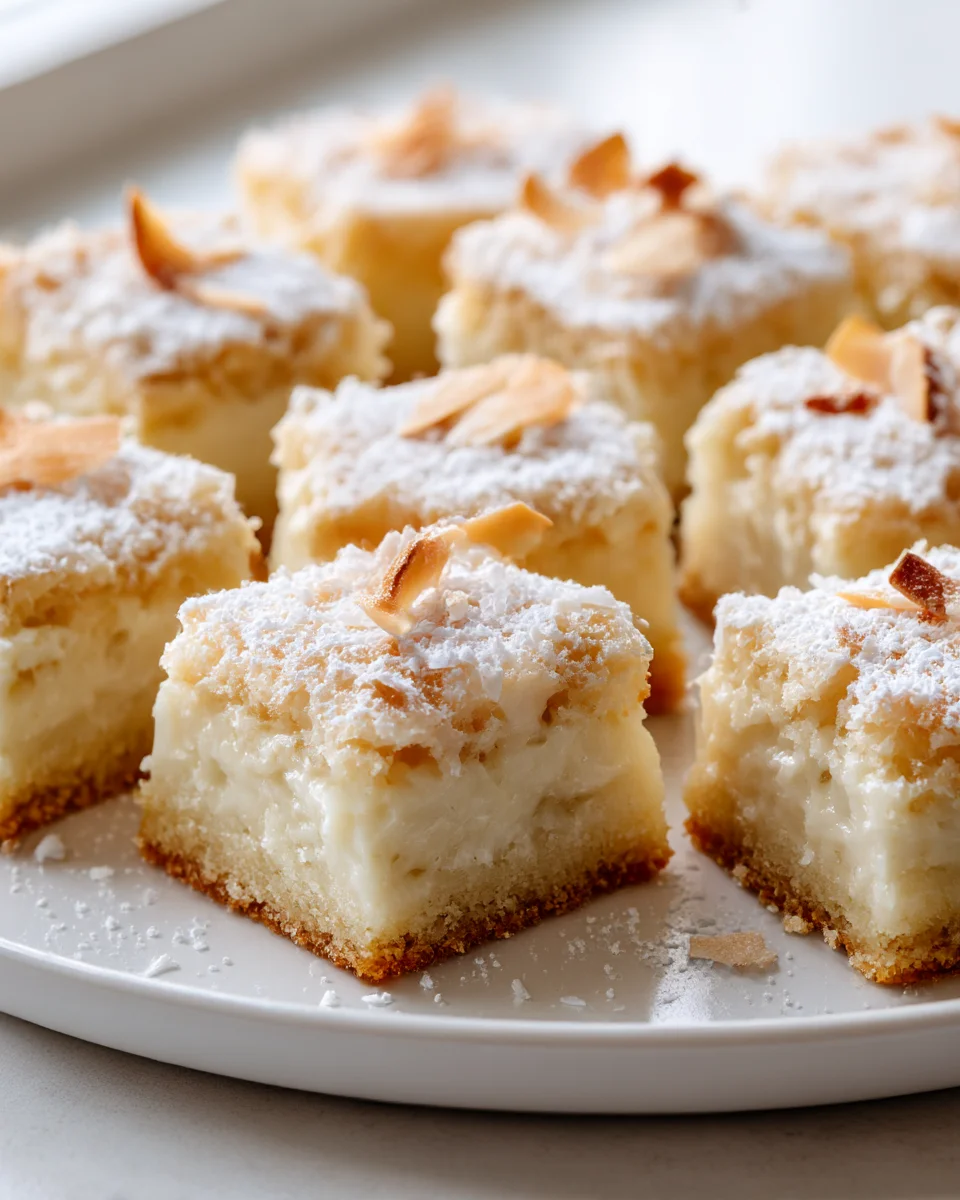
Oh, the pure joy of a Classic Coconut Dream Bar! There’s something so wonderfully nostalgic and utterly irresistible about these chewy, sweet, and coconut-packed treats. If you’re looking for a dessert that’s simple to make, yet delivers on big flavor and comforting texture, you’ve definitely come to the right place. I’ve been making these for years, and they always disappear in a flash. They’re the perfect pick-me-up for an afternoon treat, a delightful addition to any potluck, or just a sweet ending to a cozy meal. Get ready to bake up some serious happiness!
Ingredient Notes
Creating these delightful Coconut Dream Bars starts with understanding a few key ingredients. While the recipe is straightforward, choosing the right components and knowing your options can make all the difference to the final texture and taste.
- Graham Cracker Crumbs: These form the classic, buttery base of our bars. I find their mild, slightly sweet flavor perfectly complements the coconut.
- Substitution: If graham crackers aren’t available, or you prefer a different base, you can absolutely use finely crushed digestive biscuits or even shortbread cookies. Just make sure they’re finely processed for a smooth crust.
- Melted Butter: Unsalted butter is my go-to for the crust, as it allows me to control the saltiness. It binds the crumbs together beautifully and provides that rich, irresistible flavor.
- Tip: Ensure your butter is fully melted but not scorching hot when you mix it with the crumbs.
- Sweetened Shredded Coconut: This is the star of our show! Sweetened shredded coconut provides both the incredible flavor and the signature chewy texture that defines these dream bars. The added sugar in this type of coconut contributes to the golden caramelization during baking.
- Substitution/Variation: While sweetened is traditional, you can use unsweetened shredded coconut for a less sweet bar. If you do, I recommend adding an extra tablespoon or two of sugar to the filling mixture to balance the sweetness, or simply embrace a less sugary treat. Flaked coconut also works for a chunkier texture.
- Sweetened Condensed Milk: This magical ingredient is what brings everything together, creating that incredibly moist, chewy, and gooey filling. There’s no real direct substitute for sweetened condensed milk in this particular recipe, as its unique thickness and sweetness are critical to the bar’s structure and flavor profile.
- Tip: Don’t confuse it with evaporated milk; they are very different!
- Vanilla Extract: A splash of good quality vanilla extract really enhances the overall flavor, adding a warm, aromatic note that complements the coconut beautifully.
- Optional Toppings (highly recommended!):
- Semi-Sweet Chocolate Chips: These melt into delightful pockets of chocolatey goodness.
- Variations: Feel free to experiment with milk chocolate, dark chocolate, white chocolate, or even butterscotch chips!
- Chopped Nuts: Pecans or walnuts are fantastic additions, providing a lovely textural contrast and a nutty depth.
- Variations: Almonds or macadamia nuts would also be delicious. Just make sure they’re roughly chopped.
- Semi-Sweet Chocolate Chips: These melt into delightful pockets of chocolatey goodness.
Step-by-Step Instructions
Making Classic Coconut Dream Bars is a surprisingly simple process, yielding incredibly satisfying results. Just follow these steps, and you’ll have a batch of these heavenly treats ready in no time!
- Prepare Your Pan and Preheat Oven: First things first, preheat your oven to 350°F (175°C). This ensures your oven is at the correct temperature when your bars are ready to go in. Next, line a 9×13 inch baking pan with parchment paper, leaving an overhang on the sides. This is a crucial step for easy removal of the bars later! Lightly grease the parchment paper for extra insurance, although it’s often not strictly necessary if you have good quality parchment.
- Make the Graham Cracker Crust: In a medium bowl, combine 1 ½ cups of graham cracker crumbs with ¼ cup of granulated sugar. Pour in ½ cup of melted unsalted butter and mix well until all the crumbs are moistened and resemble wet sand. Press this mixture firmly and evenly into the bottom of your prepared baking pan. You can use the bottom of a flat glass or a measuring cup to help compact it.
- Bake the Crust (Optional but Recommended): For a sturdier crust that won’t absorb too much of the filling, I like to pre-bake it for about 8-10 minutes. This helps it set and become slightly golden. Remove from the oven and set aside.
- Prepare the Coconut Filling: While the crust is baking or cooling slightly, whisk together one 14-ounce can of sweetened condensed milk with 1 teaspoon of vanilla extract in a medium bowl until well combined. Stir in 2 cups of sweetened shredded coconut. Make sure the coconut is evenly coated with the condensed milk mixture.
- Assemble the Layers: Carefully pour the coconut filling mixture over the pre-baked (or unbaked, if you skipped that step) graham cracker crust. Use a spatula to spread it out evenly to all corners of the pan.
- Add Optional Toppings: Now for the fun part! Sprinkle your desired toppings over the coconut layer. I usually go for about ½ to 1 cup of semi-sweet chocolate chips and ½ cup of chopped pecans or walnuts. Distribute them evenly over the surface.
- Bake Until Golden and Bubbly: Place the pan into your preheated oven and bake for 25-30 minutes, or until the edges are golden brown, the coconut topping is lightly toasted, and the filling is set and bubbling slightly around the edges. Keep an eye on it to prevent over-browning.
- Cool Completely (Crucial Step!): This is arguably the most important step for perfectly cut bars. Remove the pan from the oven and let the bars cool completely on a wire rack at room temperature. For the cleanest cuts, I highly recommend chilling them in the refrigerator for at least 2 hours, or even overnight, once they’ve reached room temperature.
- Cut and Serve: Once thoroughly chilled and firm, use the parchment paper overhang to lift the entire slab out of the pan. Place it on a cutting board. Using a sharp, warm knife (run it under hot water and wipe dry between cuts), cut the bars into squares or rectangles of your desired size. Enjoy your delicious Classic Coconut Dream Bars!
Tips & Suggestions
To ensure your Classic Coconut Dream Bars are always a resounding success, I’ve gathered a few tips and tricks that I’ve learned over the years. These simple suggestions will help you achieve that perfect balance of chewy, sweet, and utterly delightful.
- Don’t Overbake! It’s tempting to leave them in for extra browning, but overbaking can lead to dry and hard bars instead of the wonderfully chewy texture we’re aiming for. Once the edges are golden and the center is set and lightly toasted, they’re done. Remember, they will continue to set as they cool.
- The Importance of Cooling: I cannot stress this enough – patience is key! Cooling the bars completely, and then chilling them in the refrigerator for at least a couple of hours (or overnight), is absolutely essential for clean, beautiful cuts. If you try to cut them warm, they will be too soft and gooey, and you’ll end up with a delicious but messy pile.
- Parchment Paper is Your Best Friend: Lining your baking pan with parchment paper, allowing some overhang, is a game-changer. It makes lifting the entire batch out of the pan incredibly easy once cooled, allowing for much neater cutting and serving. Don’t skip this step!
- Choosing Your Coconut: As mentioned in the ingredient notes, sweetened shredded coconut is traditional and contributes to the bars’ sweetness and gooeyness. If you use unsweetened coconut, you might find the bars slightly less sweet and a bit chewier. Adjust your expectations or consider adding a tablespoon or two of sugar to the filling if you prefer a sweeter outcome with unsweetened coconut.
- Warm Knife for Clean Cuts: When it’s time to slice, a sharp knife is important. For the cleanest possible cuts, warm your knife under hot water, wipe it dry, and then make your cut. Repeat this process for each slice. It helps glide through the sticky filling and melted chocolate (if using).
- Get Creative with Toppings: While chocolate chips and nuts are classic for a reason, don’t hesitate to experiment!
- Try white chocolate chips with dried cranberries for a festive twist.
- Add a sprinkle of sea salt flakes over the chocolate chips before baking to enhance their flavor.
- A drizzle of caramel or a sprinkle of toffee bits could also be delicious.
- Even Pressing of the Crust: Take your time to press the graham cracker crust firmly and evenly into the pan. An even crust ensures that all your bars have a consistent base and prevents crumbling when you cut them.
Storage
Once you’ve gone to the trouble of making these delicious Classic Coconut Dream Bars, you’ll want to make sure they stay fresh and delightful for as long as possible. Proper storage is key!
- At Room Temperature: If you plan to devour them within a day or two, you can store your coconut dream bars in an airtight container at room temperature. Just make sure they are completely cooled before storing. I like to place a piece of parchment or wax paper between layers if stacking them to prevent sticking.
- In the Refrigerator: For longer freshness, or if your kitchen is particularly warm, I highly recommend storing these bars in an airtight container in the refrigerator. They will keep beautifully for up to 5-7 days. In fact, many people prefer them chilled, as the filling becomes even firmer and chewier.
- Freezing for Long-Term Storage: Yes, you can freeze Coconut Dream Bars! This is fantastic if you want to make a big batch or save some for later.
- Ensure the bars are completely cooled and chilled before freezing.
- Cut them into individual squares or your desired serving size.
- Place the bars in a single layer on a baking sheet and freeze for about an hour, or until firm. This prevents them from sticking together.
- Once firm, transfer the frozen bars to a freezer-safe airtight container or a heavy-duty freezer bag. You can stack them with parchment paper between layers.
- They will keep well in the freezer for up to 2-3 months.
- Thawing Frozen Bars: When you’re ready to enjoy a frozen bar, simply remove it from the freezer and let it thaw at room temperature for about 30 minutes to an hour, or overnight in the refrigerator. They taste just as good as freshly baked!
Final Thoughts
And there you have it – the delightful journey to creating your very own Classic Coconut Dream Bars! I truly believe this recipe is an absolute must-try for anyone who loves a good dessert that balances simplicity with incredible flavor. What makes these bars so special, you ask? It’s that perfect harmony of a buttery, golden crust, a rich, sweet, and chewy coconut filling, all topped with a delicate golden finish. Each bite is a little piece of paradise, evoking memories of sunshine and happy moments.
I find immense joy in how straightforward they are to make, yet they always impress. Whether you’re baking for a family gathering, a special treat for yourself, or sharing with friends, these Classic Coconut Dream Bars are guaranteed to bring smiles. Trust me, once you experience that dreamy coconut goodness, you’ll want to make them again and again. Get ready to bake some happiness!

Leave a Comment