
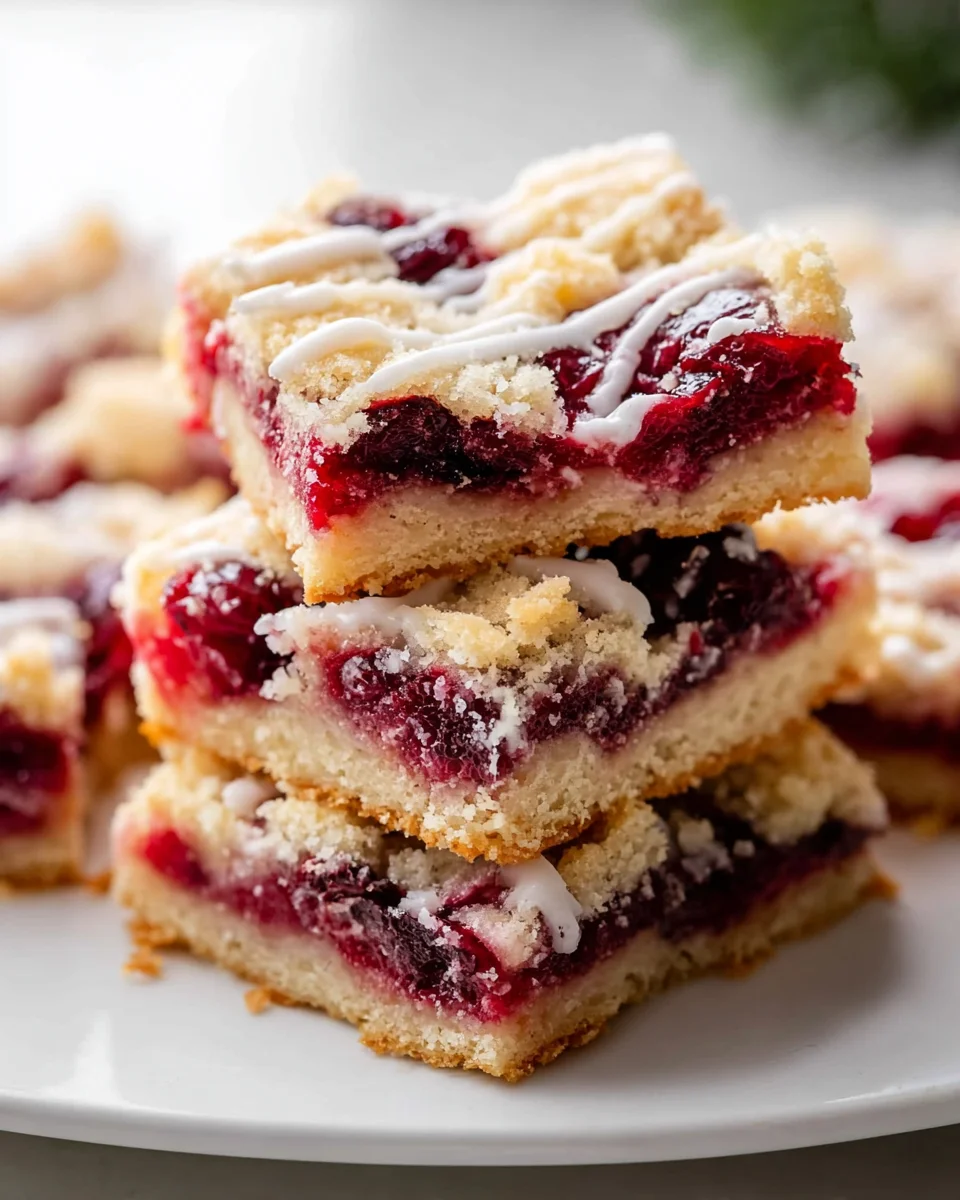
Christmas Cherry Bars
Ah, Christmas Cherry Bars! There’s something truly magical about these delightful treats that brings back warm memories of holiday gatherings and the sweet scent of cherry wafting through the air. These bars are not just a dessert; they are a celebration of the season, perfectly combining the tartness of cherries with a buttery, crumbly base that melts in your mouth. I simply love how they add a pop of color to any holiday spread, making them as visually appealing as they are delicious!
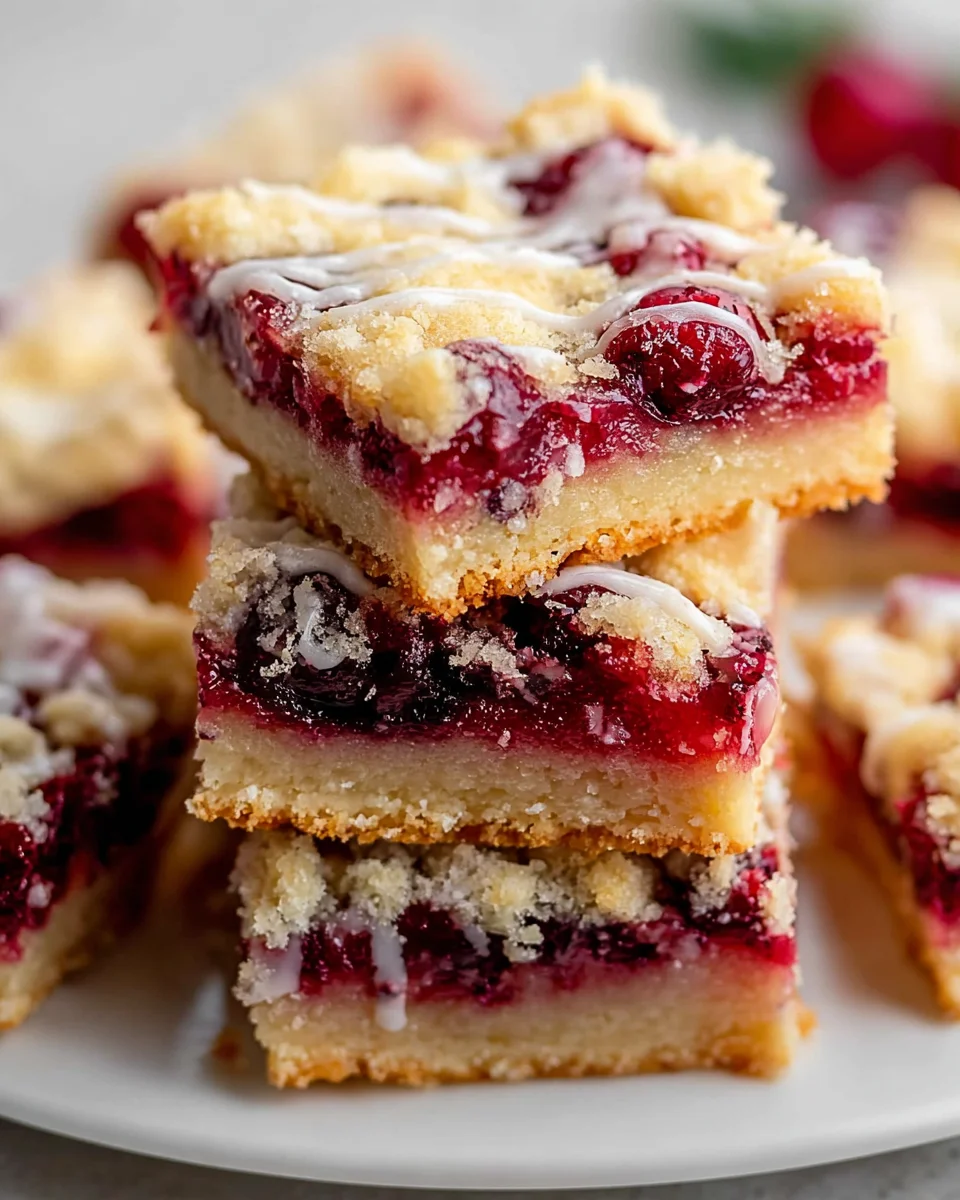
What makes Christmas Cherry Bars so special is their perfect balance of flavors and textures. The rich, almond-infused crust pairs beautifully with the vibrant cherry filling, creating a symphony of taste that will leave everyone reaching for another piece. Plus, they’re incredibly easy to make, allowing you to focus on what truly matters during the holidays—spending time with your loved ones. Trust me, once you serve these bars, they’ll quickly become a cherished tradition in your home. So, roll up your sleeves, and let’s create some festive magic together!
Ingredient Notes
To create the perfect Christmas Cherry Bars, you’ll need a mix of delightful ingredients that come together to form a festive treat. Here’s a quick rundown of the main ingredients and some helpful substitutions:
- Cherries: I prefer using fresh or frozen cherries for their vibrant flavor. If cherries are out of season, you can substitute with canned cherries, but be sure to drain them well.
- Butter: Unsalted butter is ideal for this recipe to control the saltiness. If you’re looking for a dairy-free option, coconut oil or vegan butter works wonderfully.
- Granulated Sugar: Regular granulated sugar gives the bars their sweetness. If you want a healthier alternative, you can use coconut sugar or a sugar substitute like Stevia, but adjust to taste.
- Flour: All-purpose flour is the base of our bars. For a gluten-free option, you can use a gluten-free all-purpose flour blend.
- Eggs: Eggs bind the ingredients together. For a vegan substitute, you can use flax eggs (1 tablespoon ground flaxseed mixed with 2.5 tablespoons water per egg).
- Almond Extract: This adds a lovely flavor to the bars. If you prefer, you can swap it for vanilla extract or omit it entirely.
Step-by-Step Instructions
Now, let’s dive into creating these delicious Christmas Cherry Bars:
- Preheat your oven: Start by preheating your oven to 350°F (175°C). Grease a 9×13-inch baking pan or line it with parchment paper for easy removal.
- Make the base: In a large mixing bowl, cream together 1 cup of softened unsalted butter and 1 cup of granulated sugar until light and fluffy. This step is essential for achieving the right texture.
- Add the eggs: Beat in 2 large eggs one at a time, ensuring each is fully incorporated before adding the next. Then, mix in 1 teaspoon of almond extract.
- Combine dry ingredients: In another bowl, whisk together 2 cups of all-purpose flour, 1 teaspoon of baking powder, and a pinch of salt. Gradually add this mixture to the wet ingredients, stirring until just combined.
- Add the cherries: Gently fold in 2 cups of pitted and chopped cherries (fresh or thawed, if frozen). Make sure they are evenly distributed throughout the batter.
- Spread the batter: Pour the cherry-infused batter into the prepared baking pan, spreading it evenly with a spatula.
- Bake: Place the pan in the preheated oven and bake for 30-35 minutes, or until the edges are golden brown and a toothpick inserted in the center comes out clean.
- Cool: Once baked, remove the bars from the oven and let them cool in the pan on a wire rack before slicing.
- Serve: Cut into squares or bars and enjoy your delicious Christmas Cherry Bars with a dusting of powdered sugar on top for that festive touch!
Tips & Suggestions
Here are some tips to ensure your Christmas Cherry Bars turn out perfectly every time:
- Cherry Preparation: If using fresh cherries, be sure to wash and pit them thoroughly. Cherries can be quite juicy, so if they seem overly watery, pat them dry with a paper towel before adding to the batter.
- For a festive twist: Consider adding chopped nuts like walnuts or pecans to the batter for added crunch and flavor.
- Frosting option: If you want to elevate your bars, try drizzling a simple glaze made of powdered sugar and lemon juice over the top once they have cooled.
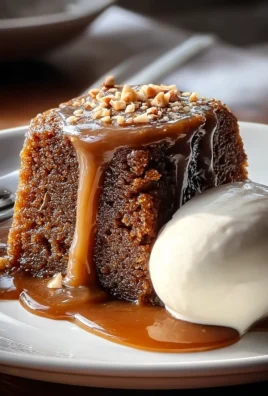
- Serving suggestions: These bars pair wonderfully with a scoop of vanilla ice cream or a dollop of whipped cream as a festive dessert.
Storage
To keep your Christmas Cherry Bars fresh:
- Room Temperature: Store the bars in an airtight container at room temperature for up to 3 days.
- Refrigeration: If you’d like them to last longer, you can refrigerate the bars for up to a week. Just be sure to keep them sealed to prevent drying out.
- Freezing: For longer storage, these bars freeze beautifully! Wrap them tightly in plastic wrap and then place them in a freezer-safe container. They can be frozen for up to 3 months. Thaw at room temperature before serving.
With these instructions and tips, I hope you enjoy making and sharing these delightful Christmas Cherry Bars this holiday season. Happy baking!
Final Thoughts
In conclusion, I can’t recommend the Christmas Cherry Bars enough! This delightful treat not only brings the festive spirit to your holiday gatherings but also fills your home with the warm, inviting aroma of cherries and buttery crust. The combination of sweet and tart flavors makes each bite a joyous experience that everyone will love. Whether you’re sharing them with family, friends, or simply enjoying them yourself, Christmas Cherry Bars are sure to become a cherished tradition in your holiday baking repertoire. So grab your ingredients and get ready to create something truly special this season!
Leave a Comment