
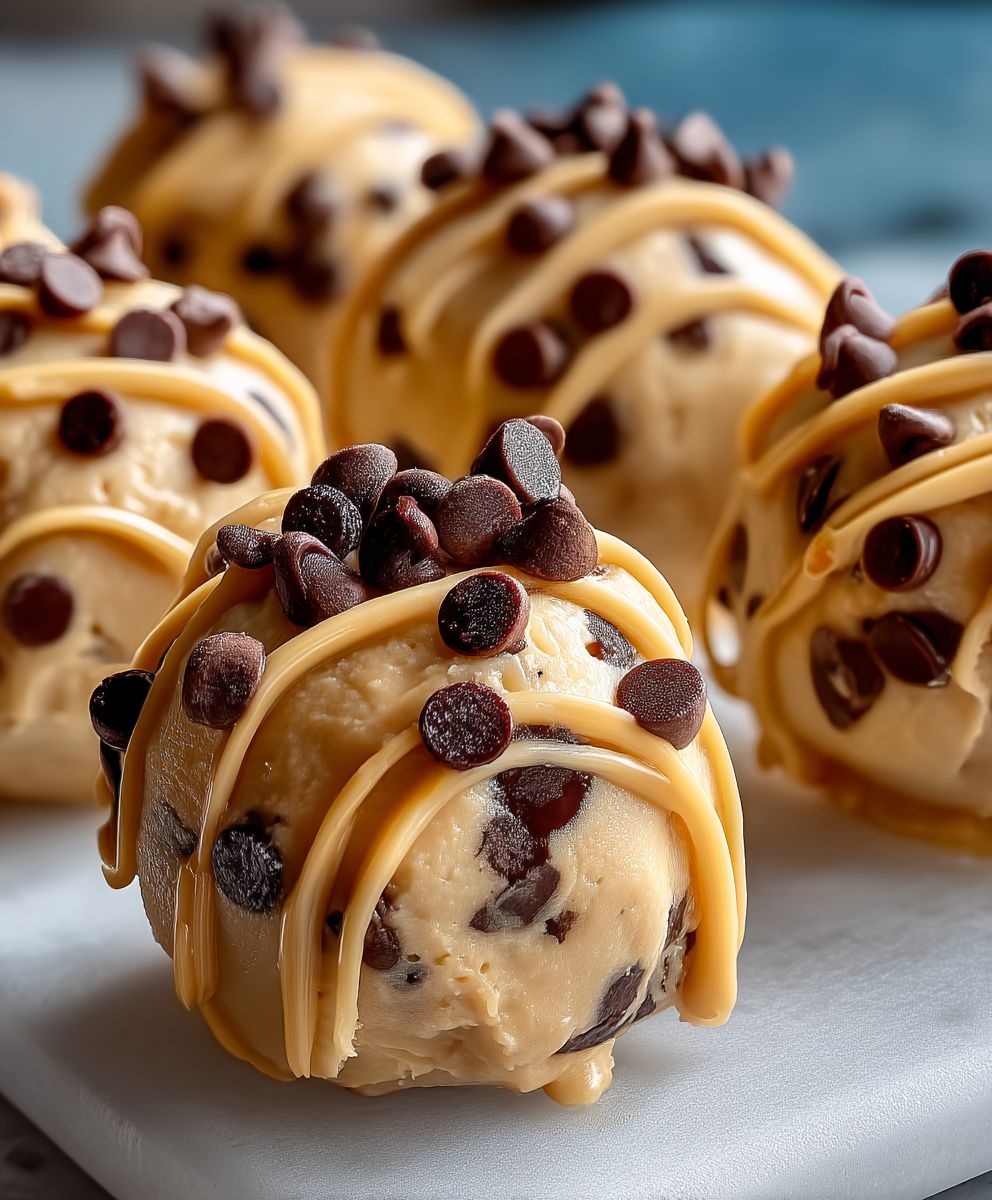
Frozen Greek Yogurt Peanut Bites: Prepare to meet your new favorite healthy snack! Imagine a bite-sized treat that’s both incredibly satisfying and packed with protein. These little powerhouses are not only delicious but also incredibly easy to make, requiring minimal ingredients and effort. Forget those sugary, processed snacks – these frozen delights are here to revolutionize your snacking game.
While not steeped in ancient history, the concept of combining yogurt and peanut butter for a healthy treat has gained immense popularity in recent years, driven by a growing awareness of the benefits of Greek yogurt and the satisfying flavor of peanut butter. Greek yogurt, known for its creamy texture and high protein content, has become a staple in health-conscious diets. Peanut butter, a beloved American classic, adds a dose of healthy fats and that irresistible nutty flavor we all crave.
What makes these Frozen Greek Yogurt Peanut Bites so irresistible? It’s the perfect combination of creamy, tangy yogurt and rich, nutty peanut butter, all transformed into a refreshing frozen treat. The texture is divine – a smooth, melt-in-your-mouth experience that’s both cooling and satisfying. Plus, they’re incredibly convenient! Make a batch on the weekend, and you’ll have a healthy and delicious snack ready to go whenever those cravings hit. They are perfect for a post-workout boost, an afternoon pick-me-up, or even a guilt-free dessert. Get ready to discover why everyone is raving about these simple yet sensational bites!
Ingredients:
- 1 cup plain Greek yogurt (full-fat or non-fat, your preference!)
- 1/2 cup creamy peanut butter (natural or regular, but natural might need a little honey)
- 1/4 cup honey (or maple syrup, agave, or your favorite sweetener)
- 1 teaspoon vanilla extract
- 1/4 cup mini chocolate chips (optional, but highly recommended!)
- Pinch of salt (enhances the sweetness)
Preparing the Peanut Butter Yogurt Mixture
Okay, let’s get started! This recipe is so easy, it’s almost embarrassing. But trust me, these little bites are addictive, especially on a hot day.
- Combine the yogurt and peanut butter: In a medium-sized bowl, add your Greek yogurt and peanut butter. Make sure your peanut butter is at room temperature; otherwise, it’ll be a real pain to mix. If it’s stubbornly stiff, microwave it for about 10-15 seconds to soften it up.
- Sweeten the deal: Pour in the honey (or your chosen sweetener). I usually go for honey because I love the flavor, but maple syrup works great too. Agave is a good option if you’re looking for something a little less intense.
- Add vanilla and salt: Now, stir in the vanilla extract and that tiny pinch of salt. The vanilla adds a lovely depth of flavor, and the salt helps to balance out the sweetness and bring out the peanut butter flavor. Don’t skip it!
- Mix it all together: Using a whisk or a sturdy spoon, mix everything together until it’s smooth and creamy. Don’t worry if there are a few tiny lumps of peanut butter; they’ll freeze just fine. Just make sure everything is well incorporated.
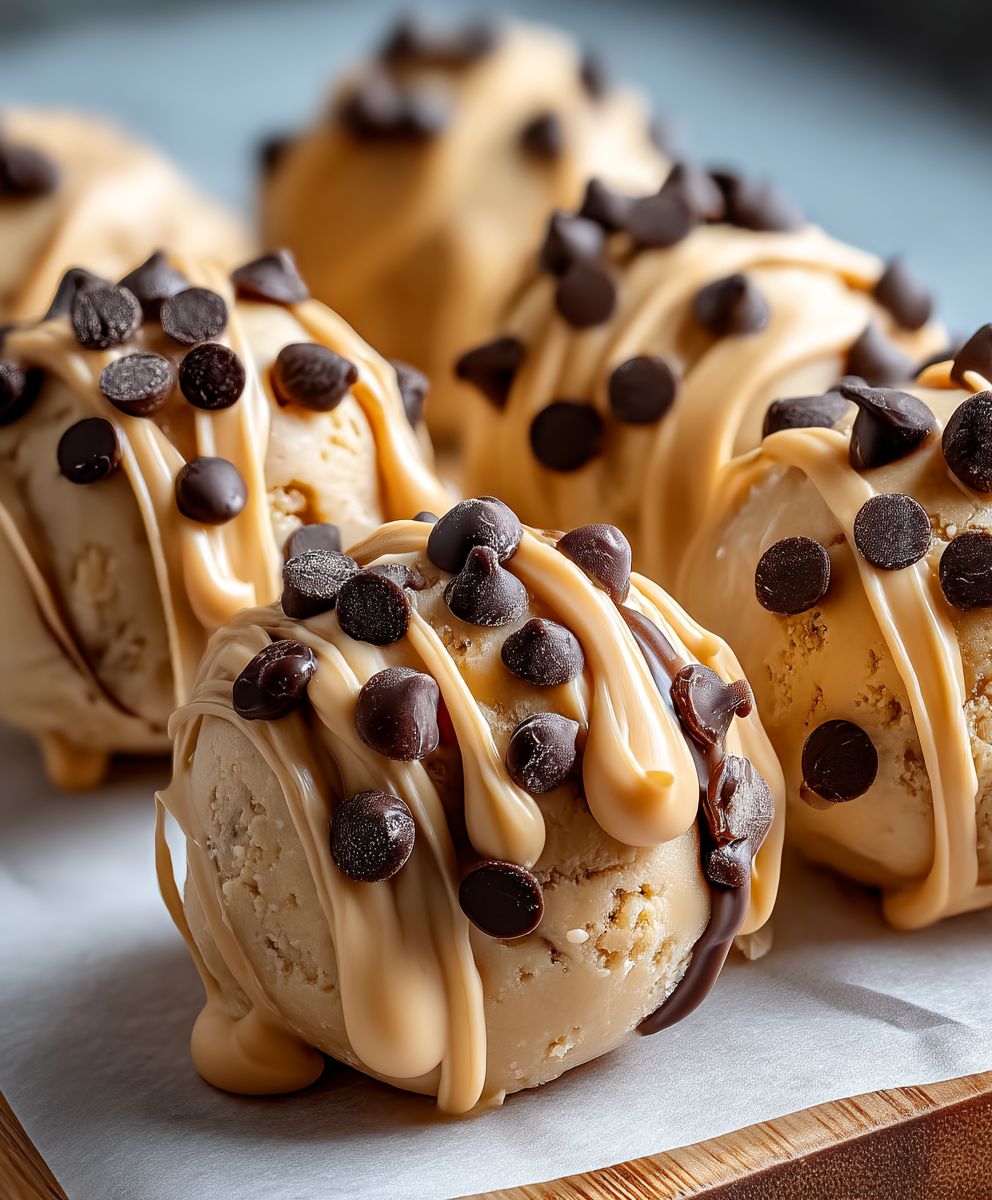
- Fold in the chocolate chips (optional): If you’re using chocolate chips (and I highly recommend you do!), gently fold them into the mixture. Be careful not to overmix, or the chocolate chips might melt a little and turn the mixture brown. We want those little bursts of chocolatey goodness!
Freezing and Shaping the Bites
Now comes the fun part – turning this delicious mixture into bite-sized frozen treats!
- Prepare your baking sheet: Line a baking sheet with parchment paper or a silicone mat. This will prevent the bites from sticking and make them easy to remove once they’re frozen.
- Portion the mixture: There are a few ways to do this. You can use a small cookie scoop (about 1 tablespoon size) to scoop out even portions of the mixture and drop them onto the prepared baking sheet. Alternatively, you can use two spoons to form little quenelles (oval-shaped portions). Or, if you’re feeling fancy, you can pipe the mixture onto the baking sheet using a piping bag fitted with a large round tip.
- Shape the bites (optional): If you want your bites to be perfectly round, you can gently roll them between your palms after scooping them out. This is totally optional, though; they’ll taste just as good if they’re a little misshapen.
- Freeze for at least 2 hours: Place the baking sheet in the freezer and let the bites freeze for at least 2 hours, or until they’re solid. I usually leave them in overnight to make sure they’re completely frozen.
Storing and Serving
Almost there! Just a few more steps, and you’ll be enjoying these refreshing treats.
- Transfer to a freezer-safe container: Once the bites are frozen solid, carefully remove them from the baking sheet and transfer them to a freezer-safe container or bag. I like to use a zip-top freezer bag, but any airtight container will work.
- Store in the freezer: Store the bites in the freezer for up to 2-3 months. They’re best enjoyed within the first month, though, as they can start to develop freezer burn over time.
- Serving suggestions: When you’re ready to enjoy a bite (or several!), simply take them out of the freezer and let them sit for a minute or two to soften slightly. They’re delicious straight from the freezer, but they can be a little hard to bite into. You can also add them to smoothies for a creamy, protein-packed boost. Or, crumble them over yogurt or granola for a healthy and delicious topping.
Tips and Variations
Want to customize these bites to your liking? Here are a few ideas:
- Different nut butters: Try using almond butter, cashew butter, or sunflower seed butter instead of peanut butter. Each will give the bites a unique flavor.
- Different sweeteners: Experiment with different sweeteners, such as stevia or monk fruit sweetener, if you’re looking for a low-sugar option.
- Add-ins: Get creative with your add-ins! Try adding chopped nuts, shredded coconut, dried fruit, or even a sprinkle of sea salt on top.
- Chocolate coating: For an extra decadent treat, dip the frozen bites in melted chocolate and sprinkle with your favorite toppings.
- Dairy-free option: Use a dairy-free Greek yogurt alternative, such as coconut yogurt or almond yogurt, to make these bites vegan.
Troubleshooting
Sometimes things don’t go exactly as planned. Here are a few common issues and how to fix them:
- Bites are too hard: If the bites are too hard to bite into straight from the freezer, let them sit at room temperature for a few minutes to soften slightly.
- Bites are too soft: If the bites are too soft, they may not have been frozen long enough. Put them back in the freezer for another hour or two.
- Mixture is too runny: If the mixture is too runny, add a tablespoon or two of protein powder or coconut flour to thicken it up.
- Bites are sticking to the baking sheet: Make sure you’re using parchment paper or a silicone mat to line the baking sheet. If they’re still sticking, try freezing them for a longer period of time.
Nutritional Information (Approximate)
Please note that the nutritional information is an estimate and may vary depending on the specific ingredients you use.
- Serving Size: 1 bite
- Calories: Approximately 50-70 calories per bite
- Protein: 2-3 grams
- Fat: 3-5 grams
- Carbohydrates: 4-6 grams
Enjoy your delicious and healthy Frozen Greek Yogurt Peanut Butter Bites! They’re the perfect guilt-free treat for any time of day.
Easy Dinner Chicken Pasta: 30-Minute Weeknight Meal
Frozen Greek Yogurt Peanut Bites: A Healthy & Delicious Treat
Easy and healthy frozen Greek yogurt peanut butter bites – a delicious, refreshing treat perfect for hot days. Customize with your favorite add-ins!
Ingredients
Instructions
Recipe Notes
- For natural peanut butter, you may need to add a little extra honey to sweeten.
- Experiment with different nut butters, sweeteners, and add-ins to customize the recipe.
- For a dairy-free option, use a dairy-free Greek yogurt alternative.
- If bites are too hard, let them sit at room temperature for a few minutes.
- If the mixture is too runny, add a tablespoon or two of protein powder or coconut flour to thicken it up.
Frequently Asked Questions
Printable Recipe Card
Want just the essential recipe details without scrolling through the article? Get our printable recipe card with just the ingredients and instructions.


Leave a Comment