
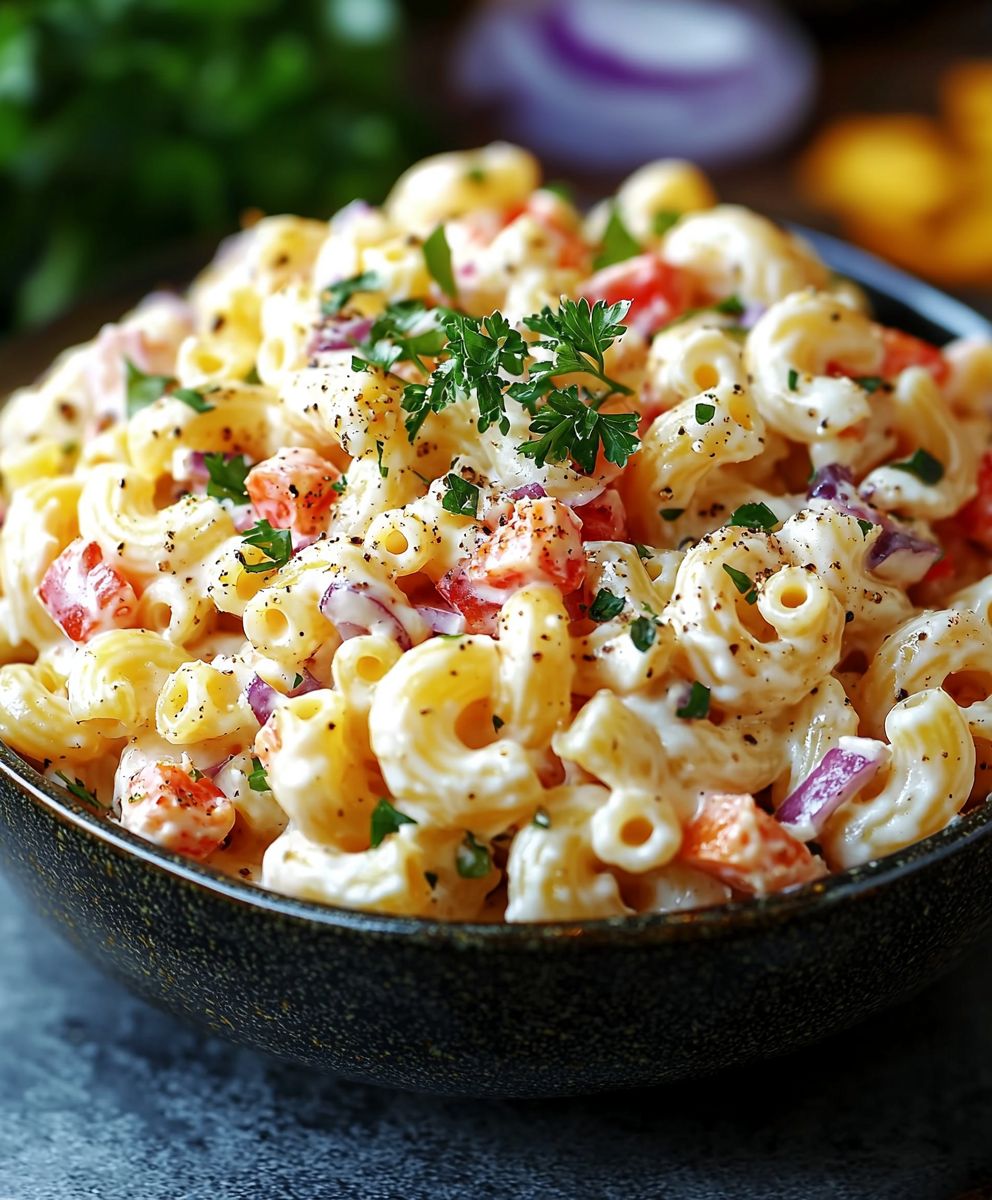
Guy Fieri Macaroni Salad is not just a dish; it’s a celebration of flavors that brings a touch of culinary excitement to any gathering. Inspired by the vibrant personality of celebrity chef Guy Fieri, this macaroni salad combines classic comfort with a twist that makes it stand out at potlucks and barbecues alike. The history of macaroni salad dates back to the early 20th century, evolving from simple pasta dishes to the diverse and flavorful versions we enjoy today. What I love most about Guy Fieri Macaroni Salad is its perfect balance of creamy texture and zesty ingredients, making it a crowd-pleaser that keeps everyone coming back for more. Whether you’re serving it as a side dish or a main attraction, this recipe is not only convenient to prepare but also bursting with taste that will leave your guests raving.
Ingredients:
- 1 pound elbow macaroni
- 1 cup mayonnaise
- 1 tablespoon Dijon mustard
- 1 tablespoon apple cider vinegar
- 1 teaspoon sugar
- 1 teaspoon salt
- 1/2 teaspoon black pepper
- 1/2 teaspoon garlic powder
- 1/2 teaspoon onion powder
- 1 cup diced celery
- 1 cup diced red bell pepper
- 1/2 cup diced red onion
- 1 cup frozen peas, thawed
- 1/2 cup chopped fresh parsley
- 1/2 cup diced pickles or relish (optional)
- 1/2 cup shredded cheddar cheese (optional)
Preparing the Pasta
1. Start by bringing a large pot of salted water to a boil. I usually add about a tablespoon of salt to the water to enhance the flavor of the pasta. 2. Once the water is boiling, add the elbow macaroni. Stir it occasionally to prevent sticking. Cook according to the package instructions, usually around 8-10 minutes, until al dente. 3. When the pasta is cooked, drain it in a colander and rinse it under cold water. This stops the cooking process and cools the pasta down, which is essential for a salad. 4. Allow the pasta to drain thoroughly while you prepare the dressing and other ingredients.Making the Dressing
5. In a large mixing bowl, combine the mayonnaise, Dijon mustard, apple cider vinegar, sugar, salt, black pepper, garlic powder, and onion powder. 6. Whisk the ingredients together until smooth and creamy. This dressing is what brings all the flavors together, so make sure it’s well mixed. 7. Taste the dressing and adjust the seasoning if necessary. If you like a bit more tang, feel free to add a splash more vinegar or a pinch more salt.Chopping the Vegetables
8. While the pasta is cooling and the dressing is coming together, it’s time to chop the vegetables. 9. Dice the celery, red bell pepper, and red onion into small, uniform pieces. This ensures that every bite of the salad has a bit of each ingredient. 10. If you’re using pickles or relish, chop them into small pieces as well. This adds a nice crunch and tang to the salad. 11. Once everything is chopped, set the vegetables aside.Combining Ingredients
12. In the large bowl with the dressing, add the cooled macaroni. Gently fold the pasta into the dressing using a spatula or wooden spoon. Be careful not to break the pasta. 13. Next, add the diced celery, red bell pepper, red onion, and thawed peas to the bowl. Again, gently fold these ingredients into the pasta and dressing mixture. 14. If you’re adding chopped pickles or relish, now is the time to mix them in. 15. Finally, fold in the chopped fresh parsley for a burst of color and freshness. If you’re using shredded cheddar cheese, add it at this stage as well.Chilling the Salad
16. Once everything is well combined, cover the bowl with plastic wrap or a lid. Place the macaroni salad in the refrigerator for at least 1 hour. This chilling time allows the flavors to meld together beautifully. 17. If you have time, letting it chill for a few hours or even overnight will enhance the flavor even more.Serving the Salad
18. After the salad has chilled, give it a good stir before serving. This helps redistribute the dressing and ensures that every bite is flavorful. 19. Taste the salad one last time and adjust the seasoning if needed. You might want to add a bit more salt, pepper, or even a dash of vinegar depending on your preference. 20. Serve the macaroni salad in a large bowl or individual serving dishes. It’s perfect for barbecues, picnics, or as a side dish for any meal.Storage Tips
21. If you have leftovers, store them in an airtight container in the refrigerator. The salad will keep well for about 3-5 days. 22. Keep in mind that the pasta may absorb some of the dressing as it sits, so you might want to add a little extra mayonnaise or a splash of vinegar before serving leftovers to refresh the flavors.Variations and
Conclusion:
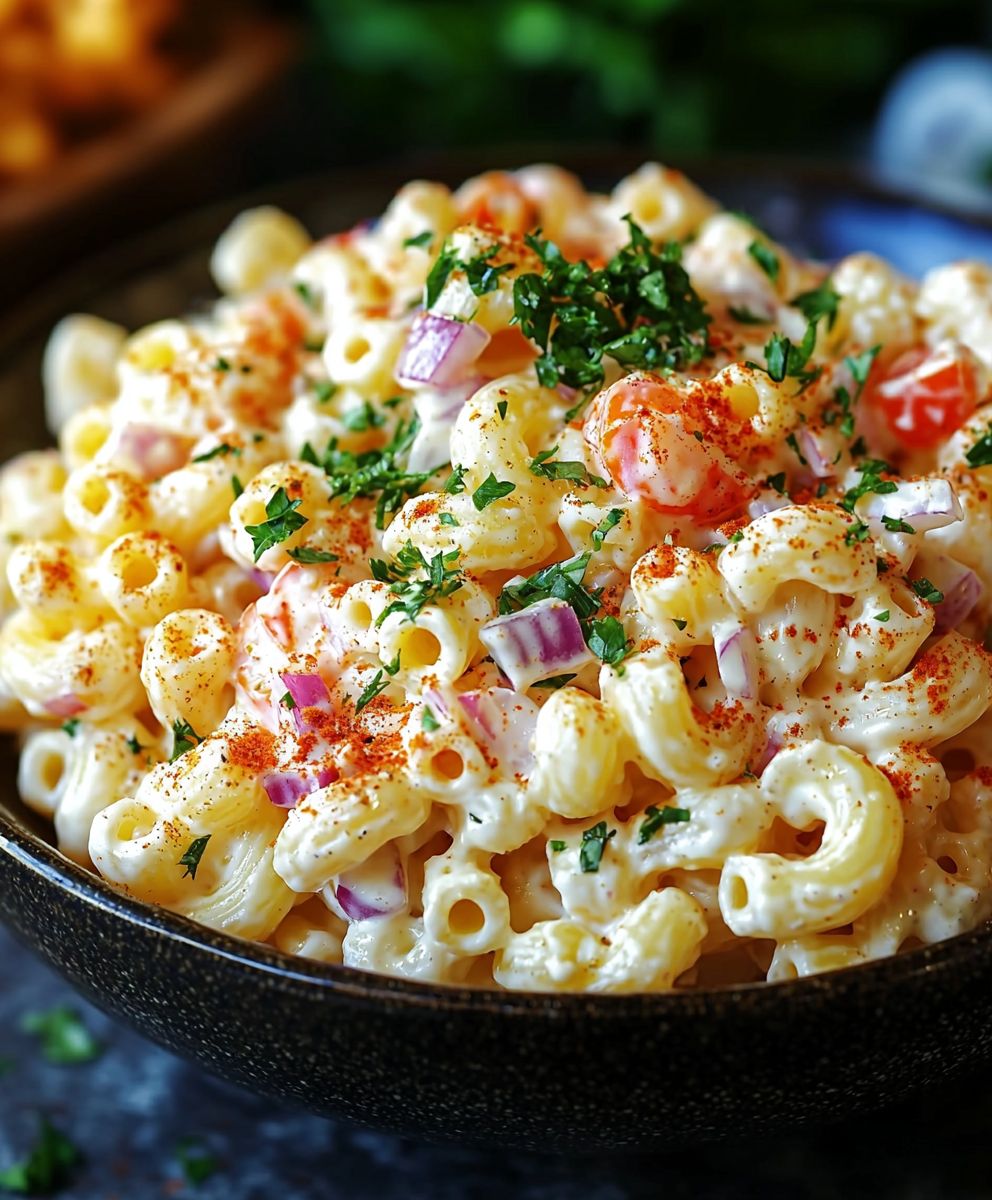
In conclusion, this Guy Fieri Macaroni Salad is an absolute must-try for anyone looking to elevate their side dish game. With its creamy dressing, crunchy vegetables, and a hint of zesty flavor, it’s the perfect accompaniment to any summer barbecue, picnic, or potluck. The combination of textures and flavors makes it a crowd-pleaser that will have your friends and family coming back for seconds.
For serving suggestions, consider pairing this macaroni salad with grilled chicken, burgers, or even as a filling lunch option on its own. You can also get creative with variations by adding in your favorite ingredients—think diced pickles for an extra crunch, or even some diced jalapeños for a spicy kick. The beauty of this recipe is its versatility, allowing you to customize it to suit your taste preferences.
I encourage you to give this Guy Fieri Macaroni Salad a try and make it your own! Once you’ve whipped up this delicious dish, I’d love to hear about your experience. Share your thoughts, any tweaks you made, or even a photo of your creation. Let’s spread the love for this fantastic recipe together! Happy cooking!
Print

Guy Fieri Macaroni Salad: A Delicious Twist on a Classic Recipe
-
Total Time: 90 minutes
-
Yield: 8–10 servings 1x
Description
This creamy macaroni salad features elbow macaroni, fresh vegetables, and a tangy dressing, making it a perfect side dish for summer gatherings. Easy to prepare and deliciously satisfying, it’s sure to be a hit at any picnic or barbecue!
Ingredients
Scale
- 1 pound elbow macaroni
- 1 cup mayonnaise
- 1 tablespoon Dijon mustard
- 1 tablespoon apple cider vinegar
- 1 teaspoon sugar
- 1 teaspoon salt
- 1/2 teaspoon black pepper
- 1/2 teaspoon garlic powder
- 1/2 teaspoon onion powder
- 1 cup diced celery
- 1 cup diced red bell pepper
- 1/2 cup diced red onion
- 1 cup frozen peas, thawed
- 1/2 cup chopped fresh parsley
- 1/2 cup diced pickles or relish (optional)
- 1/2 cup shredded cheddar cheese (optional)
Instructions
- Bring a large pot of salted water to a boil (about 1 tablespoon of salt).
- Add the elbow macaroni and stir occasionally. Cook according to package instructions (8-10 minutes) until al dente.
- Drain the pasta in a colander and rinse under cold water to stop the cooking process. Allow to drain thoroughly.
- In a large mixing bowl, combine mayonnaise, Dijon mustard, apple cider vinegar, sugar, salt, black pepper, garlic powder, and onion powder.
- Whisk until smooth and creamy. Adjust seasoning to taste.
- Dice celery, red bell pepper, and red onion into small, uniform pieces.
- If using, chop pickles or relish into small pieces.
- In the bowl with the dressing, add the cooled macaroni and gently fold it in.
- Add the diced vegetables and thawed peas, folding them into the mixture.
- If using, mix in chopped pickles or relish and fresh parsley. Add shredded cheddar cheese if desired.
- Cover the bowl with plastic wrap or a lid and refrigerate for at least 1 hour (or longer for better flavor).
- Stir the salad before serving to redistribute the dressing. Adjust seasoning if needed.
- Serve in a large bowl or individual dishes.
Notes
- For best flavor, allow the salad to chill for several hours or overnight.
- Leftovers can be stored in an airtight container in the refrigerator for 3-5 days. You may need to refresh with a bit of mayonnaise or vinegar before serving.
- Prep Time: 20 minutes
- Cook Time: 10 minutes
Printable Recipe Card
Want just the essential recipe details without scrolling through the article? Get our printable recipe card with just the ingredients and instructions.
Guy Fieri Macaroni Salad: A Delicious Twist on a Classic Recipe
- Total Time: 90 minutes
- Yield: 8–10 servings 1x
Description
This creamy macaroni salad features elbow macaroni, fresh vegetables, and a tangy dressing, making it a perfect side dish for summer gatherings. Easy to prepare and deliciously satisfying, it’s sure to be a hit at any picnic or barbecue!
Ingredients
- 1 pound elbow macaroni
- 1 cup mayonnaise
- 1 tablespoon Dijon mustard
- 1 tablespoon apple cider vinegar
- 1 teaspoon sugar
- 1 teaspoon salt
- 1/2 teaspoon black pepper
- 1/2 teaspoon garlic powder
- 1/2 teaspoon onion powder
- 1 cup diced celery
- 1 cup diced red bell pepper
- 1/2 cup diced red onion
- 1 cup frozen peas, thawed
- 1/2 cup chopped fresh parsley
- 1/2 cup diced pickles or relish (optional)
- 1/2 cup shredded cheddar cheese (optional)
Instructions
- Bring a large pot of salted water to a boil (about 1 tablespoon of salt).
- Add the elbow macaroni and stir occasionally. Cook according to package instructions (8-10 minutes) until al dente.
- Drain the pasta in a colander and rinse under cold water to stop the cooking process. Allow to drain thoroughly.
- In a large mixing bowl, combine mayonnaise, Dijon mustard, apple cider vinegar, sugar, salt, black pepper, garlic powder, and onion powder.
- Whisk until smooth and creamy. Adjust seasoning to taste.
- Dice celery, red bell pepper, and red onion into small, uniform pieces.
- If using, chop pickles or relish into small pieces.
- In the bowl with the dressing, add the cooled macaroni and gently fold it in.
- Add the diced vegetables and thawed peas, folding them into the mixture.
- If using, mix in chopped pickles or relish and fresh parsley. Add shredded cheddar cheese if desired.
- Cover the bowl with plastic wrap or a lid and refrigerate for at least 1 hour (or longer for better flavor).
- Stir the salad before serving to redistribute the dressing. Adjust seasoning if needed.
- Serve in a large bowl or individual dishes.
Notes
- For best flavor, allow the salad to chill for several hours or overnight.
- Leftovers can be stored in an airtight container in the refrigerator for 3-5 days. You may need to refresh with a bit of mayonnaise or vinegar before serving.
- Prep Time: 20 minutes
- Cook Time: 10 minutes
Printable Recipe Card
Want just the essential recipe details without scrolling through the article? Get our printable recipe card with just the ingredients and instructions.
Leave a Comment