
Homemade Crispy Beef Bacon Ranch Chicken Wraps
Get ready to meet your new favorite meal: Homemade Crispy Beef Bacon Ranch Chicken Wraps! I don’t know about you, but sometimes I crave something that hits all the flavor notes – savory, creamy, fresh, and satisfying – all in one glorious package. This recipe delivers exactly that, and trust me, it’s so much better when you make it yourself!
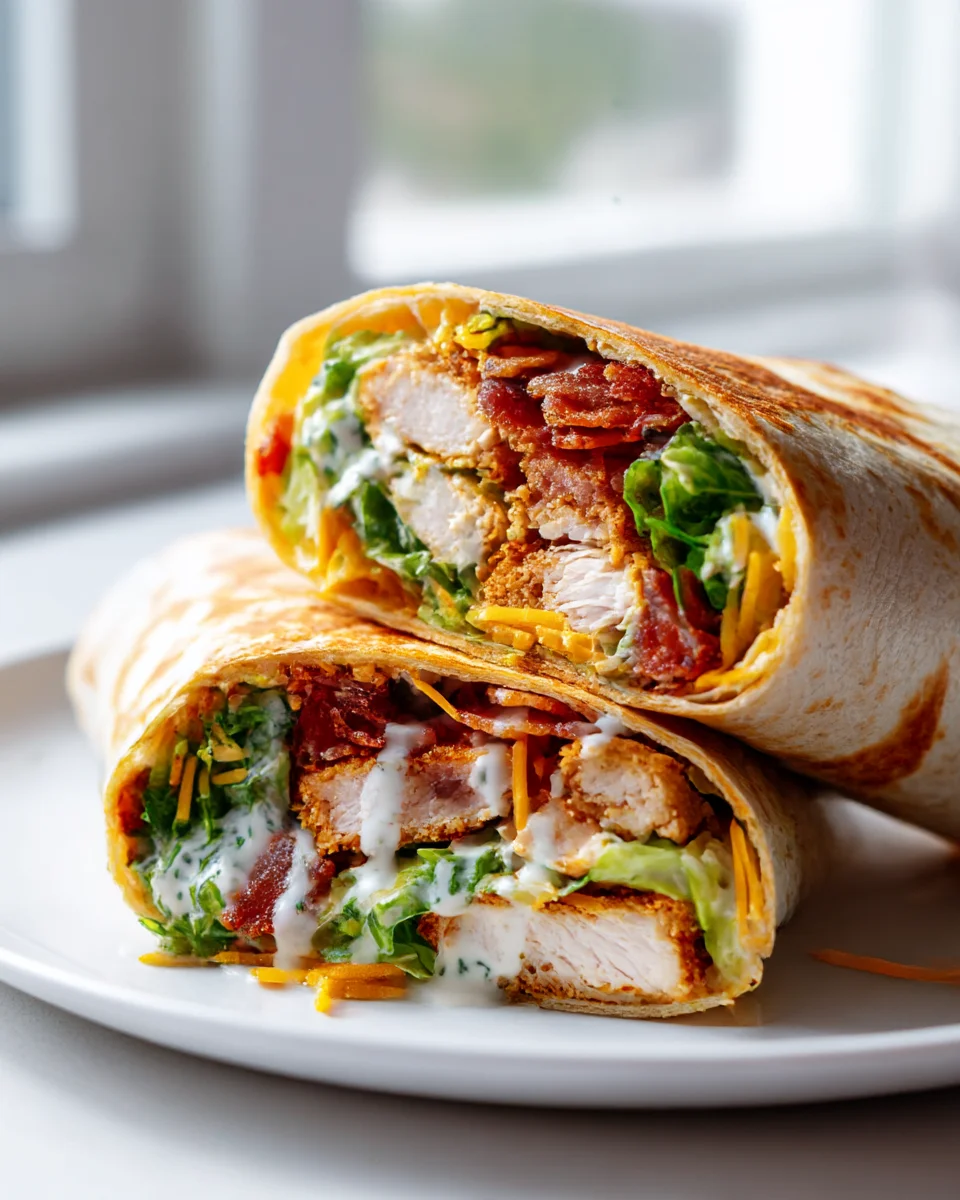
What makes these wraps truly special is the incredible symphony of textures and tastes. Imagine perfectly cooked, tender chicken, generously layered with irresistibly crispy beef bacon that adds that perfect salty crunch. Then, we tie it all together with a generous slathering of cool, creamy ranch dressing, some fresh veggies for a pop of crispness, all tucked into a soft tortilla. It’s the ultimate comfort food experience, but in a convenient, handheld form!
You’re going to absolutely love these Homemade Crispy Beef Bacon Ranch Chicken Wraps because they’re incredibly easy to assemble, packed with flavor, and ideal for a quick weeknight dinner, a satisfying lunch, or even a fun option for entertaining. Forget the drive-thru; once you taste the fresh, vibrant flavors of this homemade version, there’s no going back. It’s a flavor explosion that’s impossible to resist!

Ingredient Notes
Oh, you are in for a treat with these Homemade Crispy Beef Bacon Ranch Chicken Wraps! They’re truly a symphony of textures and flavors. Getting these wraps just right starts with understanding a few key ingredients. Here’s what you’ll need and some thoughts on substitutions to make them perfect for you.
- Chicken: For this recipe, I absolutely love using boneless, skinless chicken breasts or thighs. Breasts are leaner, while thighs offer a bit more juiciness. I recommend cutting them into bite-sized pieces for even cooking and easy wrapping. If you’re looking for an alternative, turkey breast would work wonderfully here, or even a plant-based chicken substitute if you prefer.
- Beef Bacon: This is the superstar ingredient that gives our wraps that irresistible smoky, crispy crunch! Look for good quality beef bacon; the thicker cuts often crisp up beautifully. Achieving maximum crispiness is crucial here, so don’t rush this step. If beef bacon isn’t available or you’re looking for another option, crispy turkey bacon could be a suitable alternative, though the flavor profile will be slightly different.
- Ranch Seasoning & Dressing: The backbone of our flavor! I use a packet of dry ranch seasoning mix to infuse the chicken with that signature tangy, herby taste. Then, creamy ranch dressing acts as both a binder and a delicious condiment inside the wrap. Feel free to use your favorite store-bought ranch dressing, or whip up a homemade version if you’re feeling ambitious! For a slightly different twist, a creamy garlic herb dressing could also complement the flavors, but ranch truly makes these wraps shine.
- Large Flour Tortillas: You’ll want large, soft flour tortillas for these wraps – think burrito-sized. They need to be big enough to hold all that delicious filling without tearing. Whole wheat tortillas are a great option if you want to add some fiber, or you can opt for gluten-free versions if necessary. Warming them slightly before assembly makes them more pliable and less prone to cracking.
- Fresh Lettuce: Crisp lettuce is essential for adding a refreshing crunch. Romaine or iceberg lettuce are my go-to choices because they hold up well and provide a satisfying texture contrast. Shredded green leaf or butter lettuce would also be lovely, but avoid anything too delicate that might wilt quickly.
- Diced Tomatoes: Fresh, ripe tomatoes add a burst of juicy sweetness and color. Roma tomatoes are excellent for dicing as they have fewer seeds and less moisture. Cherry or grape tomatoes, halved, also work beautifully.
- Shredded Cheese: A classic blend of cheddar and Monterey Jack is perfect for these wraps, offering a mild, creamy melt. You can use pre-shredded cheese for convenience, or shred your own block for a fresher taste. Colby Jack, pepper jack for a little kick, or even a Mexican blend would also be fantastic choices.
- Cooking Oil: A neutral oil like canola, vegetable, or a light olive oil is perfect for cooking both the chicken and the beef bacon until golden and delicious.
Gathering these ingredients will set you up for success in creating the most incredibly satisfying Homemade Crispy Beef Bacon Ranch Chicken Wraps!
Step-by-Step Instructions
Let’s dive into making these incredible Homemade Crispy Beef Bacon Ranch Chicken Wraps! Trust me, the process is straightforward, and the result is absolutely worth every minute.
- Crisp Up the Beef Bacon: This is step one because crispy beef bacon is non-negotiable for these wraps! Heat a large skillet (cast iron works great) over medium heat. Lay your beef bacon strips in a single layer, ensuring not to overcrowd the pan. Cook for about 5-8 minutes per side, or until deeply golden brown and perfectly crisp. The exact time will depend on the thickness of your bacon. Once crispy, transfer the strips to a plate lined with paper towels to drain excess fat. Once cooled slightly, crumble the crispy beef bacon into small pieces and set aside.
- Prepare and Cook the Ranch Chicken: While your beef bacon is draining, cut your boneless, skinless chicken breasts (or thighs) into bite-sized cubes, about ½ to ¾ inch pieces. In a medium bowl, toss the chicken cubes with a generous amount of dry ranch seasoning mix – usually about 1 tablespoon per pound of chicken, or to taste. Season lightly with a pinch of salt and black pepper. In the same skillet you used for the bacon (you might want to drain off some of the bacon fat first, leaving just a tablespoon or so for flavor), add a little fresh cooking oil if needed and heat over medium-high. Add the seasoned chicken pieces and cook for 5-7 minutes, stirring occasionally, until the chicken is cooked through and lightly browned. Ensure it reaches an internal temperature of 165°F (74°C). Remove the chicken from the skillet and set aside.
- Prep Your Fresh Fillings: While the cooked chicken cools slightly, it’s time to get your other ingredients ready. Wash and thoroughly dry your lettuce, then shred or chop it into manageable pieces. Dice your fresh tomatoes. If you’re using other veggies like avocado or red onion, prepare those now as well. Shred your cheese if it’s not pre-shredded.
- Warm the Tortillas: This is a small but important step for pliability! You can warm your large flour tortillas individually in a dry skillet over medium heat for about 15-20 seconds per side, or stack them wrapped in a damp paper towel and microwave for 20-30 seconds until warm and flexible.
- Assemble Your Wraps: Now for the fun part! Lay a warm tortilla flat on a clean surface. Spread a generous layer of creamy ranch dressing down the center, leaving about an inch clear around the edges. This dressing is key for moisture and flavor!
- Layer the Goodness: Start by placing a bed of shredded lettuce over the ranch dressing. Next, spoon a portion of your cooked ranch chicken over the lettuce. Follow with a sprinkle of your crispy, crumbled beef bacon. Add your diced tomatoes and a good handful of shredded cheese. Don’t overfill, or it will be hard to wrap!
- Fold and Serve: To fold the wrap, first fold in the sides of the tortilla over the filling, about 1-2 inches on each side. Then, starting from the bottom (the edge closest to you), tightly roll the tortilla upwards, tucking in the filling as you go, until you have a compact, cylindrical wrap. If desired, you can slice the wraps in half diagonally for an appealing presentation. Serve immediately and enjoy your delicious Homemade Crispy Beef Bacon Ranch Chicken Wraps!
Tips & Suggestions
Making these Homemade Crispy Beef Bacon Ranch Chicken Wraps is an art, but don’t worry, I’ve got some insider tips to make yours absolutely perfect every time!
- Achieving Ultimate Crispy Beef Bacon: The key to super crispy beef bacon is patience and proper draining. Don’t overcrowd the pan; cook it in batches if necessary. Medium heat allows the fat to render slowly, resulting in crispier bacon. After cooking, always transfer it to a paper towel-lined plate to soak up excess grease – this prevents it from becoming chewy as it cools. For an even crispier texture, you can also bake it in the oven at 375°F (190°C) on a wire rack set over a baking sheet for 15-20 minutes, flipping once.
- Flavorful, Juicy Chicken: For extra juicy and flavorful chicken, consider marinating your diced chicken in a couple of tablespoons of ranch dressing for at least 30 minutes (or up to 4 hours in the fridge) before cooking. This adds an extra layer of moisture and really infuses that ranch flavor deep into the meat. Make sure not to overcook the chicken, as dry chicken is no fun! A meat thermometer should read 165°F (74°C) for perfect doneness.
- Warm Tortillas are a Must: Don’t skip warming your tortillas! A warm tortilla is much more pliable and less likely to crack or tear as you’re rolling your wrap, making assembly a breeze. It also enhances the overall texture of the wrap.
- Don’t Overfill: It’s tempting to pile on all that delicious filling, but an overstuffed wrap is a messy wrap! Aim for a generous but manageable amount of ingredients so you can roll it tightly and securely without bursting seams.
- Personalize Your Wraps: These wraps are incredibly versatile! Feel free to add other ingredients you love. Sliced avocado adds a creamy richness, finely diced red onion brings a little bite, or a sprinkle of corn or black beans can add extra texture and flavor. A dash of your favorite hot sauce or a few pickled jalapeños can also give it a fantastic kick.
- Make-Ahead Components: To save time, you can cook the chicken and beef bacon, chop your veggies, and shred your cheese a day or two in advance. Store each component separately in airtight containers in the refrigerator. This makes assembly quick and easy, perfect for busy weeknights or meal prep.
- Serving Suggestions: These Homemade Crispy Beef Bacon Ranch Chicken Wraps are a meal in themselves! But if you want to make it a spread, they pair wonderfully with a simple green salad, a side of potato chips, or a cup of your favorite soup.
Storage
When it comes to storing your Homemade Crispy Beef Bacon Ranch Chicken Wraps, it’s best to keep a few things in mind to maintain their freshness and deliciousness. While they are undoubtedly best enjoyed freshly made, you can absolutely make components ahead of time or store leftovers carefully.
- Assembled Wraps: If you have leftover assembled wraps, or if you prepare them a few hours in advance, wrap each one individually and tightly in plastic wrap or aluminum foil. Store them in an airtight container in the refrigerator. They will generally stay fresh for about 1-2 days. However, be aware that the lettuce and tomatoes might start to release moisture, potentially making the tortilla a little soggy, and the crispy beef bacon may lose some of its crunch over time. For the absolute best experience, I always recommend eating these wraps as soon as possible after assembly.
- Storing Individual Components (Best Option!): This is my preferred method for meal prepping or dealing with leftovers. Store each cooked and prepped ingredient separately in airtight containers in the refrigerator.
- Cooked Ranch Chicken: Will last 3-4 days in an airtight container.
- Crispy Beef Bacon: Store the crumbled, crispy beef bacon in an airtight container at room temperature for a day or two for maximum crispiness, or in the fridge for up to 3-4 days (it might soften slightly). You can briefly reheat it in a dry skillet or microwave to crisp it up again if desired before adding to your wrap.
- Shredded Cheese: Stays good for about 5-7 days in an airtight container or its original packaging.
- Prepped Vegetables (Lettuce, Tomatoes): Store washed and dried lettuce in a sealed bag or container with a paper towel to absorb moisture, lasting 3-5 days. Diced tomatoes are best used within 2-3 days.
- Ranch Dressing: Keep refrigerated according to package instructions, typically good for several weeks after opening.
By storing the components separately, you can quickly assemble fresh wraps whenever you’re ready, ensuring each ingredient is at its peak quality.
- Freezing: I do not recommend freezing assembled wraps. The fresh vegetables will become watery and mushy upon thawing, and the tortilla texture will suffer. However, cooked ranch chicken freezes well for up to 2-3 months in an airtight freezer-safe container or bag. Thaw it in the refrigerator overnight before using.
Enjoy every bite of your delicious Homemade Crispy Beef Bacon Ranch Chicken Wraps!
Final Thoughts
I hope you enjoyed exploring the incredible flavors that come together in these Homemade Crispy Beef Bacon Ranch Chicken Wraps! There’s something truly special about the satisfying crunch of that perfectly rendered crispy beef bacon, the tender chicken, and the creamy, zesty kick of ranch dressing, all wrapped up into one delightful package. It’s a combination that hits all the right notes, making it so much more than just a simple meal.
I genuinely believe that once you create these Homemade Crispy Beef Bacon Ranch Chicken Wraps in your own kitchen, you’ll understand why they are an absolute must-try. They offer a unique blend of textures and tastes that stand out, providing a comforting yet exciting dish that’s perfect for any occasion. Go on, give them a whirl – I’m sure you’ll agree that this fantastic recipe is destined to become a firm favorite!


Leave a Comment