
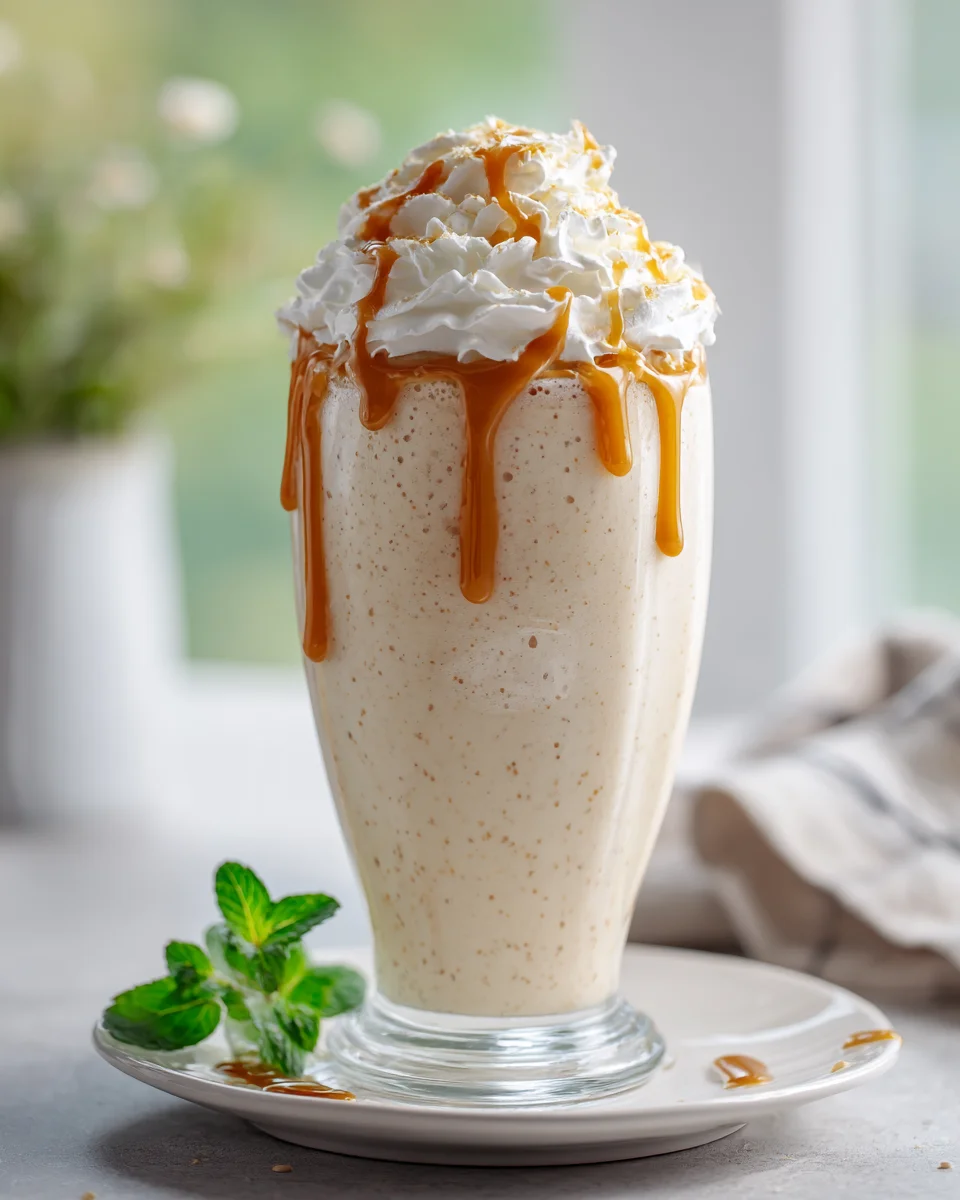
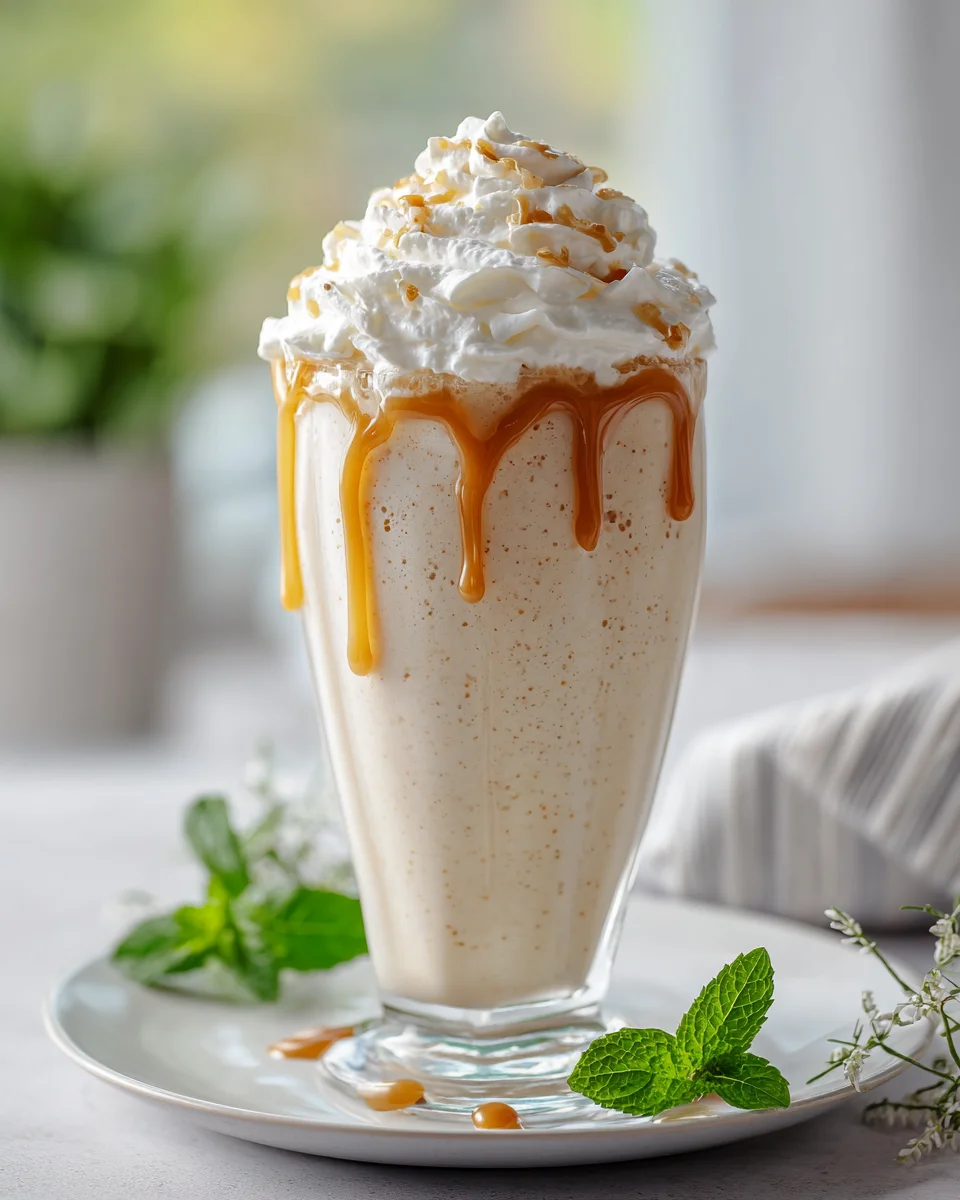
Creamy Vanilla Milkshake With Whipped Cream
Oh, prepare yourselves for a truly delightful experience! Today, I’m so excited to share my go-to recipe for a Creamy Vanilla Milkshake With Whipped Cream. This isn’t just any milkshake; it’s the epitome of classic comfort and pure indulgence, and honestly, it’s what sweet dreams are made of. What makes this recipe so special, you ask? It’s the perfect harmony of rich, authentic vanilla flavor perfectly blended into an impossibly smooth, thick, and satisfyingly cool drink, generously crowned with a cloud of homemade whipped cream. It’s simple perfection in a glass!
You are going to absolutely adore this treat because it’s incredibly easy to whip up, yet it delivers an unparalleled burst of joy with every sip. Whether you’re battling a hot summer day, craving a nostalgic taste of childhood, or just in desperate need of a little pick-me-up, this milkshake is your answer. Forget complicated desserts; this is instant gratification that never disappoints. It’s a classic for a reason!
In a nutshell, we’re talking about a timeless dessert drink crafted from just a few simple ingredients: luscious vanilla ice cream, a splash of milk, and a hint of pure vanilla extract, all blended into a velvety smooth concoction. Then, we take it up a notch (or ten!) with a generous swirl of fluffy whipped cream on top, because, let’s be real, a milkshake without whipped cream is just… sad. Get ready to fall in love with the simplest, most delicious way to treat yourself!
Ingredient Notes
Creating the perfect creamy vanilla milkshake with a luscious dollop of whipped cream is all about starting with fantastic ingredients. While the list might seem simple, the quality and type of each component truly make a difference in achieving that indulgent, velvety texture and rich vanilla flavor we’re aiming for. Let’s dive into what makes this treat so special.
Vanilla Ice Cream
- The Star of the Show: This is arguably the most critical ingredient. I always recommend using a good quality, full-fat vanilla ice cream. The higher fat content contributes significantly to the milkshake’s creamy, thick consistency and rich mouthfeel. Look for brands that list real vanilla beans or vanilla bean paste in their ingredients for the most authentic flavor.
- Flavor Profile: Different vanilla ice creams can have varying intensities of vanilla. Some are more subtle, others bolder. Choose one you genuinely love the taste of!
- Substitutions: If you’re looking for a lighter option, you could use a low-fat or fat-free vanilla ice cream, but be prepared for a slightly less creamy result. For a dairy-free version, use a high-quality dairy-free vanilla ice cream (almond, oat, or coconut milk-based varieties work well), ensuring it’s specifically designed for desserts to maintain creaminess.
Milk
- The Liquid Base: Milk is essential for blending everything into a smooth, drinkable consistency. For the richest, creamiest milkshake, I find that whole milk is truly the best choice. Its fat content works in harmony with the ice cream to create an unparalleled texture.
- Substitutions: If whole milk isn’t an option, 2% milk will still yield a good result, though it might be a tad less rich. Skim milk can be used, but your milkshake will be notably thinner. For a non-dairy option, unsweetened almond milk, oat milk, or soy milk are excellent choices. Oat milk, in particular, tends to lend a lovely creaminess. Just ensure your chosen non-dairy milk complements the vanilla flavor.
Vanilla Extract or Vanilla Bean Paste
- Boosting the Vanilla: Even if your ice cream is vanilla, a little extra vanilla extract or vanilla bean paste really amps up that signature flavor. It adds depth and aromatic complexity. I always opt for pure vanilla extract over imitation for the best taste.
- Vanilla Bean Paste: If you can get your hands on vanilla bean paste, I highly recommend it! It provides a more intense, authentic vanilla flavor with those lovely little flecks of vanilla bean, making your milkshake look and taste extra special.
- Substitutions: Fresh vanilla bean scraped directly into the blender would be the ultimate indulgence, but it’s often a pricier option.
Sweetener (Optional)
- Adjusting to Taste: Depending on the sweetness of your vanilla ice cream and your personal preference, you might want to add a touch more sweetness.
- Recommendations: A spoonful of granulated sugar, powdered sugar, maple syrup, or even a drizzle of agave nectar can do the trick. Add sparingly and taste as you go. Powdered sugar dissolves most easily.
Heavy Cream (for homemade whipped cream)
- The Perfect Topping: While store-bought whipped cream in a can is convenient, nothing beats the fresh, fluffy goodness of homemade whipped cream. For this, you’ll need cold heavy cream (also known as whipping cream), which typically has a fat content of 36% or higher.
- Optional Additions: A little powdered sugar and a touch of vanilla extract whipped into your cream enhance its flavor and stability.
Optional Garnishes
- Personal Touch: While not essential for the milkshake itself, garnishes elevate the presentation. I love a classic maraschino cherry, a sprinkle of rainbow or chocolate sprinkles, chocolate shavings, or even a light dusting of cocoa powder.
Step-by-Step Instructions
Making a creamy vanilla milkshake with whipped cream is wonderfully straightforward. The key is to work quickly to maintain that ideal frosty consistency. Here’s how I make mine:
- Prepare Your Whipped Cream (if making homemade):
- In a chilled mixing bowl, combine 1 cup of cold heavy cream with 1-2 tablespoons of powdered sugar (to taste) and ½ teaspoon of vanilla extract.
- Using an electric mixer (handheld or stand mixer with a whisk attachment), beat on medium-high speed until soft peaks form. Be careful not to over-beat, or you’ll end up with butter! Set aside in the refrigerator.
- Gather Your Ingredients and Tools:
- Ensure your vanilla ice cream is slightly softened – not rock-hard, but still firm. This makes blending much easier without warming it up too much.
- Have your cold milk and vanilla extract ready.
- Grab your blender and your serving glasses (chilling the glasses in the freezer for 10-15 minutes beforehand is a fantastic tip for keeping your milkshake colder longer!).
- Add Liquids First to the Blender:
- Pour the cold milk into your blender. Adding liquid first helps the blender blades get a head start and prevents the ice cream from getting stuck at the bottom.
- Add Ice Cream and Vanilla Extract:
- Next, scoop in the vanilla ice cream.
- Add the vanilla extract (and any optional sweetener if you’re using it).
- Blend Until Smooth and Creamy:
- Secure the lid on your blender.
- Start blending on a low speed, then gradually increase to medium-high. Blend just until the mixture is smooth, thick, and creamy, but not watery. This usually takes about 30-60 seconds.
- If the mixture is too thick to blend, add a tiny splash more milk (about a tablespoon at a time) until it moves freely. Avoid over-blending, as this will introduce too much air and melt the ice cream.
- Taste and Adjust:
- Spoon a tiny bit of the milkshake to taste. If you desire more vanilla flavor or sweetness, add a tiny bit more vanilla extract or sweetener and pulse for a few seconds to combine.
- Pour and Top:
- Immediately pour the creamy vanilla milkshake into your chilled serving glasses.
- Generously top each milkshake with a big dollop of your freshly made (or store-bought) whipped cream.
- Garnish and Serve Immediately:
- Add any optional garnishes like a cherry, sprinkles, or chocolate shavings.
- Serve your creamy vanilla milkshake with whipped cream immediately with a wide straw and a long spoon. Enjoy the frosty, delicious goodness!
Tips & Suggestions
To ensure your creamy vanilla milkshake is nothing short of perfection every single time, I’ve gathered some of my favorite tips and suggestions. These small tweaks can make a big difference in the final taste and texture of your delightful treat!
- Chill Your Glasses: This is a simple but incredibly effective tip! Pop your serving glasses into the freezer for at least 15-20 minutes before you plan to serve. A chilled glass will help keep your milkshake frosty and prevent it from melting too quickly, allowing you to savor every sip.
- Slightly Soften Ice Cream: Don’t try to blend rock-hard ice cream straight from the freezer. Let it sit on the counter for 5-10 minutes to soften slightly. This makes it much easier to blend without adding too much milk, which can thin out your milkshake. However, don’t let it get too soft, or your milkshake will be runny.
- Don’t Over-Blend: Resist the urge to blend your milkshake for too long. Over-blending introduces too much air, which can make the milkshake less thick, and more importantly, it generates heat, causing the ice cream to melt faster. Blend just until smooth and combined.
- Experiment with Vanilla: While vanilla extract is great, try using vanilla bean paste for visible specks and a more intense, complex vanilla flavor. For an extra luxurious touch, scrape half a vanilla bean directly into the blender with the other ingredients.
- Add a Pinch of Salt: A tiny pinch (about ⅛ teaspoon) of fine sea salt can miraculously enhance the sweetness and depth of the vanilla flavor without making the milkshake taste salty. It’s a chef’s secret for many sweet dishes!
- Customize Your Sweetness: Start with no added sugar, especially if your ice cream is already quite sweet. Taste after blending, and if you desire more sweetness, add a teaspoon of powdered sugar (it dissolves easily) or a drizzle of maple syrup and pulse again quickly.
- For an Extra Thick Milkshake:
- Frozen Milk Cubes: Instead of adding extra liquid milk if your milkshake is too thick, try freezing some milk in an ice cube tray beforehand. Use a couple of these milk cubes instead of regular ice (which would dilute the flavor) to help with blending and maintain thickness.
- More Ice Cream, Less Milk: Adjust the ratio slightly in favor of more ice cream and less milk.
- Dairy-Free and Vegan Options: This milkshake is easily adaptable! Use your favorite dairy-free vanilla ice cream (coconut, oat, or almond milk-based are excellent) and a complementary non-dairy milk (oat milk is particularly good for creaminess). For the whipped cream, use a canned full-fat coconut cream (chilled, scoop out the thick cream) whipped with a little powdered sugar and vanilla, or a store-bought vegan whipped topping.
- Serving Suggestions: Serve with a wide, reusable straw for easy sipping and a long spoon for digging into the creamy depths and whipped cream topping.
Storage
Milkshakes are truly one of those delightful treats that are meant to be enjoyed the moment they are made. The very essence of a creamy vanilla milkshake with whipped cream is its frosty temperature and incredibly smooth, thick consistency, which unfortunately doesn’t hold up well over time. Here’s my advice on storage:
- Best Served Immediately: I cannot stress this enough – for the absolute best experience, prepare and serve your milkshake right away. As soon as it’s blended, the ice cream begins to melt, and the texture will start to change.
- Short-Term Storage (Not Recommended, But Possible): If you absolutely must store a milkshake for a very brief period (e.g., 15-30 minutes), your best bet is to transfer it to an airtight container and place it in the coldest part of your freezer. This will slow down the melting process.
- Changes in Texture: Be aware that even with short-term freezer storage, the milkshake’s texture will likely become icier and less smooth. It won’t have that freshly blended, velvety consistency you started with. The whipped cream will also deflate and become watery if stored on top of the milkshake.
- Re-blending an Already Blended Milkshake: I generally advise against trying to “fix” a melted or partially frozen milkshake by re-blending it. Re-blending tends to incorporate too much air, making it frothy and less creamy, and can further break down the ice cream’s structure, resulting in a thinner, more watery drink rather than a rich, thick shake.
- Storing Components Separately: If you’ve made homemade whipped cream in advance, store it covered in the refrigerator for up to 2-3 days. The heavy cream itself will last longer in the fridge. Ice cream, of course, belongs in the freezer. This way, you can always quickly assemble a fresh milkshake and top it with fresh whipped cream whenever the craving strikes!
Final Thoughts
Well, there you have it! We’ve journeyed together through the simple steps to create something truly magical. The Creamy Vanilla Milkshake With Whipped Cream isn’t just a drink; it’s a moment of pure bliss, a delightful escape from the everyday. I truly believe this recipe is a must-try for anyone seeking that perfect blend of rich vanilla flavor, icy creaminess, and a generous cloud of fluffy whipped cream on top.
What makes this Creamy Vanilla Milkshake With Whipped Cream stand out is its ability to deliver an intensely satisfying experience with minimal effort. It’s the ultimate pick-me-up on a warm afternoon, a comforting treat after a long day, or the perfect celebratory indulgence. So, go ahead, gather your ingredients, blend away, and treat yourself to the incredible deliciousness that is the Creamy Vanilla Milkshake With Whipped Cream. I promise, you won’t regret taking that first glorious sip!
Leave a Comment