
Homemade Red Velvet Brownie Bites
Oh, get ready to fall head over heels for my latest obsession: Homemade Red Velvet Brownie Bites! Seriously, if you’re a fan of red velvet cake, brownies, or just generally delicious things, you’re in for an absolute treat. I’ve been dreaming of combining the rich, cocoa-laced tang of red velvet with the irresistible fudginess of a brownie, and let me tell you, these bites exceed all expectations!
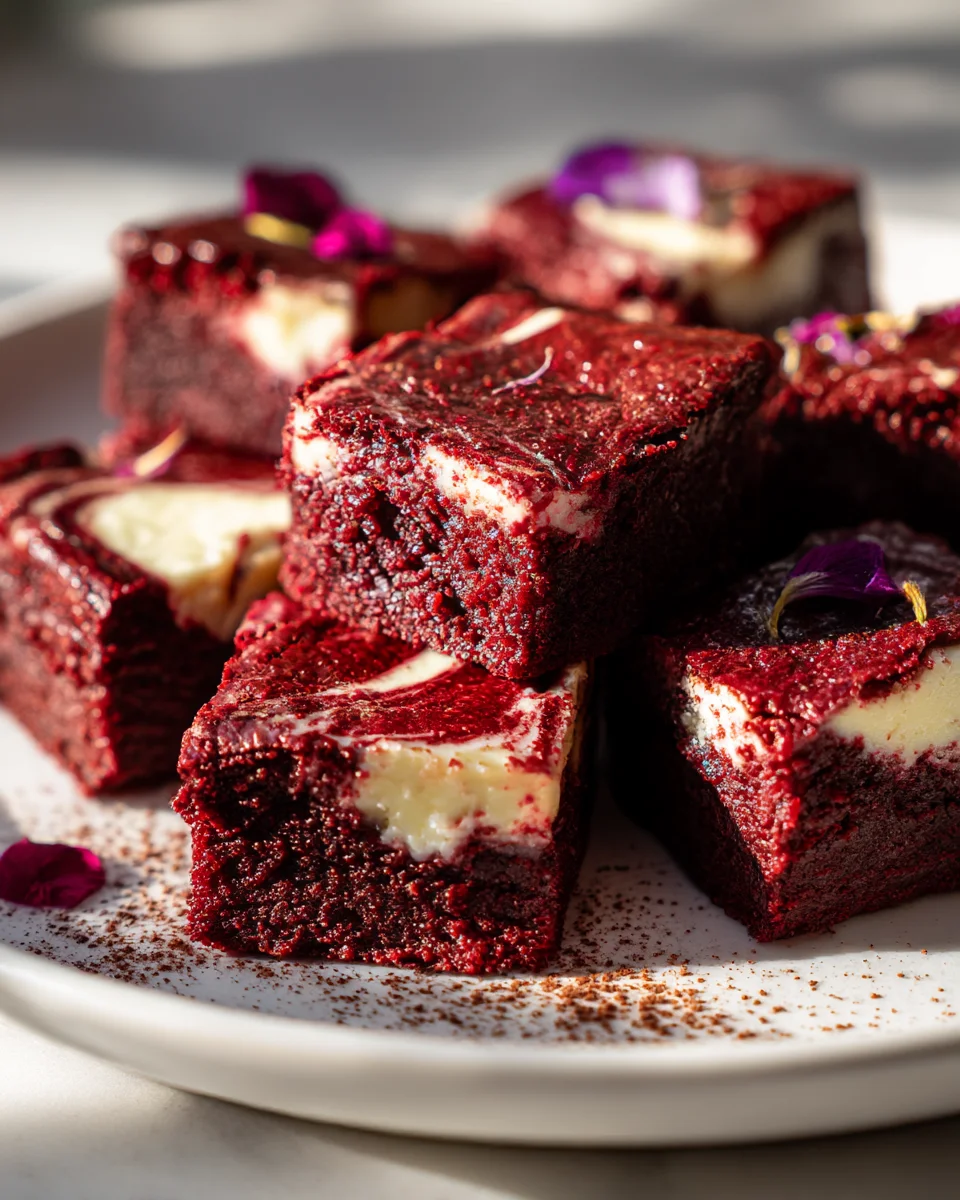
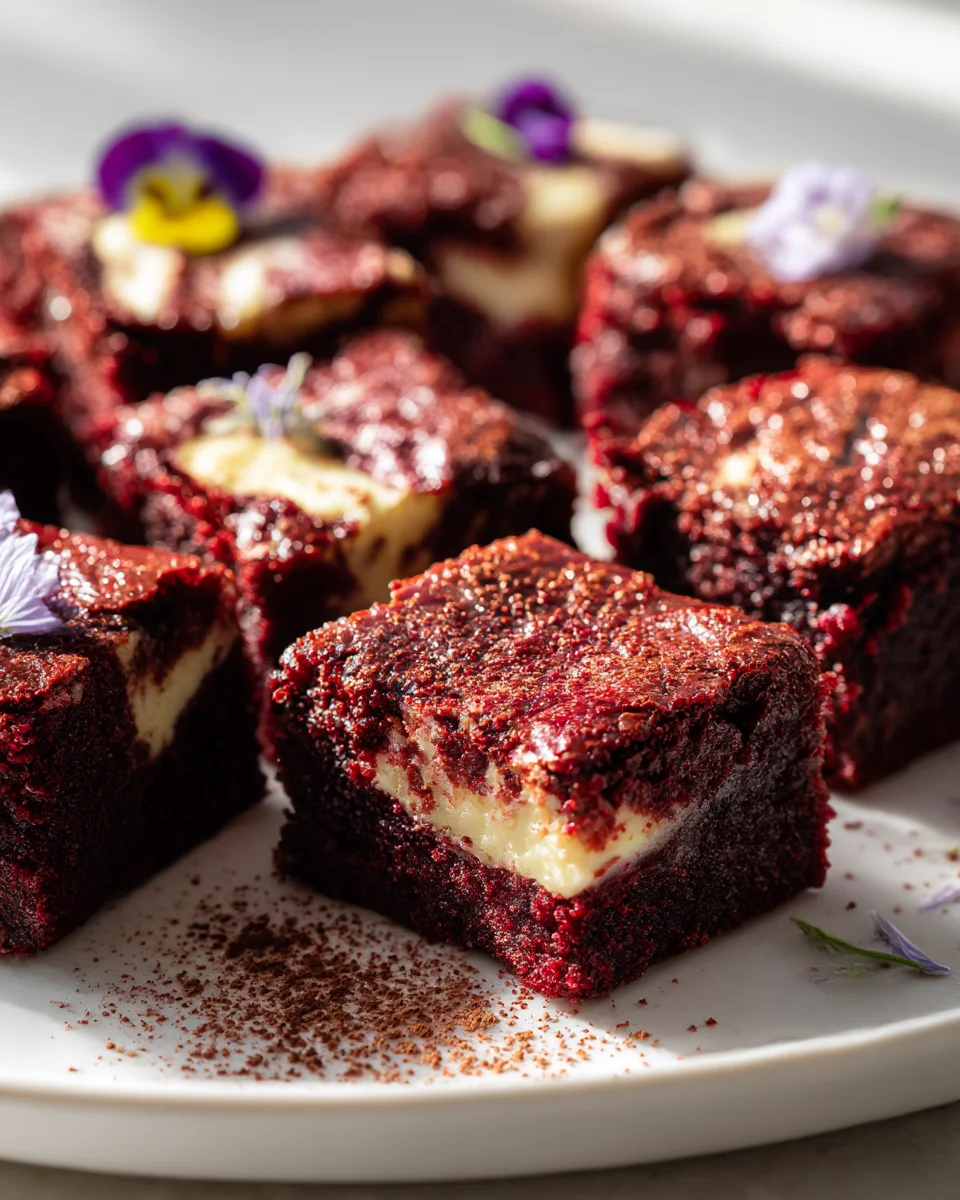
What makes these little beauties so special? Well, for starters, there’s that stunning, vibrant red hue that instantly catches your eye, perfectly contrasted with a creamy, dreamy swirl of tangy cream cheese frosting. Each bite delivers that classic red velvet flavor – a subtle cocoa with a hint of tang – nestled in an unbelievably fudgy brownie base, not cakey at all! They’re individually portioned, making them incredibly convenient and oh-so-cute.
You are absolutely going to love making and sharing (or perhaps not sharing, I won’t judge!) these Homemade Red Velvet Brownie Bites. They’re surprisingly simple to whip up, yet they look incredibly impressive, making them perfect for parties, holiday gatherings, or just a special afternoon indulgence. Trust me, these bite-sized wonders are a true crowd-pleaser and a guaranteed way to make anyone’s day a little sweeter!
Welcome, fellow baking enthusiasts! There’s something truly special about the rich, subtly tangy flavor and beautiful crimson hue of red velvet. And when you combine that with the fudgy chewiness of a brownie and shrink it down into a delightful, bite-sized treat, you get these incredible Homemade Red Velvet Brownie Bites! They are perfect for parties, dessert platters, or just when you need a little indulgence. I’m so excited to share my go-to recipe with you!
Ingredient Notes
Creating these delightful Red Velvet Brownie Bites requires a few key players to get that signature flavor and texture. Here’s what you’ll need and some thoughts on substitutions:
- Unsalted Butter: I always recommend using unsalted butter so you can control the salt content in your recipe. If you only have salted butter, simply reduce the added salt by about ¼ teaspoon. For a dairy-free option, a good quality plant-based butter alternative works wonderfully here.
- Granulated Sugar: This provides the sweetness and helps create that tender, fudgy texture we love in brownies. I haven’t experimented with sugar substitutes for this particular recipe, as the texture can be significantly altered.
- Large Eggs: Eggs are crucial for binding the ingredients and adding richness. They also contribute to the fudgy texture. Make sure they are at room temperature, as this helps them emulsify better with the other ingredients, leading to a smoother batter.
- Vanilla Extract: A good quality vanilla extract enhances all the flavors. Don’t skimp here!
- Natural Unsweetened Cocoa Powder: This is the secret to red velvet’s characteristic flavor. I use natural unsweetened cocoa powder because it reacts with the baking soda and buttermilk to help create that reddish hue when combined with food coloring. Dutch-processed cocoa will yield a much darker, browner brownie and won’t interact in the same way.
- All-Purpose Flour: Simple all-purpose flour works perfectly. For a gluten-free version, you can substitute with a 1:1 gluten-free all-purpose flour blend that contains xanthan gum. The texture might be slightly different but still delicious!
- Baking Soda: This leavening agent reacts with the acidic ingredients (buttermilk and vinegar) to create a tender crumb and contributes to the red velvet chemical reaction.
- Salt: Just a pinch to balance the sweetness and enhance the other flavors.
- Buttermilk: Buttermilk is essential for the tanginess and moistness of red velvet. If you don’t have any on hand, you can easily make your own by adding 1 tablespoon of white vinegar or lemon juice to a liquid measuring cup, then filling it up to 1 cup with regular milk (dairy or non-dairy). Let it sit for 5-10 minutes until it slightly curdles.
- White Vinegar: Another key acidic ingredient that reacts with the baking soda and helps tenderize the brownies, contributing to the red velvet magic.
- Red Food Coloring: This is where the “red” in red velvet comes from! I highly recommend using a high-quality gel food coloring (like Americolor Super Red or Wilton No-Taste Red) for the most vibrant color without adding excess liquid. Liquid food coloring can be used, but you might need more, and it can slightly thin your batter, potentially leading to a less intense color. For those who prefer natural options, beet powder can be used, but be aware it might subtly alter the flavor and the final color might be more maroon or purplish than bright red.
- Cream Cheese Frosting (optional): While the brownie bites are fantastic on their own, a swirl of classic cream cheese frosting elevates them to another level of red velvet deliciousness.
Step-by-Step Instructions
Making these Red Velvet Brownie Bites is a straightforward and enjoyable process. Just follow along, and you’ll have a batch of beautiful treats in no time!
-
Prepare Your Oven and Muffin Tins:
Preheat your oven to 350°F (175°C). This ensures your oven is at the correct temperature from the start. Grease and flour a 24-cup mini muffin pan, or line it with mini paper liners. If using liners, a light spray of non-stick cooking spray inside each liner can help prevent the brownie bites from sticking, especially if they are extra fudgy.
-
Melt Butter and Combine with Sugar:
In a large, microwave-safe bowl, melt your unsalted butter. Be careful not to overheat it, just melt until smooth. Add the granulated sugar to the melted butter and whisk them together until well combined and glossy. This initial step helps dissolve the sugar, leading to a smoother brownie batter.
-
Add Wet Ingredients:
Whisk in the room temperature large eggs, one at a time, incorporating each fully before adding the next. This helps create an emulsified, cohesive batter. Stir in the vanilla extract, white vinegar, and the vibrant red food coloring. Mix until the color is evenly distributed throughout the mixture. Don’t be shy with the red food coloring if you want a really deep, rich red!
-
Introduce Cocoa and Dry Ingredients (Part 1):
Sift the natural unsweetened cocoa powder directly into your wet mixture. Whisk until there are no lumps of cocoa powder visible. This ensures the cocoa is evenly distributed and prevents dry pockets. In a separate medium bowl, whisk together the all-purpose flour, baking soda, and salt. Sifting the dry ingredients beforehand is a great way to ensure there are no lumps and they are evenly combined.
-
Alternate Wet and Dry Ingredients:
Add about one-third of your dry ingredient mixture to the wet ingredients and mix until just combined. Next, pour in half of the buttermilk and mix until just incorporated. Repeat this process, adding another third of the dry ingredients, then the remaining buttermilk, and finally the last third of the dry ingredients. Be careful not to overmix at this stage! Overmixing can develop the gluten in the flour too much, resulting in tough, dry brownie bites instead of fudgy ones. Mix only until no streaks of dry flour remain.
-
Fill Muffin Tins:
Evenly divide the batter among the prepared mini muffin cups. I find using a small cookie scoop or two spoons works best for this, filling each cup about two-thirds full. The batter is thick, so you might need to gently spread it in each cup.
-
Bake:
Bake for 10-14 minutes, or until a toothpick inserted into the center of a brownie bite comes out with moist crumbs attached, but not wet batter. Brownie bites bake quickly due to their small size, so keep a close eye on them to prevent overbaking, which can lead to dry brownies.
-
Cool:
Once baked, remove the mini muffin pan from the oven and let the brownie bites cool in the pan for about 5-10 minutes. This allows them to set up a bit before you handle them. Then, carefully transfer them to a wire rack to cool completely before frosting or serving. Cooling completely is important for the texture and for the frosting to set properly.
-
Frost (Optional):
Once cooled, if you’re adding frosting, pipe or spread a small swirl of your favorite cream cheese frosting on top of each Red Velvet Brownie Bite. A small star tip or a simple round tip on a piping bag makes for a beautiful presentation!
Tips & Suggestions
To ensure your Homemade Red Velvet Brownie Bites turn out perfectly every time, here are a few tips and suggestions I’ve learned along the way:
- Do Not Overmix: This is perhaps the most crucial tip for any brownie or cake recipe. Overmixing develops the gluten in the flour, making your brownie bites tough and dry instead of wonderfully fudgy. Mix just until the ingredients are combined and no dry streaks of flour remain.
- Use Gel Food Coloring for Best Results: As mentioned in the ingredient notes, gel food coloring provides the most vibrant red hue without watering down your batter. A little goes a long way, so start with a small amount and add more until you achieve your desired shade.
- Measure Accurately, Especially Flour: Baking is a science! Too much flour can make your brownie bites dry and crumbly. I highly recommend using a kitchen scale to measure your flour for the most accurate results. If using measuring cups, spoon the flour into the cup and level it off with a straight edge, rather than scooping directly from the bag.
- Don’t Overbake: Brownie bites can go from perfectly fudgy to dry in a matter of minutes. Start checking for doneness at the lower end of the baking time. A toothpick inserted into the center should come out with moist crumbs, not wet batter. Remember, they continue to cook slightly as they cool.
- Cool Completely Before Frosting: This might seem obvious, but it’s an important one! If you try to frost warm brownie bites, your cream cheese frosting will melt and slide right off, creating a messy situation. Patience is key here.
- Make it a Little Extra: For a touch of indulgence, consider folding in 1/2 cup of white chocolate chips or mini semi-sweet chocolate chips into the batter before baking. You can also sprinkle some festive sprinkles on top of the frosting for parties.
- Serving Suggestions: These brownie bites are fantastic on their own, but they also pair wonderfully with a scoop of vanilla bean ice cream or a drizzle of chocolate ganache for an extra decadent dessert. They are also perfect for cookie exchanges, potlucks, or as a thoughtful homemade gift.
Storage
Once you’ve made a batch of these irresistible Homemade Red Velvet Brownie Bites, you’ll want to make sure you store them properly to maintain their freshness and deliciousness. Here’s what I recommend:
- Unfrosted Brownie Bites: If your brownie bites are unfrosted, they can be stored in an airtight container at room temperature for up to 3-4 days. Make sure they are completely cooled before placing them in the container to prevent condensation, which can make them soggy. I often place a piece of parchment paper between layers if stacking them to prevent sticking.
- Frosted Brownie Bites: If you’ve topped your brownie bites with a delicious cream cheese frosting, refrigeration is necessary. Cream cheese frosting contains dairy and needs to be kept cold. Store them in an airtight container in the refrigerator for up to 5-7 days. I find they taste best if allowed to come closer to room temperature for about 15-20 minutes before serving, as this softens the frosting and enhances the brownie’s texture.
- Freezing for Longer Storage: These Red Velvet Brownie Bites freeze beautifully!
- Unfrosted: Place the completely cooled unfrosted brownie bites in a single layer on a baking sheet and freeze until solid (about 1-2 hours). Once frozen, transfer them to a freezer-safe airtight container or heavy-duty freezer bag. They will keep well in the freezer for up to 2-3 months. When ready to enjoy, thaw them at room temperature for a few hours.
- Frosted: If you want to freeze them with frosting, flash-freeze them first on a baking sheet until the frosting is firm. Then, transfer them to a freezer-safe airtight container. You might want to place pieces of parchment paper between layers to protect the frosting. Thaw overnight in the refrigerator, then bring to room temperature before serving.
- Airtight is Key: Regardless of whether you’re storing them at room temperature or in the refrigerator/freezer, always use an airtight container. Exposure to air is what causes baked goods to dry out and go stale.
Final Thoughts
And there you have it! I truly hope you’re as excited as I am to try making these Homemade Red Velvet Brownie Bites for yourself. This isn’t just another dessert; it’s a little piece of edible art, perfectly portioned and bursting with flavor. The vibrant red color, combined with that rich, fudgy chocolate goodness and the subtle tang of red velvet, truly makes these a standout.
I find immense joy in sharing treats that bring smiles, and these Homemade Red Velvet Brownie Bites consistently do just that. Whether you’re baking for a special occasion, a gathering with friends, or simply craving a delightful indulgence, you’ll discover why this recipe is an absolute must-try. Go ahead, gather your ingredients, and prepare to create something truly magical in your kitchen. Happy baking!


Leave a Comment