
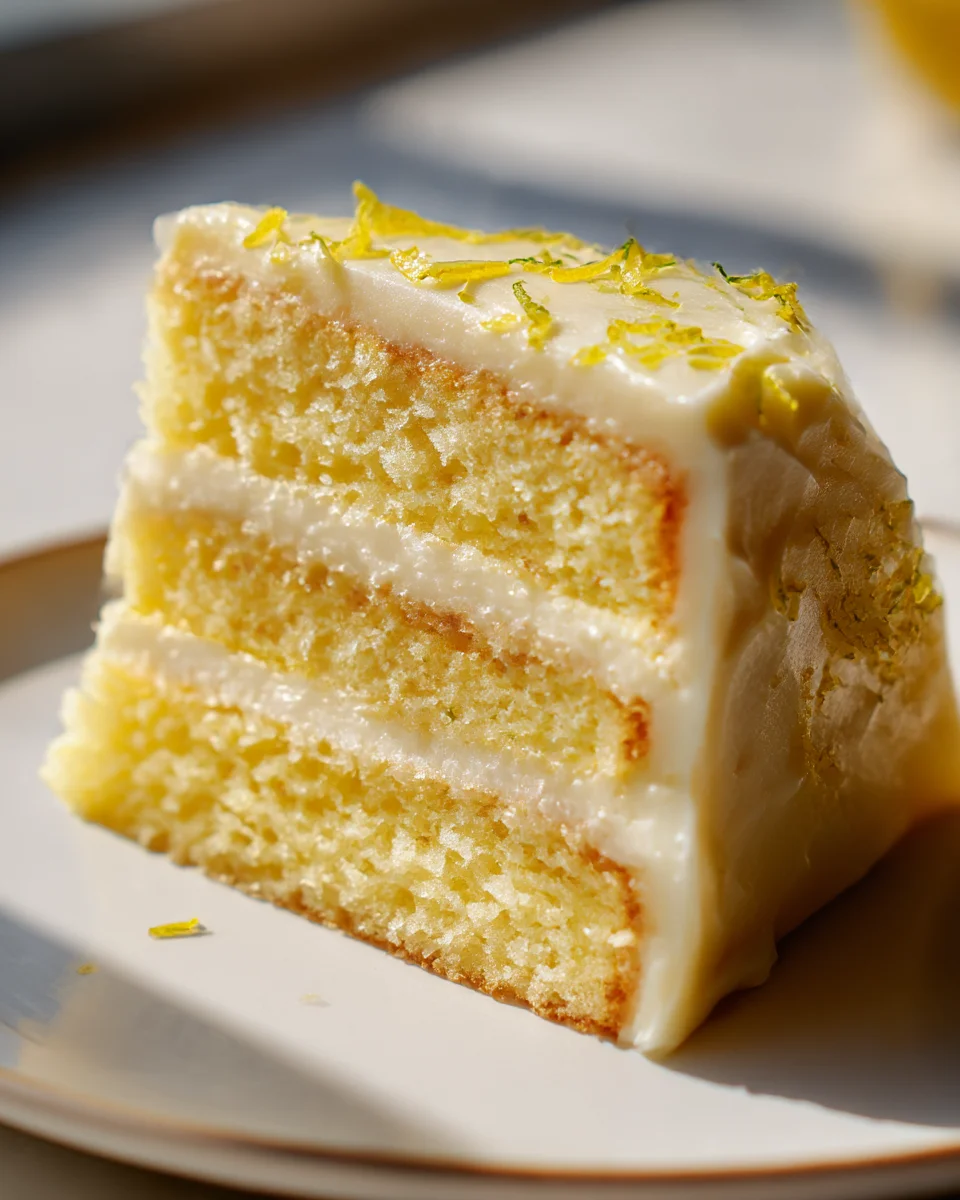
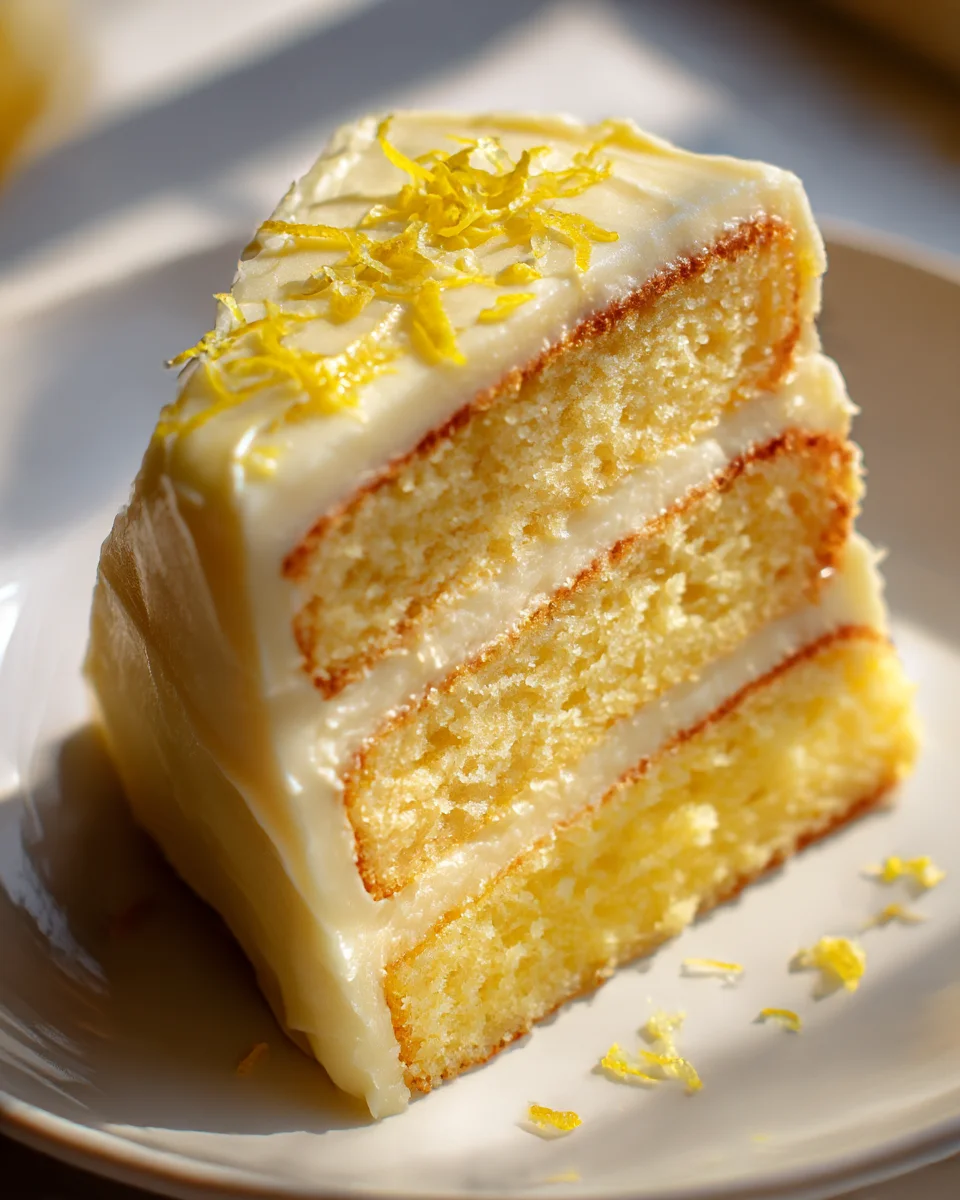
Lemon Layer Cake
Oh, this is one of my absolute favorite cakes to bake, and I just know it’s going to become one of yours too! There’s something truly magical about a Lemon Layer Cake. It’s not just a dessert; it’s a burst of sunshine on a plate, a delightful culinary hug that instantly brightens any day. What makes this recipe so special, you ask? It’s all about that incredible balance: the delicate, moist crumb of the lemon-infused cake layers meeting the luscious, tangy burst of the lemon frosting. It’s a symphony of sweet and zesty that is absolutely irresistible.
You are going to adore making and sharing this cake. Readers love it because it looks incredibly impressive, yet it’s surprisingly straightforward to put together. It’s the perfect showstopper for a celebratory gathering, a comforting treat for a Sunday afternoon, or simply an elegant way to elevate an ordinary moment. Each slice offers a taste of pure bliss – a harmonious blend of fluffy cake and creamy, bright lemon frosting that will have everyone asking for a second piece (and probably the recipe!).
In a nutshell, we’re diving into creating a spectacular multi-layered cake featuring several rounds of tender, lemony sponge, generously slathered with a vibrant, zingy lemon buttercream. It’s a classic for a reason, promising a refreshing and utterly delicious experience from the very first forkful to the last.
Ingredient Notes
Creating a truly memorable Lemon Layer Cake starts with understanding the role of each key ingredient. For me, it’s all about that vibrant, fresh lemon flavor, and quality ingredients make all the difference!
- Fresh Lemons: This is non-negotiable for a fantastic lemon cake! You’ll need both the zest and the juice. The zest carries the essential oils and gives the cake its aromatic, bright flavor without adding too much acidity. The juice adds tang and moisture. Always opt for fresh, unwaxed lemons.
- All-Purpose Flour: I typically use unbleached all-purpose flour for a tender, moist crumb. If you’re looking for an even finer, more delicate crumb, you could substitute cake flour. Just remember that cake flour absorbs liquid differently, so you might need a slight adjustment, but for most home bakers, all-purpose works beautifully.
- Unsalted Butter: I always recommend using unsalted butter so you can control the salt content in your recipe. Make sure it’s at room temperature for both the cake batter and the frosting; this allows it to cream properly with sugar, incorporating air and creating a light texture.
- Granulated Sugar: This provides sweetness and helps tenderize the cake. Don’t skimp, as it balances the tartness of the lemon.
- Eggs: Large eggs, at room temperature, are essential. They provide structure, richness, and help with leavening. Adding them one at a time ensures proper emulsification.
- Buttermilk: Buttermilk reacts with baking soda to create a wonderfully light and tender crumb. If you don’t have buttermilk on hand, don’t worry! You can easily make your own by adding 1 tablespoon of fresh lemon juice (or white vinegar) to a measuring cup, then filling it with whole milk to the 1 cup mark. Let it sit for 5-10 minutes until it slightly curdles.
- Baking Powder & Baking Soda: These leavening agents work together to give our cake its beautiful rise.
- Powdered Sugar (Confectioners’ Sugar): This is the base for our dreamy lemon cream cheese frosting. It dissolves easily, giving the frosting a smooth, lump-free texture.
- Cream Cheese: For the frosting, full-fat cream cheese is a must. It provides the best flavor and a sturdy yet creamy texture that holds up well. Make sure it’s softened to room temperature, just like the butter, to prevent lumps.
Step-by-Step Instructions
Making a Lemon Layer Cake is such a rewarding process! Follow these steps, and you’ll have a showstopper cake that tastes as incredible as it looks.
- Prepare Your Pans: First things first, preheat your oven to 350°F (175°C). Then, lightly grease and flour two 8-inch round cake pans, or line them with parchment paper circles. This ensures your beautiful cake layers won’t stick!
- Whisk Dry Ingredients: In a medium bowl, whisk together your all-purpose flour, baking powder, baking soda, and a pinch of salt. Set this aside for a moment. This step ensures the leavening agents are evenly distributed.
- Cream Butter and Sugar: In a large mixing bowl (or the bowl of a stand mixer fitted with the paddle attachment), beat the softened unsalted butter and granulated sugar together on medium-high speed until the mixture is light, pale, and fluffy, usually about 3-5 minutes. This creaming process incorporates air, which is crucial for a tender cake.
- Add Eggs and Lemon Flavor: Reduce the mixer speed to medium-low. Add the eggs one at a time, beating well after each addition until just combined. Scrape down the sides of the bowl as needed. Once the eggs are incorporated, beat in the fresh lemon zest and lemon juice. The aroma at this stage is absolutely heavenly!
- Combine Wet and Dry: Now, we’ll alternately add the dry ingredients and the buttermilk to the wet mixture. Start by adding about one-third of the dry ingredient mixture to the wet ingredients, mixing on low speed until just combined. Then, add half of the buttermilk, mixing until just incorporated. Repeat this process: another third of the dry ingredients, the remaining buttermilk, and finally, the last third of the dry ingredients. Mix only until no streaks of flour remain. Be careful not to overmix, as this can lead to a tough cake.
- Bake the Layers: Divide the batter evenly between your two prepared cake pans. Smooth the tops with a spatula. Bake for 25-30 minutes, or until the cakes are golden brown and a wooden skewer inserted into the center comes out clean.
- Cool Completely: Let the cake layers cool in their pans on a wire rack for about 10-15 minutes before inverting them onto the wire rack to cool completely. It’s crucial that they are entirely cool before you even think about frosting them, or your frosting will melt!
- Make the Lemon Cream Cheese Frosting: While the cakes cool, prepare your frosting. In a large bowl, beat the softened cream cheese and softened unsalted butter together on medium speed until smooth and creamy, about 2-3 minutes. Gradually add the powdered sugar, one cup at a time, mixing on low speed until incorporated, then increase to medium-high and beat until light and fluffy. Finally, beat in the fresh lemon juice and additional lemon zest.
- Assemble Your Cake: Once the cake layers are completely cool, you can level them if desired using a serrated knife for an even surface. Place one cake layer on your serving plate or cake stand. Spread about one-third of the frosting evenly over the top. Carefully place the second cake layer on top. Use the remaining frosting to generously cover the top and sides of the cake.
Tips & Suggestions
Here are some of my favorite tips to ensure your Lemon Layer Cake turns out perfectly every time and really shines!
- Room Temperature Ingredients are Key: This is a golden rule for baking! Ensure your butter, eggs, buttermilk, and especially the cream cheese are all at room temperature. This allows them to emulsify properly, creating a smooth, cohesive batter and a lump-free, fluffy frosting. If ingredients are too cold, your batter might curdle or your frosting could be lumpy.
- Don’t Overmix: Once you add the flour to your batter, mix only until just combined. Overmixing develops the gluten in the flour, which can lead to a tough, dense cake. We want light and tender!
- Zest Before You Juice: Always zest your lemons before you cut them in half to juice them. It’s much easier to get all that fragrant zest from a whole lemon.
- For Extra Lemon Punch: If you’re a true lemon fanatic like me, you can lightly brush your cooled cake layers with a simple lemon syrup (equal parts sugar and fresh lemon juice, simmered until sugar dissolves, then cooled) before frosting. This adds another layer of moisture and intense lemon flavor. You can also add a tiny dash of lemon extract to your batter or frosting, but I personally find fresh zest and juice deliver the best, natural flavor.
- Level Your Cakes: For a professional-looking cake, once your layers are completely cool, use a long, serrated knife to carefully level the tops if they have domed. This creates flat surfaces, making it easier to stack and frost evenly.
- Chill for Clean Slices: After frosting, if you have the patience, I highly recommend chilling the assembled cake in the refrigerator for at least 30 minutes to an hour. This helps the cream cheese frosting set, making it much easier to slice neatly and serve.
- Garnish Beautifully: A simple garnish can elevate your cake. Sprinkle extra lemon zest over the top, arrange thin lemon slices, or add some fresh berries (like raspberries or blueberries) for a pop of color and complementary flavor.
Storage
You’ve made a beautiful Lemon Layer Cake – now let’s make sure it stays delicious!
- On the Counter: Because this cake features a cream cheese frosting, it’s best not to leave it at room temperature for extended periods, especially in warm climates. If your kitchen is cool (below 70°F/21°C), you might get away with leaving it out, covered, for a few hours. However, I generally don’t recommend overnight on the counter for food safety with cream cheese.
- In the Refrigerator: This is my preferred method for storing Lemon Layer Cake with cream cheese frosting. Place the cake in an airtight cake carrier or cover it loosely with plastic wrap to prevent it from drying out or absorbing refrigerator odors. It will stay fresh and delicious for up to 5 days in the refrigerator. Just be aware that the cake might be a bit firm right out of the fridge; for optimal taste and texture, let it sit at room temperature for about 30 minutes before serving.
- Freezing Unfrosted Layers: If you’re planning ahead, you can bake the cake layers in advance. Once completely cooled, wrap each unfrosted layer tightly in plastic wrap, then an additional layer of aluminum foil. You can freeze them for up to 2 months. Thaw them overnight in the refrigerator before unwrapping and frosting.
- Freezing a Frosted Cake: Yes, you can freeze the whole frosted cake! Place the cake on a baking sheet and freeze it uncovered for about an hour, just until the frosting is firm. Then, wrap the entire cake tightly in several layers of plastic wrap, followed by a layer of aluminum foil. It can be frozen for up to 1 month. To thaw, unwrap the cake and let it sit in the refrigerator overnight, then bring it to room temperature for about an hour before serving.
Final Thoughts
And there you have it – your very own delightful Lemon Layer Cake! I truly believe this recipe is a game-changer for anyone who loves a dessert that’s both vibrant and comforting. It’s more than just a cake; it’s an experience. The bright, zesty tang from the fresh lemons perfectly cuts through the sweetness, creating an incredibly refreshing and balanced flavor profile that just sings with every bite. The tender crumb and luscious frosting come together to make this Lemon Layer Cake feel wonderfully light yet satisfying.
I absolutely adore how this recipe delivers a true taste of sunshine, making it an ideal centerpiece for any gathering or a special treat just for yourself. It’s a must-try for its irresistible blend of citrusy punch and classic cake indulgence. Don’t hesitate to whisk up this beautiful Lemon Layer Cake; you’ll be so proud of the delicious masterpiece you’ve created!


Leave a Comment