
Maple Donut Bars A Delicious Recipe For Sweet Treats
Oh my goodness, I am so incredibly excited to share this recipe with you! If you’re anything like me, the idea of a warm, sugary donut fresh from the bakery is pure bliss. But let’s be honest, making traditional donuts at home can feel a little intimidating with all the kneading and deep-frying. That’s exactly why I created these Maple Donut Bars – they deliver all the irresistible flavor and texture of your favorite maple-glazed donut, but in a ridiculously easy-to-make bar form!
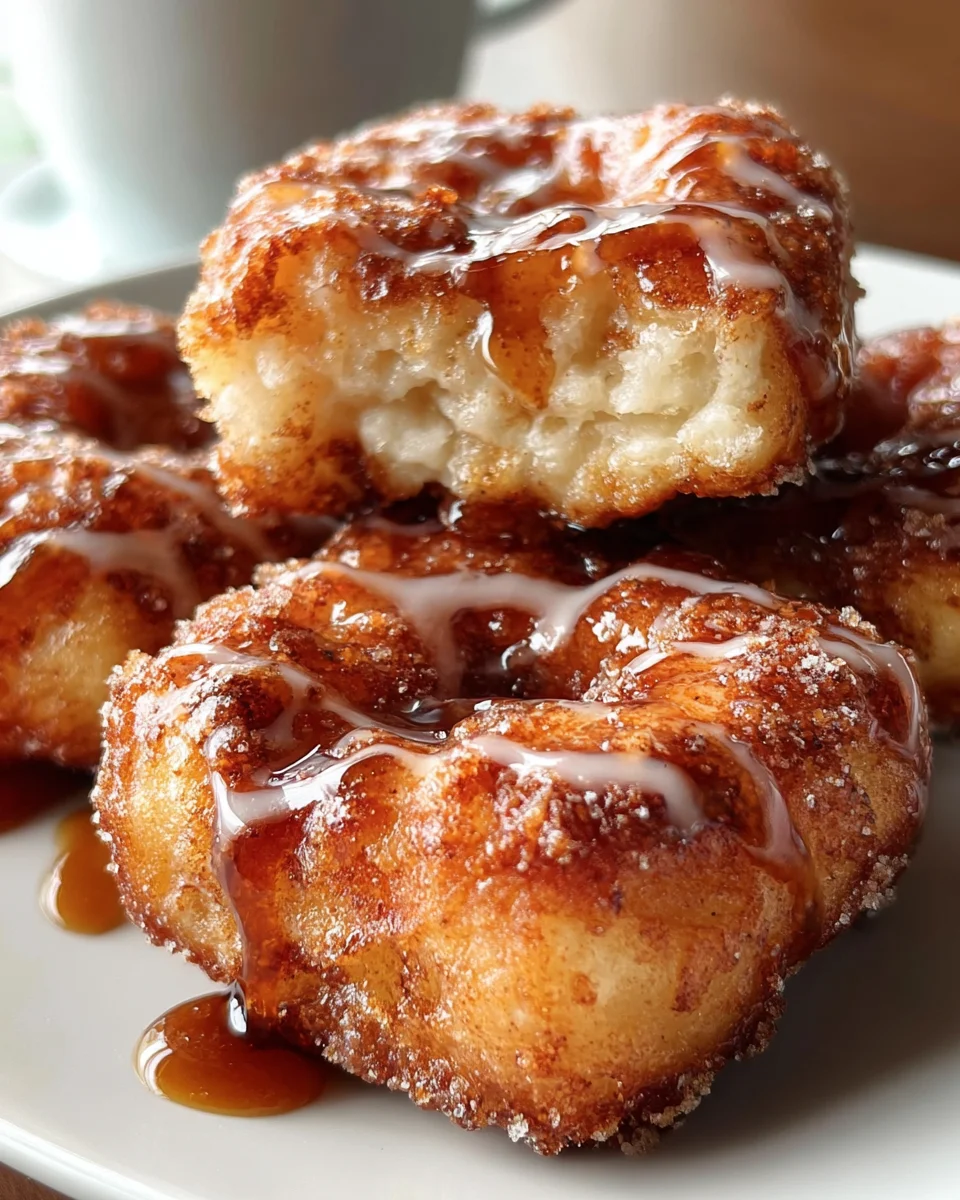
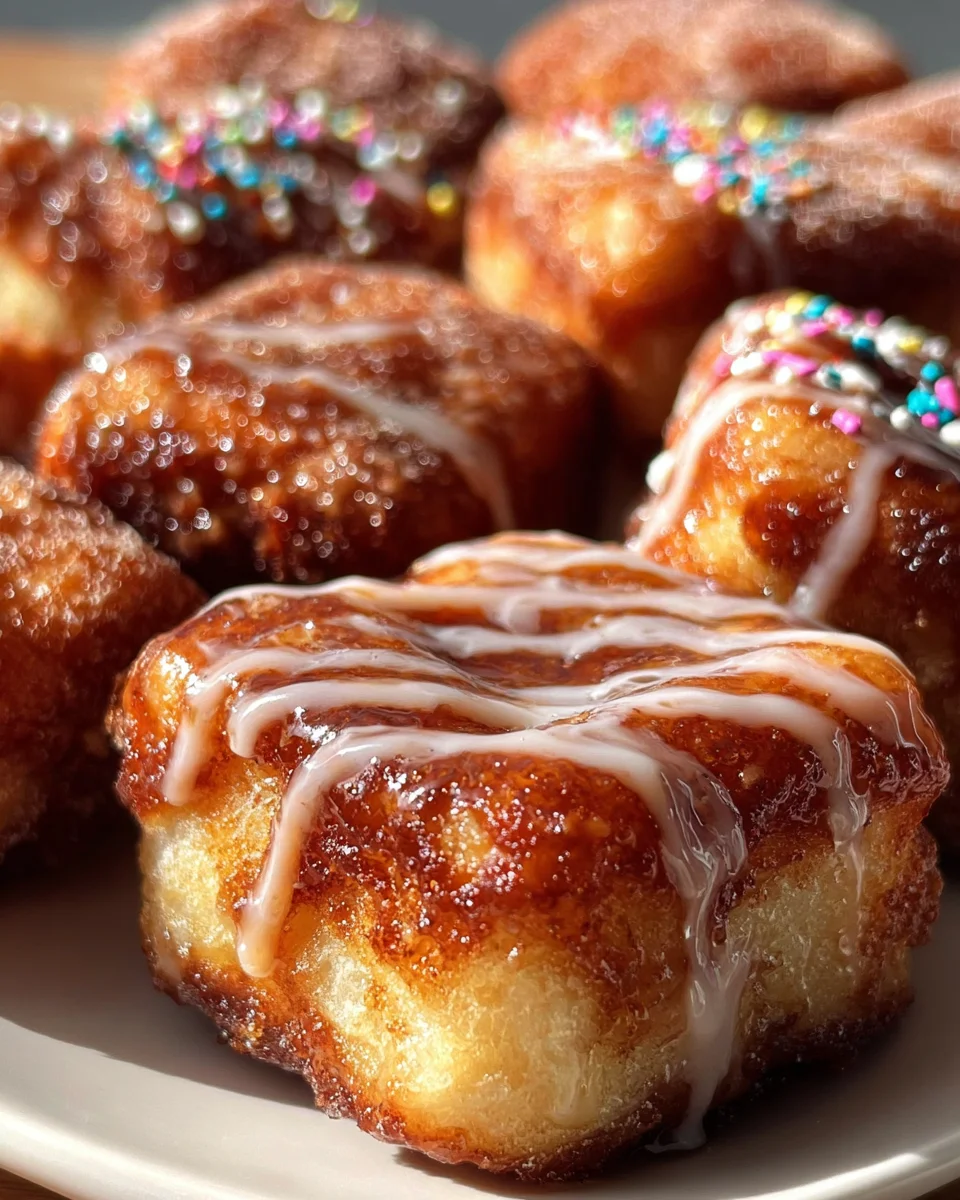
What makes these bars so special, you ask? Well, for starters, there’s no frying involved! We’re baking our way to donut heaven with a tender, cakey base infused with that cozy, comforting maple goodness. Then, we crown it with a luscious, quick-setting maple glaze that hardens just enough to give you that satisfying crack when you bite into it. I promise you, these are going to be your new go-to sweet treat for everything from breakfast to dessert, potlucks, or just a Tuesday afternoon pick-me-up. They’re wonderfully chewy, perfectly sweet, and absolutely brimming with the warm, inviting flavor of maple. Get ready to fall in love!
Ingredient Notes
Crafting delicious Maple Donut Bars starts with understanding the role each ingredient plays. For me, it’s all about using quality components to achieve that perfect balance of sweet, tender, and maple-infused goodness. I’ve found that these key ingredients really make a difference, and I’m happy to share my insights on them.
- All-Purpose Flour: This is the backbone of our donut bars. I always opt for a good quality unbleached all-purpose flour. It provides the right structure and tenderness. If you’re looking for an even softer, more cake-like crumb, you could experiment with a cake flour blend, but all-purpose works beautifully for a sturdy yet tender bar.
- Granulated Sugar: Essential for sweetness and also helps with the texture, contributing to that lovely golden crust and tender interior. There’s no fancy substitution needed here; regular white granulated sugar is perfect.
- Baking Powder: This is our leavening agent, giving the bars their lift and airy texture, making them feel more like a donut. Always check that your baking powder isn’t expired; an active leavener is crucial for light and fluffy bars.
- Salt: A small amount of salt is vital to balance the sweetness and enhance all the other flavors. Don’t skip it!
- Whole Milk: I highly recommend using whole milk for the richest flavor and most tender crumb in the bars. The fat content contributes to moisture and a soft texture. While you can use lower-fat milk in a pinch, you might notice a slight difference in richness.
- Large Eggs: Eggs bind everything together and add richness and moisture. I always make sure mine are at room temperature; it helps them incorporate more smoothly into the batter, leading to a more even texture.
- Unsalted Butter: Melted unsalted butter adds incredible flavor and moisture to the donut bars. Using unsalted butter allows me to control the salt content precisely. If you only have salted butter, just reduce the added salt in the recipe by about a quarter teaspoon. Make sure it’s melted but not hot when you add it to the wet ingredients.
- Vanilla Extract: A splash of good quality vanilla extract enhances all the sweet flavors and adds a beautiful aromatic depth to both the bars and the glaze. I never skimp on good vanilla!
- Powdered Sugar (Confectioners’ Sugar): This is the foundation of our delightful maple glaze. Its fine texture ensures a super smooth, lump-free glaze.
- Pure Maple Syrup: This is the star of the show for our Maple Donut Bars! And let me tell you, there is no substitute for pure maple syrup. Artificial maple flavoring just won’t give you the same authentic, rich, and complex flavor. Invest in a good quality Grade A pure maple syrup for the best results in your glaze. It makes all the difference, I promise you.
Step-by-Step Instructions
Making these Maple Donut Bars is a truly rewarding experience, and I’ve broken it down into simple steps to ensure your success. Just follow along, and you’ll have a batch of these sweet treats ready in no time!
For the Maple Donut Bars:
- Prepare Your Pan and Preheat Oven: First things first, preheat your oven to 350°F (175°C). Then, take a 9×13 inch baking pan and grease it thoroughly. For easy removal, I like to line the bottom with parchment paper, leaving an overhang on the sides to use as “handles” later. Then, lightly grease the parchment paper too. This ensures your bars won’t stick!
- Whisk Dry Ingredients: In a large mixing bowl, I combine the all-purpose flour, granulated sugar, baking powder, and salt. Whisk them together really well to ensure they’re evenly distributed. This prevents lumps and helps with an even rise.
- Combine Wet Ingredients: In a separate medium bowl, I whisk together the whole milk, large eggs (make sure they’re at room temperature for a smoother batter!), melted unsalted butter (cooled slightly so it’s not hot), and vanilla extract. Whisk until everything is well combined and smooth.
- Combine Wet and Dry: Now, pour the wet ingredient mixture into the dry ingredient mixture. With a spatula or wooden spoon, mix until just combined. My golden rule here is: do not overmix! Overmixing develops the gluten in the flour too much, which can lead to tough, dense bars. A few lumps are perfectly fine; trust me, they’ll bake out.
- Bake the Bars: Pour the batter evenly into your prepared 9×13 inch baking pan. Spread it out gently with your spatula. Pop it into the preheated oven and bake for 20-25 minutes, or until the edges are golden brown and a toothpick inserted into the center comes out clean. Every oven is a little different, so keep an eye on them!
- Cool: Once baked, remove the pan from the oven and let the bars cool in the pan for about 10-15 minutes. This helps them set. Then, using those parchment paper overhangs, carefully lift the bars out of the pan and transfer them to a wire rack to cool completely. This is critical before glazing, as a warm bar will melt your beautiful glaze!
For the Maple Glaze:
- Prepare the Glaze: In a medium bowl, I whisk together the powdered sugar, pure maple syrup, a tablespoon of milk (or cream for a richer glaze), and a splash of vanilla extract. Start with one tablespoon of milk, and if the glaze seems too thick, add a tiny bit more, about half a teaspoon at a time, until you reach a smooth, pourable consistency. I like my glaze to be thick enough to be opaque but thin enough to spread easily.
Assemble:
- Glaze the Cooled Bars: Once your donut bars are completely cool (this is so important!), pour or spread the maple glaze evenly over the top. You can use an offset spatula or the back of a spoon to ensure full coverage.
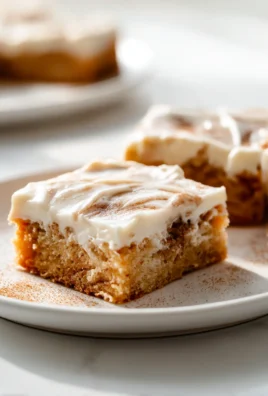
- Set and Slice: Let the glazed bars sit for at least 30 minutes, or until the glaze has set. This creates that lovely, slightly crisp donut glaze exterior. Once set, use a sharp knife to slice them into squares or rectangles. I usually cut mine into 12-16 bars, depending on how generous I’m feeling!
Tips & Suggestions
I’ve learned a few tricks over the years that truly elevate these Maple Donut Bars from good to absolutely phenomenal. Here are my go-to tips and suggestions to help you achieve perfection:
- Room Temperature Ingredients: This is a simple but powerful tip! Using room temperature milk and eggs helps them emulsify better with the melted butter, creating a smoother, more uniform batter. This translates to a more tender and consistent crumb in your finished bars. I usually take them out about 30 minutes to an hour before I start baking.
- Don’t Overmix the Batter: I mentioned it in the instructions, but it bears repeating! Overmixing develops the gluten in the flour, making your bars tough and chewy, rather than light and tender like a donut. Mix only until the wet and dry ingredients are just combined. A few small lumps are perfectly fine and even desirable.
- Quality Maple Syrup is Key: For the most authentic and delicious maple flavor, you absolutely must use pure maple syrup, especially for the glaze. I’ve tried shortcuts before, and artificial maple flavoring simply doesn’t compare. It lacks the depth, complexity, and natural sweetness that makes these bars so special. It’s worth the investment!
- Glaze Consistency Matters: When making the glaze, start with less liquid (milk) and gradually add more until you reach your desired consistency. For a thick, opaque glaze, you’ll need less liquid. For a thinner, slightly translucent sheen, you’ll need a bit more. I prefer mine somewhere in the middle – thick enough to coat well but still spreadable.
- Cool Completely Before Glazing: Patience is a virtue here! Glazing warm bars will cause the glaze to melt and run off, creating a sticky mess instead of a beautiful set coating. Ensure your bars are completely cool to the touch before even thinking about adding that glorious maple glaze.
- Add-ins and Variations:
- Spice it Up: For an extra layer of warmth, I sometimes add a pinch of ground cinnamon or nutmeg to the dry ingredients for the donut bars. It complements the maple flavor beautifully.
- Nutty Topping: After applying the glaze (while it’s still wet), sprinkle some finely chopped toasted pecans or walnuts over the top. The crunch adds a lovely contrast in texture.
- Bourbon Extract: For a more sophisticated flavor profile, a tiny dash of non-alcoholic bourbon extract (just a quarter teaspoon!) in the glaze can add a wonderful depth without any alcohol. It really enhances the maple notes.
Storage
Proper storage is crucial for keeping your Maple Donut Bars fresh and delicious. I want you to enjoy every single bite as if it were just baked!
- Room Temperature: Once the maple glaze has fully set, I store my donut bars in an airtight container at room temperature. They will stay wonderfully fresh and tender for about 2-3 days. Make sure the container is truly airtight to prevent them from drying out.
- Refrigeration: While not strictly necessary, if you live in a very warm or humid climate, or want to extend their freshness for an extra day, you can store them in an airtight container in the refrigerator. Just be aware that refrigeration can sometimes slightly alter the texture, making them a little firmer. If you do refrigerate them, I recommend letting them come back closer to room temperature for about 15-20 minutes before serving for the best texture. They’ll typically last 3-4 days in the fridge.
- Freezing: Yes, you can freeze Maple Donut Bars! This is a fantastic option if you’ve made a big batch or want to save some for later.
- Freezing Glazed Bars: Ensure the glaze is completely set and firm. Place the bars in a single layer on a baking sheet and freeze until solid (about 1-2 hours). Once solid, transfer them to a freezer-safe airtight container or heavy-duty freezer bag, separating layers with parchment paper to prevent sticking. They’ll keep well for up to 1 month.
- Thawing: To thaw, simply take the desired number of bars out of the freezer and let them come to room temperature on a wire rack for a few hours. I sometimes pop them in the microwave for 10-15 seconds for a quick refresh, but be careful not to overheat and melt the glaze.
Final Thoughts
Well, there you have it! We’ve journeyed through the simple steps to create something truly special. I genuinely believe that making and sharing these delightful treats is an experience in itself. From the moment the warm maple aroma fills your kitchen to the very first bite, you’ll understand why I’m so enthusiastic about the Maple Donut Bars A Delicious Recipe For Sweet Treats.
This isn’t just another dessert; it’s a wonderfully easy way to bring smiles to faces. The soft, cake-like texture, combined with that unmistakable, comforting maple glaze, creates a flavor sensation that’s reminiscent of your favorite bakery donuts, but in an incredibly convenient bar form. Whether you’re looking for a delightful afternoon snack, a sweet ending to a meal, or a crowd-pleasing potluck contribution, this recipe truly delivers.
So, I truly hope you’ll give Maple Donut Bars A Delicious Recipe For Sweet Treats a try. I promise, the joy of baking and tasting these will make it a firm favorite in your recipe collection. Happy baking, my friends!
Leave a Comment