
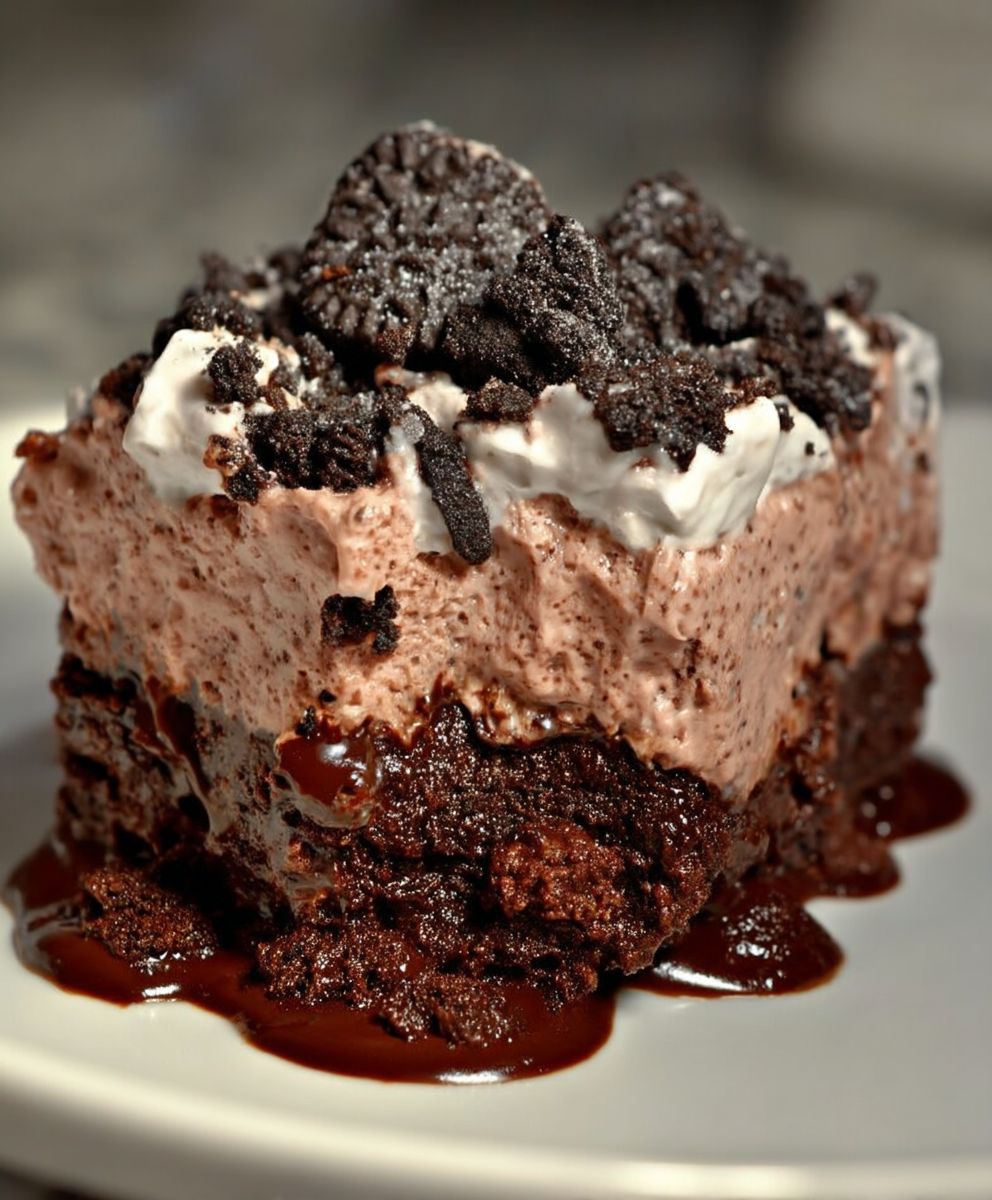
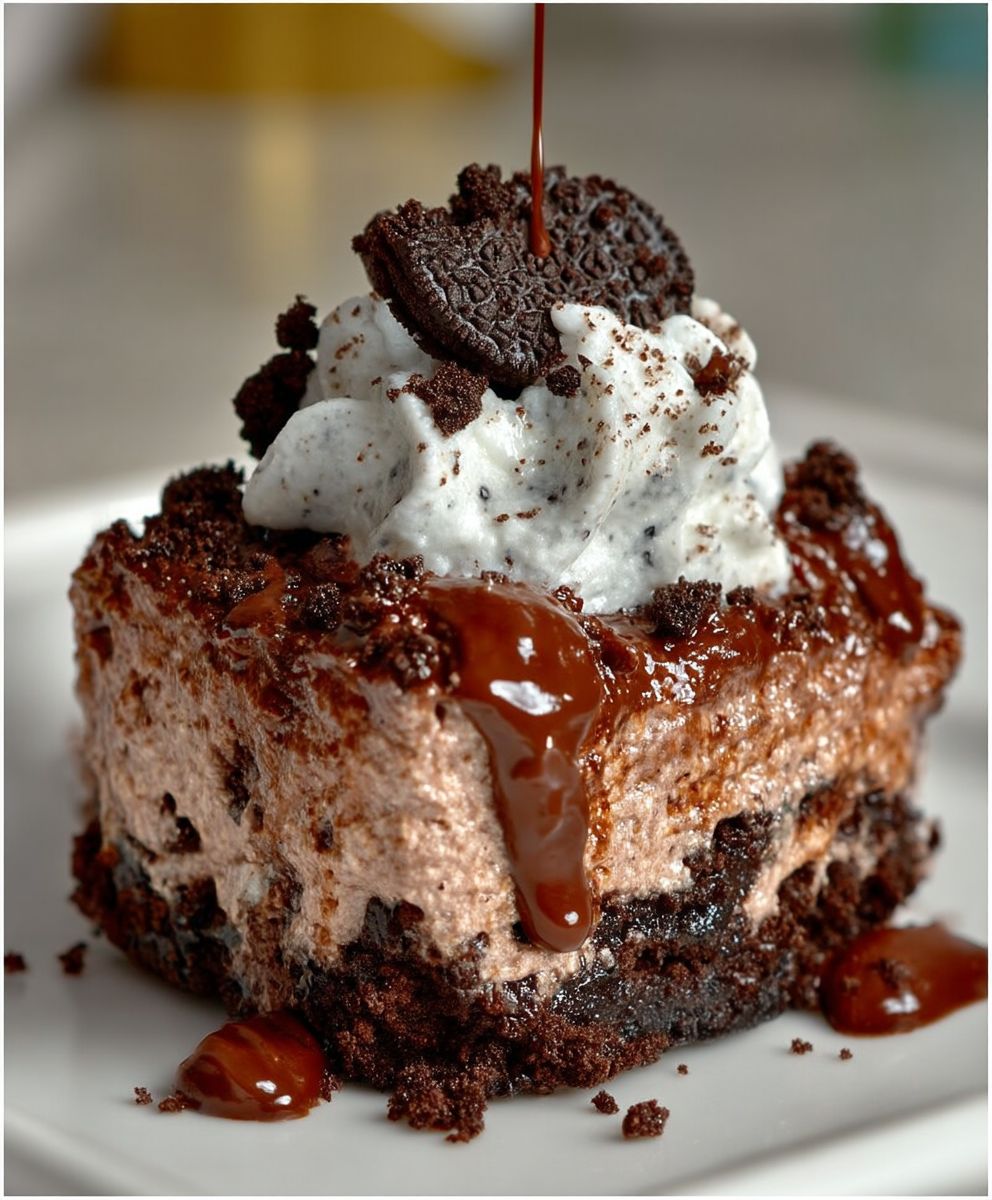
Oreo Dirt Cake: Prepare to unearth a dessert that’s as delightful to make as it is to devour! Imagine layers of creamy, dreamy goodness mingling with the irresistible crunch of Oreo cookies, all nestled together to resemble a whimsical garden treat. This isn’t just a dessert; it’s an experience, a nostalgic trip back to childhood, and a guaranteed crowd-pleaser at any gathering.
While the exact origins of Oreo Dirt Cake are shrouded in a bit of mystery, its playful presentation and simple ingredients suggest a lineage rooted in home kitchens and family fun. It’s a dessert that encourages creativity, allowing for personalized touches like gummy worms, flower candies, or even a sprinkle of edible glitter to enhance the “dirt” effect.
What makes this dessert so universally loved? It’s the perfect combination of textures and flavors. The smooth, rich pudding contrasts beautifully with the crumbly Oreo “dirt,” creating a symphony of sensations in every bite. Plus, it’s incredibly easy to make, requiring minimal baking and readily available ingredients. Whether you’re looking for a fun activity to do with kids, a show-stopping dessert for a potluck, or simply a comforting treat to satisfy your sweet tooth, Oreo Dirt Cake is always the right answer. It’s a dessert that brings smiles and creates memories, one delicious spoonful at a time.
Ingredients:
- 1 package (14.3 ounces) Oreo cookies, divided
- 1/2 cup (1 stick) unsalted butter, softened
- 8 ounces cream cheese, softened
- 3 1/2 cups powdered sugar
- 1 teaspoon vanilla extract
- 8 ounces whipped topping, thawed (like Cool Whip)
- 2 packages (3.4 ounces each) instant vanilla pudding mix
- 3 1/2 cups milk
- Gummy worms, for decoration
- Optional: Crushed chocolate graham crackers, for extra “dirt”
- Optional: Fresh mint sprigs, for garnish
- Optional: Candy flowers, for decoration
Preparing the Oreo Crumbs
Okay, let’s get started! The first thing we need to do is create our “dirt,” which is, of course, the crushed Oreos. This is probably the most therapeutic part of the whole recipe, in my opinion!
- Separate the Oreos: Carefully twist apart about 30 of the Oreo cookies. Scrape out the creamy filling from the center of each cookie. We’re only using the chocolate wafers for the “dirt” layer. Save the cream filling; we’ll need it later!
- Crush the Oreo wafers: Place the chocolate wafers into a large resealable plastic bag. Seal the bag tightly, removing as much air as possible. Using a rolling pin or a meat mallet, crush the cookies into fine crumbs. You can also use a food processor for this step if you prefer. Just pulse until you achieve a fine, even crumb consistency. Be careful not to over-process, or you’ll end up with Oreo paste!
- Set aside the Oreo crumbs: Once you’ve crushed the Oreos, set them aside in a bowl. We’ll be using these to create the layers of our dirt cake.
Making the Cream Cheese Filling
Now, let’s move on to the creamy, dreamy filling. This is where the magic happens, and it’s what makes this Oreo dirt cake so incredibly delicious. Make sure your butter and cream cheese are properly softened; otherwise, you’ll end up with a lumpy filling, and nobody wants that!
- Cream together butter and cream cheese: In a large mixing bowl, using an electric mixer (either a stand mixer or a hand mixer), cream together the softened butter and cream cheese until smooth and fluffy. This usually takes about 2-3 minutes. Make sure to scrape down the sides of the bowl occasionally to ensure everything is evenly incorporated.
- Add the powdered sugar: Gradually add the powdered sugar to the cream cheese mixture, one cup at a time, mixing on low speed until fully incorporated. Be careful not to add the powdered sugar too quickly, or you’ll end up with a cloud of sugar dust! Again, scrape down the sides of the bowl as needed.
- Incorporate the vanilla extract and Oreo filling: Add the vanilla extract and the reserved Oreo cream filling to the mixture. Mix until everything is well combined and the filling is smooth and creamy. This adds an extra layer of Oreo flavor that you won’t want to miss!
- Fold in the whipped topping: Gently fold in the thawed whipped topping until just combined. Be careful not to overmix, as this can deflate the whipped topping and make the filling less light and airy. We want that cloud-like texture!
Preparing the Pudding
Next up, we’re going to whip up the pudding. This adds another layer of creamy goodness and helps to keep the dirt cake moist and delicious. It’s super easy to do, so don’t worry!
- Whisk together pudding mix and milk: In a separate medium-sized bowl, whisk together the instant vanilla pudding mix and the milk until well combined. Make sure there are no lumps of pudding mix remaining.
- Let the pudding set: Let the pudding mixture stand for about 5 minutes, or until it begins to thicken. This allows the pudding to properly set up and achieve the right consistency.
Assembling the Oreo Dirt Cake
Now for the fun part – assembling our Oreo dirt cake! This is where all of our hard work comes together to create a beautiful and delicious dessert. You can use a large trifle bowl, a 9×13 inch baking dish, or individual serving cups for this step. I personally love using a trifle bowl because it shows off all the beautiful layers.
- Create the first layer of Oreo crumbs: Spread a thin layer of the crushed Oreo crumbs evenly across the bottom of your chosen dish. This will be the foundation of our dirt cake.
- Add a layer of cream cheese filling: Spoon about half of the cream cheese filling over the Oreo crumb layer, spreading it evenly.
- Pour a layer of pudding: Pour about half of the prepared pudding over the cream cheese filling layer, spreading it gently.
- Repeat the layers: Repeat the layers, starting with another layer of Oreo crumbs, followed by the remaining cream cheese filling, and then the remaining pudding.
- Top with the remaining Oreo crumbs: Finish with a final layer of the crushed Oreo crumbs, covering the entire top of the cake. This will give it that authentic “dirt” look.
Decorating the Dirt Cake
This is where you can really get creative and personalize your Oreo dirt cake! The classic decoration is gummy worms, but feel free to add anything else that strikes your fancy. Crushed chocolate graham crackers, candy flowers, and fresh mint sprigs are all great options.
- Add gummy worms: Arrange gummy worms on top of the Oreo crumb layer, making them look like they’re crawling out of the “dirt.” You can bury some of them partially in the crumbs for a more realistic effect.
- Optional: Add crushed graham crackers: If you want to add an extra layer of “dirt,” sprinkle crushed chocolate graham crackers over the top of the Oreo crumbs.
- Optional: Add candy flowers: Place candy flowers strategically around the top of the cake for a touch of whimsy.
- Optional: Garnish with fresh mint: Add a few sprigs of fresh mint for a pop of color and freshness.
Chilling and Serving
Almost there! Now, the most important step: chilling. This allows the flavors to meld together and the cake to set properly. Trust me, it’s worth the wait!
- Cover and chill: Cover the Oreo dirt cake tightly with plastic wrap and refrigerate for at least 4 hours, or preferably overnight. This allows the flavors to meld together and the cake to set properly.
- Serve chilled: When you’re ready to serve, remove the dirt cake from the refrigerator and let it sit for a few minutes to soften slightly. Serve chilled and enjoy!
Tips and Variations
- Make it ahead: This dessert is perfect for making ahead of time. It can be stored in the refrigerator for up to 2 days.
- Individual servings: For a fun twist, assemble the dirt cake in individual clear cups or mason jars. This is great for parties or picnics.
- Different pudding flavors: Experiment with different pudding flavors, such as chocolate, butterscotch, or cheesecake.
- Add-ins: Mix in chopped nuts, chocolate chips, or other candies to the cream cheese filling for added texture and flavor.
- Healthier option: Use sugar-free pudding mix and light whipped topping to reduce the sugar and calories.
Conclusion:
This Oreo dirt cake isn’t just a dessert; it’s a nostalgic trip back to childhood, a guaranteed crowd-pleaser, and, quite frankly, one of the easiest and most satisfying treats you’ll ever make. From the creamy, dreamy layers to the crunchy Oreo “dirt” topping, every bite is a textural and flavor explosion that will leave you wanting more. I truly believe this recipe deserves a spot in your regular dessert rotation.
Why is it a must-try? Well, beyond the sheer deliciousness, it’s incredibly versatile. Need a show-stopping dessert for a potluck? This is it. Looking for a fun activity to do with the kids? They’ll love crushing the Oreos and layering the ingredients. Craving something sweet after a long day? This Oreo dirt cake comes together in minutes and requires minimal effort. Plus, the presentation is just so darn cute! Who can resist a dessert that looks like a miniature garden?
But the fun doesn’t stop there! Feel free to get creative with your serving suggestions and variations. For a more elegant presentation, try layering the cake in individual parfait glasses. This is perfect for dinner parties or special occasions. Want to add a little extra something? Stir in some chopped peanut butter cups or mini chocolate chips into the pudding mixture. For a festive twist, use different colored gummy worms or add some edible flowers to the “dirt.”
If you’re feeling adventurous, you could even try making a “construction zone” themed dirt cake, complete with toy trucks and construction cones. The possibilities are endless! And don’t forget the “worms”! Gummy worms are a classic addition, but you could also use licorice whips or even homemade chocolate worms for a more sophisticated touch.
Another fantastic variation is to use different flavors of Oreos. Golden Oreos would create a “sand” effect, while mint Oreos would add a refreshing twist. You could even experiment with seasonal Oreo flavors to create a unique and festive dessert.
I’m confident that once you try this recipe, you’ll be hooked. It’s the perfect balance of sweet, creamy, and crunchy, and it’s guaranteed to bring a smile to your face. So, what are you waiting for? Gather your ingredients, put on some music, and get ready to create a little bit of dessert magic.
I can’t wait to hear about your experiences with this Oreo dirt cake! Did you try any of the variations I suggested? Did you add your own special touch? Please, share your photos and stories in the comments below. I’m always looking for new and creative ways to enjoy this classic dessert. Happy baking, and enjoy every delicious bite! Don’t forget to tag me in your social media posts so I can see your amazing creations! Let’s spread the Oreo dirt cake love!
Oreo Dirt Cake: The Ultimate No-Bake Dessert Recipe
No-bake dessert featuring layers of crushed Oreos, creamy filling, and vanilla pudding, topped with gummy worms for a playful dirt effect.
Ingredients
- 1 package (14.3 ounces) Oreo cookies, divided
- 1/2 cup (1 stick) unsalted butter, softened
- 8 ounces cream cheese, softened
- 3 1/2 cups powdered sugar
- 1 teaspoon vanilla extract
- 8 ounces whipped topping, thawed (like Cool Whip)
- 2 packages (3.4 ounces each) instant vanilla pudding mix
- 3 1/2 cups milk
- Gummy worms, for decoration
- Optional: Crushed chocolate graham crackers, for extra “dirt”
- Optional: Fresh mint sprigs, for garnish
- Optional: Candy flowers, for decoration
Instructions
- Prepare Oreo Crumbs: Separate about 30 Oreo cookies, scraping out the filling (save for later). Crush the chocolate wafers into fine crumbs using a resealable bag and rolling pin (or a food processor). Set aside.
- Make Cream Cheese Filling: In a large bowl, cream together softened butter and cream cheese until smooth. Gradually add powdered sugar, mixing on low speed. Incorporate vanilla extract and reserved Oreo cream filling. Gently fold in thawed whipped topping.
- Prepare Pudding: In a separate bowl, whisk together instant vanilla pudding mix and milk until well combined. Let stand for 5 minutes, or until thickened.
- Assemble Dirt Cake:
- Spread a thin layer of Oreo crumbs in the bottom of a trifle bowl or 9×13 inch dish.
- Spoon half of the cream cheese filling over the crumbs, spreading evenly.
- Pour half of the prepared pudding over the filling, spreading gently.
- Repeat layers: Oreo crumbs, remaining cream cheese filling, remaining pudding.
- Top with the remaining Oreo crumbs.
- Decorate: Arrange gummy worms on top of the Oreo crumbs. Add crushed graham crackers, candy flowers, or fresh mint sprigs, if desired.
- Chill: Cover tightly with plastic wrap and refrigerate for at least 4 hours, or preferably overnight.
- Serve: Serve chilled.
Notes
- Make it ahead: This dessert is perfect for making ahead of time. It can be stored in the refrigerator for up to 2 days.
- Individual servings: For a fun twist, assemble the dirt cake in individual clear cups or mason jars. This is great for parties or picnics.
- Different pudding flavors: Experiment with different pudding flavors, such as chocolate, butterscotch, or cheesecake.
- Add-ins: Mix in chopped nuts, chocolate chips, or other candies to the cream cheese filling for added texture and flavor.
- Healthier option: Use sugar-free pudding mix and light whipped topping to reduce the sugar and calories.
Printable Recipe Card
Want just the essential recipe details without scrolling through the article? Get our printable recipe card with just the ingredients and instructions.


Leave a Comment