
Oven Baked Cheesy Tacos Crispy Loaded Recipe
Hey there, taco lovers! Get ready to discover your new go-to weeknight dinner or game-day snack. I’m absolutely thrilled to share my Oven Baked Cheesy Tacos Crispy Loaded Recipe with you because it takes everything you love about tacos and elevates it to a whole new level of deliciousness.
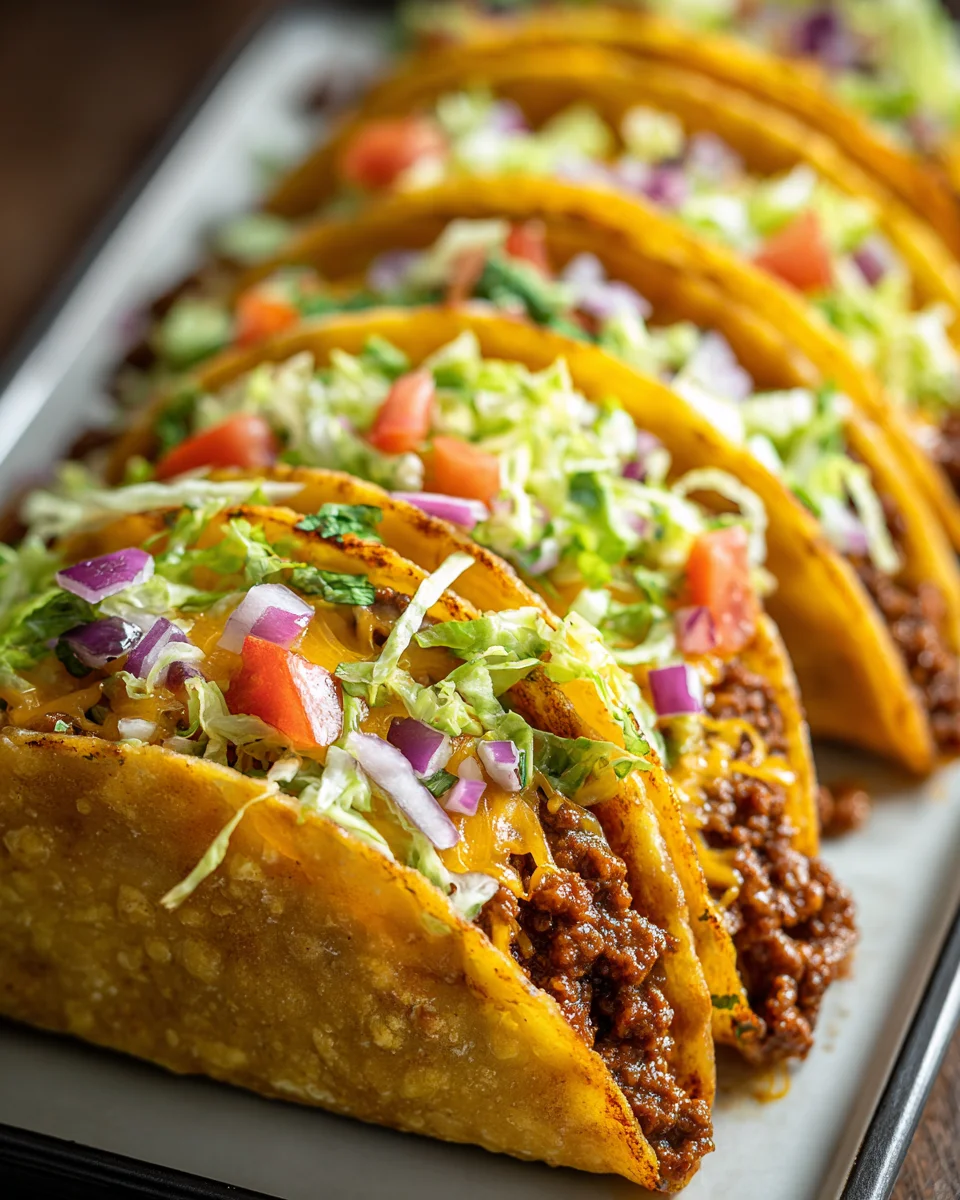
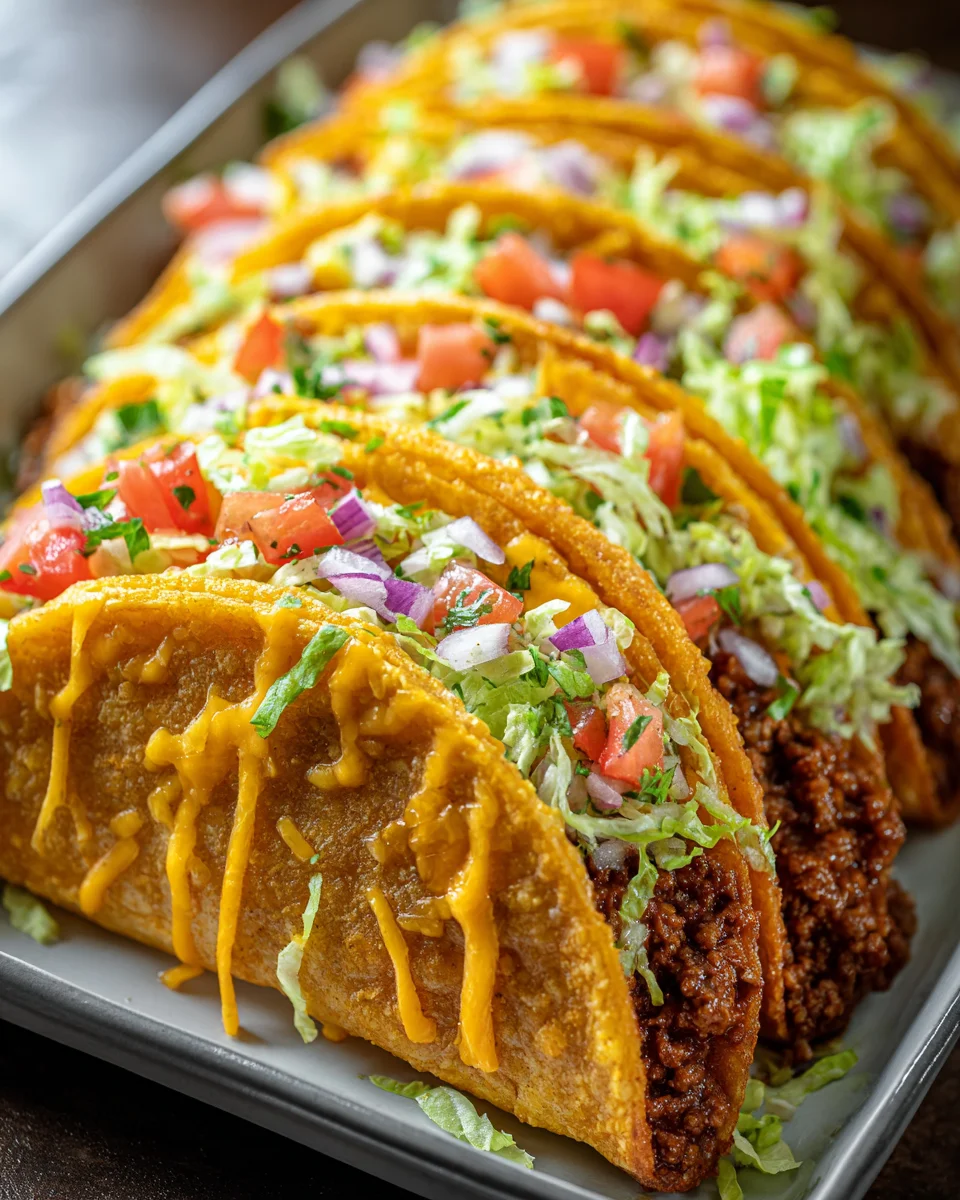
What makes this recipe so special, you ask? Well, imagine perfectly crisp taco shells, not greasy from frying, but baked golden in the oven, cradling a succulent, seasoned beef filling, overflowing with melted, gooey cheese, and ready to be piled high with all your favorite fresh toppings. I promise, you’re going to adore the simplicity and the incredible flavor of these tacos. They’re a fantastic way to feed a crowd with minimal fuss, deliver maximum satisfaction, and offer that irresistible combo of crispy, cheesy, and utterly loaded goodness in every single bite. Forget the messy frying pan; we’re baking our way to taco perfection!
Ingredient Notes
Hello, fellow taco lovers! When I set out to create the ultimate Oven Baked Cheesy Tacos Crispy Loaded Recipe, I knew every ingredient had to pull its weight. This isn’t just any taco; it’s a baked, crispy, cheesy, and truly loaded experience. Here’s a rundown of the key players and why they matter, plus some easy substitutions.
- Ground Beef: This is the hearty foundation of our tacos. I always opt for lean ground beef (85-90%) to minimize excess grease, which can make your tacos soggy. You could also use ground turkey or chicken for a lighter option, but beef truly delivers that classic, rich taco flavor we’re aiming for.
- Hard Taco Shells: The star of the “crispy” show! Choosing good quality, sturdy hard taco shells is crucial. The oven baking process will transform them from good to gloriously crispy. Don’t go for the “soft” variety here – we want that crunch! For an alternative, you could use smaller, soft corn tortillas and bake them until crisp to create your own unique shell, but the pre-formed hard shells make this recipe super easy.
- Taco Seasoning: While you can absolutely make your own blend from scratch (cumin, chili powder, paprika, garlic powder, onion powder, salt, and a pinch of cayenne), a good quality store-bought taco seasoning blend is a fantastic time-saver. It ensures that classic, well-rounded taco flavor in every bite of our beef filling.
- Onion & Garlic: These aromatic heroes build the foundational flavor for our ground beef. Finely diced yellow onion and minced garlic cloves cooked until fragrant truly elevate the savory depth of the filling.
- Tomato Paste: A little secret ingredient for a richer, more concentrated tomato flavor without adding too much moisture. It helps thicken the beef mixture slightly and adds a wonderful umami depth.
- Beef Broth: Instead of water, I use beef broth to simmer the ground beef. This infuses even more savory goodness into the meat, ensuring it’s not only flavorful but also juicy. This is my go-to non-alcohol alternative for adding liquid and richness.
- Cheeses (Lots of Them!): “Cheesy” isn’t just a suggestion, it’s a promise! I recommend a blend of shredded cheddar and Monterey Jack for the ultimate melt and creamy texture. The cheddar offers a sharp tang, while Monterey Jack brings that incredible melt. Feel free to experiment with pepper jack for a little kick or a Mexican blend. A sprinkle of cotija cheese on top after baking also adds a lovely salty, crumbly texture.
- Fresh Toppings: This is where the “loaded” part truly shines! Think crisp shredded lettuce, diced ripe tomatoes, finely chopped red onion or green onions, fresh cilantro, a dollop of sour cream or Greek yogurt, a generous spoonful of your favorite salsa or pico de gallo, and creamy avocado slices or guacamole. Jalapeño slices (fresh or pickled) are excellent for a spicy kick!
- Oil: A neutral oil like vegetable or canola oil for browning the beef.
Step-by-Step Instructions
Get ready to create some seriously delicious tacos! This oven-baked method ensures maximum crispiness and an incredibly cheesy, melty experience. Follow along with me:
-
Preheat & Prep:
First things first, preheat your oven to 375°F (190°C). You’ll also want to lightly grease a 9×13 inch baking dish. This will help your taco shells stand upright and prevent sticking.
-
Cook the Beef Filling:
In a large skillet, heat 1 tablespoon of oil over medium-high heat. Add your ground beef and cook, breaking it up with a spoon, until it’s fully browned and no pink remains. Drain any excess grease – this is key to avoiding soggy tacos later! Once drained, add the finely diced onion to the skillet with the beef and cook for 3-5 minutes until softened. Stir in the minced garlic and cook for another minute until fragrant.
-
Season & Simmer:
Now, stir in the tomato paste until it’s well combined with the beef mixture. Sprinkle in your taco seasoning blend, making sure to coat the meat evenly. Pour in the beef broth. Bring the mixture to a gentle simmer, then reduce the heat to low and let it cook for about 5-7 minutes, or until most of the liquid has evaporated and the beef mixture is thick and flavorful. Taste and adjust seasoning if needed.
-
Arrange the Taco Shells:
Carefully arrange your hard taco shells in the prepared baking dish. You might need to gently squish them together to make them stand upright, or you can use aluminum foil balls to prop them up if they’re being particularly stubborn. Some baking dishes are specifically designed for this, but a standard 9×13 works just fine with a little care.
-
Fill & Cheese:
Spoon about 2-3 tablespoons of the seasoned ground beef mixture into each taco shell. Don’t overfill them at this stage – we still need room for cheese! Now comes the best part: generously sprinkle a good handful of shredded cheddar and Monterey Jack cheese over the beef in each shell. Make sure every shell gets a good cheesy crown!
-
Bake to Perfection:
Carefully transfer the baking dish to your preheated oven. Bake for 10-15 minutes, or until the cheese is beautifully melted and bubbly, and the taco shells are gloriously golden and extra crispy. Keep an eye on them to prevent over-browning.
-
Load & Serve:
Once out of the oven, your cheesy, crispy tacos are ready for their finishing touches! Carefully transfer them to a serving platter. This is where you make them truly “loaded.” Let everyone customize their tacos with fresh shredded lettuce, diced tomatoes, chopped onions, cilantro, a dollop of sour cream, a spoonful of salsa, and creamy avocado slices. Serve immediately and enjoy the crunch!
Tips & Suggestions
To truly master these Oven Baked Cheesy Tacos, I’ve got a few extra tricks up my sleeve that I’ve learned along the way. These tips will help you achieve maximum crispiness, cheesy goodness, and make your taco night absolutely unforgettable!
-
For Maximum Crispiness:
The Oven is Your Friend: The key to crispy shells is the oven! If your shells aren’t standing perfectly upright, don’t be afraid to use crumpled balls of aluminum foil in the baking dish to support them. You can also lightly brush the outside of the shells with a tiny bit of oil before filling and baking for an even crispier exterior.
Don’t Overfill: While we want “loaded” tacos, be mindful not to overstuff the shells with the beef mixture before baking. This can make them difficult to handle and sometimes lead to a slightly softer shell bottom due to moisture. Save the true “loading” for the fresh toppings after baking.
-
Cheesy Perfection:
Freshly Shredded Cheese: I highly recommend shredding your own cheese from a block if you have the time. Pre-shredded cheeses often contain anti-caking agents that can slightly hinder their melt. Freshly shredded cheese melts smoother and creamier, giving you that picture-perfect cheesy pull.
Layering is Key: Don’t just dump the cheese on top. A layer of cheese on the bottom (over the meat) and another on top can create a delicious cheesy pocket within the taco.
-
Flavor Boosters:
Spice it Up: If you like a little extra heat, add a pinch of cayenne pepper or a dash of hot sauce to your ground beef mixture while it simmers. A few chopped pickled jalapeños can also be baked right inside for a spicy, tangy kick.
Smoky Notes: A tiny pinch of smoked paprika in your taco seasoning can add a wonderful depth of flavor to the beef.
-
Make Ahead & Customization:
Prep Components: The ground beef filling can be cooked a day or two in advance and stored in an airtight container in the refrigerator. This makes assembly on taco night super quick! Just reheat the beef gently before filling the shells.
Protein Swaps: Not a beef fan? This recipe works beautifully with ground turkey, ground chicken, or even a plant-based crumble. Just adjust cooking times as needed.
Topping Bar Fun: Set up a “taco bar” with all the fresh toppings in separate bowls. This lets everyone build their own perfectly loaded taco just the way they like it!
Storage
You’ve just created a masterpiece, and while these Oven Baked Cheesy Tacos are best enjoyed fresh out of the oven, sometimes you have leftovers (or you’re smart enough to make extra!). Here’s how I handle storing and reheating to maintain as much of that deliciousness as possible:
-
Storing Leftover Components (Best Method):
My absolute preferred way to store leftovers is to keep the cooked, cheesy beef-filled taco shells separate from the fresh toppings. This prevents the shells from getting soggy.
- Cooked Taco Shells with Filling: Let the baked, filled taco shells (without any fresh toppings) cool completely to room temperature. This is important to prevent condensation. Once cool, carefully place them in an airtight container. You can stack them gently, placing a piece of parchment paper between layers to prevent sticking. Store in the refrigerator for up to 2-3 days.
- Fresh Toppings: Store all your fresh toppings (shredded lettuce, diced tomatoes, salsa, sour cream, etc.) in separate airtight containers in the refrigerator. They typically last 3-4 days, depending on the ingredient.
-
Reheating (The Oven is King!):
To bring your oven-baked tacos back to life with maximum crispiness and melty cheese, the oven is your best friend!
From the Refrigerator:
- Preheat your oven to 300°F (150°C).
- Arrange the cooled, pre-filled taco shells on a baking sheet.
- Bake for about 10-15 minutes, or until the cheese is re-melted and bubbly, and the shells are warmed through and crispy again. Keep an eye on them to prevent over-browning.
- Once hot, remove from the oven and load with your fresh, chilled toppings.
Microwave (Not Recommended for Crispiness): While you can microwave individual leftover tacos for a quick reheat, be warned: the shells will lose their crispiness and become soft. If you’re okay with that, microwave for 30-60 seconds until heated through.
-
Freezing:
I don’t recommend freezing assembled, baked tacos. The shells will become very soggy upon thawing and reheating. However, you can freeze the seasoned ground beef filling on its own!
- Cook the ground beef filling as directed in step 3.
- Let it cool completely.
- Transfer the beef to a freezer-safe bag or airtight container. It will keep in the freezer for up to 3 months.
- To use, thaw overnight in the refrigerator, then reheat gently on the stovetop before filling your freshly baked shells.
Final Thoughts
There’s something truly special about a meal that brings everyone to the table with smiles, and I truly believe the Oven Baked Cheesy Tacos Crispy Loaded Recipe does just that. I’m absolutely confident that once you try these, you’ll understand why they’re poised to become a new family favorite in your home. The magic lies in the perfect marriage of a delightfully crispy shell, the abundant, melted cheesy goodness, and the generous, savory beef filling (or whatever fantastic toppings you’ve chosen!). It’s the kind of dish that offers maximum flavor with surprisingly minimal fuss, thanks to the oven doing most of the work to achieve that irresistible crunch. Prepare for happy faces and empty plates – I guarantee this recipe will elevate your taco night into a truly unforgettable feast!


Leave a Comment