
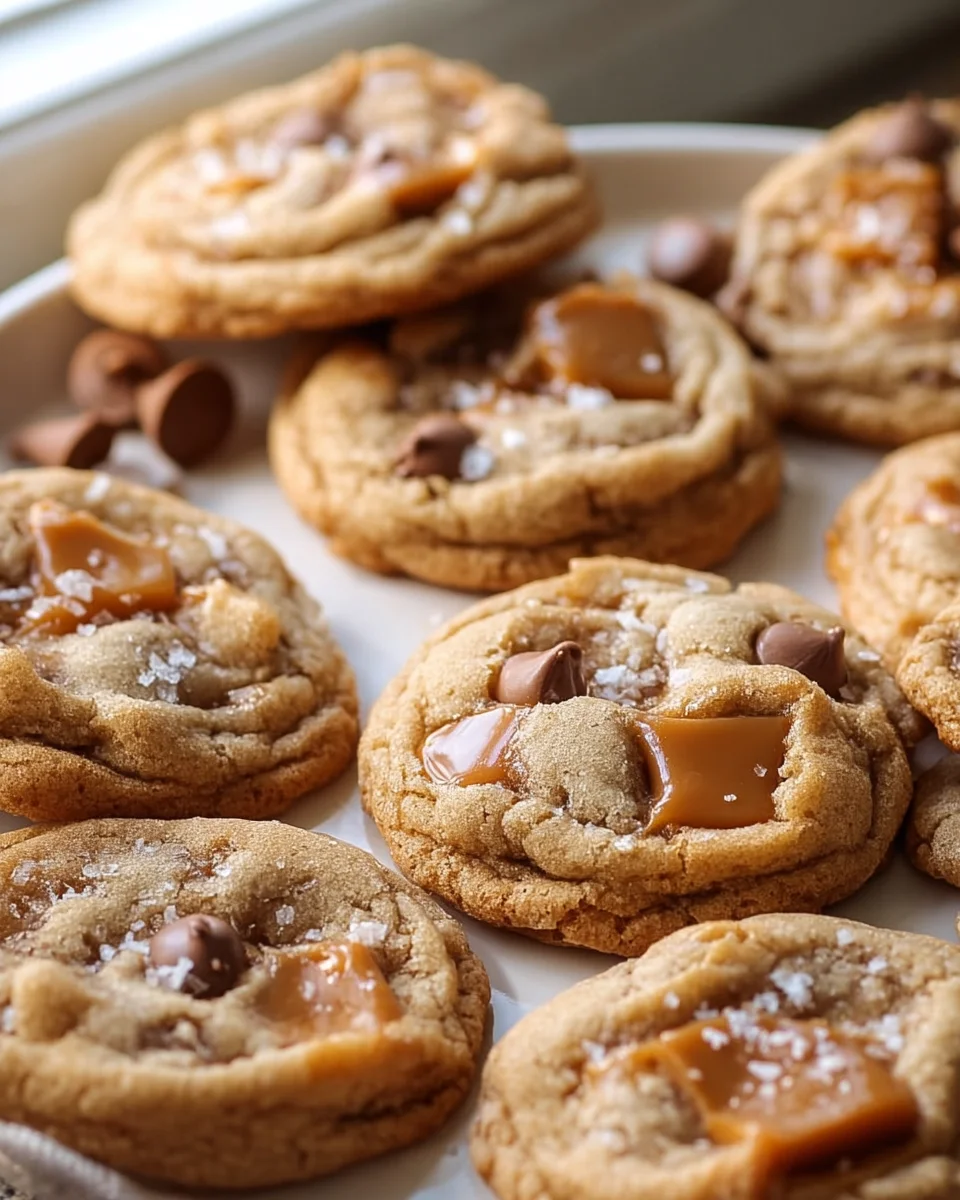
<h2><strong>Salted Caramel Cookie Recipe</strong></h2>
<p>Oh my goodness, get ready to experience a truly magical treat! This <strong>Salted Caramel Cookie Recipe</strong> isn’t just any cookie; it’s a symphony of flavors and textures that will absolutely melt in your mouth. What makes this recipe so incredibly special, you ask? Well, it’s the perfect dance between chewy cookie goodness and generous pockets of rich, buttery salted caramel, all brought together with that irresistible hint of sea salt that makes everything sing. I promise, once you try these, you’ll understand why they’re a cut above the rest and destined to become a new favorite.</p>
<p>You’re going to love making (and devouring!) these cookies because they strike that ideal balance between sweet indulgence and a sophisticated salty kick. It’s comfort food elevated to gourmet status, yet completely approachable for any home baker. Each bite delivers a soft, tender cookie base cradling luscious, gooey salted caramel, often finished with a delicate sprinkle of flaky sea salt on top to really make those flavors pop. Trust me, these aren’t just cookies; they’re an experience you’ll want to revisit again and again!</p>
Ingredient Notes
Making delicious Salted Caramel Cookies starts with understanding the role each ingredient plays. I always recommend using high-quality ingredients for the best results, especially when the star of the show is something as delightful as salted caramel!
- Unsalted Butter: I prefer unsalted butter so I can control the salt content precisely. Make sure it’s softened to room temperature – this is crucial for creaming it properly with the sugars, creating a light and airy base for our cookies. If you only have salted butter, reduce the added salt in the recipe by about ¼ teaspoon.
- Granulated Sugar & Light Brown Sugar: The combination of both sugars gives these cookies their perfect texture. Granulated sugar contributes to crisp edges, while light brown sugar adds moisture, chewiness, and a lovely subtle caramel note. Always pack your brown sugar firmly when measuring!
- Large Eggs: Like butter, eggs should be at room temperature. This helps them incorporate more smoothly into the butter and sugar mixture, creating a more cohesive and evenly textured dough.
- Vanilla Extract: Don’t skimp on good quality vanilla extract. It enhances all the other flavors in the cookie dough, especially complementing the sweet caramel.
- All-Purpose Flour: Stick to all-purpose flour for these cookies. Make sure to measure it correctly – I always recommend using a kitchen scale for accuracy, or the “spoon and level” method (spoon flour into the measuring cup, then level it off with a straight edge). Too much flour can make your cookies dry and crumbly.
- Baking Soda: This is our leavening agent, giving the cookies a nice lift and helping them spread just right.
- Salt: A pinch of fine sea salt in the dough balances the sweetness beautifully. Remember, we’ll be adding flaky sea salt later for that iconic “salted caramel” punch!
- Salted Caramel Candies or Bits: This is where the magic truly happens! I love using individually wrapped, chewy salted caramel candies (like the square ones you find in the candy aisle). Chop them into small pieces (about ¼-½ inch) so you get lovely pockets of gooey caramel in every bite. Alternatively, you can find ready-made salted caramel baking bits, which are super convenient. If using a thick, homemade salted caramel sauce, ensure it’s cooled and very thick so it doesn’t just melt away into the dough during baking.
- Flaky Sea Salt: Absolutely essential for the “salted” part of the “salted caramel cookie”! A sprinkle of flaky sea salt on top before or after baking provides a delightful textural contrast and intensifies the caramel flavor.
Step-by-Step Instructions
Get ready to bake some seriously delicious salted caramel cookies! Follow these steps, and you’ll have a batch of warm, gooey treats in no time.
- Prepare Your Workspace: First, preheat your oven to 375°F (190°C). Line two large baking sheets with parchment paper or silicone baking mats. This prevents sticking and makes cleanup a breeze.
- Cream Butter and Sugars: In a large bowl, using an electric mixer (stand mixer or hand mixer), beat the softened unsalted butter on medium speed until creamy, about 1 minute. Add the granulated sugar and light brown sugar and continue to beat on medium-high speed for 2-3 minutes, until the mixture is light, fluffy, and pale in color. Scrape down the sides of the bowl as needed.
- Add Wet Ingredients: Crack in the large eggs, one at a time, beating well after each addition until fully incorporated. Stir in the vanilla extract until just combined. The mixture might look a little curdled at this point, but don’t worry, it will come together once the dry ingredients are added.
- Combine Dry Ingredients: In a separate medium bowl, whisk together the all-purpose flour, baking soda, and fine sea salt. Make sure everything is well combined to ensure even distribution in the dough.
- Combine Wet and Dry: Gradually add the dry ingredient mixture to the wet ingredient mixture, mixing on low speed until just combined. Be careful not to overmix the dough, as this can lead to tough cookies. Stop mixing as soon as no dry streaks of flour remain.
- Fold in the Caramel: Gently fold in the chopped salted caramel candies or bits. I like to do this by hand with a spatula to ensure they are evenly distributed without crushing them too much.
- Scoop and Bake: Use a 1.5-2 tablespoon cookie scoop (or just roll by hand) to drop rounded balls of dough onto the prepared baking sheets, leaving about 2 inches between each cookie as they will spread. For an extra flourish and intensified “salted” flavor, sprinkle a little flaky sea salt on top of each cookie dough ball before baking.
- Bake to Perfection: Bake one sheet at a time in the preheated oven for 9-12 minutes, or until the edges are lightly golden brown and the centers are still soft and slightly underbaked. This is key for chewy cookies!
- Cool: Once out of the oven, let the cookies cool on the baking sheet for 5-10 minutes. This allows them to set up without breaking. Then, carefully transfer them to a wire rack to cool completely. If desired, you can drizzle with a bit more warm salted caramel sauce once they’ve cooled a bit.
Tips & Suggestions
I’ve made my fair share of cookies, and I’ve picked up a few tricks to ensure these Salted Caramel Cookies turn out perfectly every time. Here are my top tips and suggestions for you:
- Use Room Temperature Ingredients: I cannot stress this enough! Softened butter and room temperature eggs emulsify better, creating a smoother, more uniform dough. This leads to a better cookie texture and even baking.
- Don’t Overmix: Once you add the flour, mix only until just combined. Overmixing develops the gluten in the flour, which can result in tough, dense cookies instead of soft, chewy ones.
- The Right Caramel is Key: For the best pockets of gooey caramel, use soft, chewy caramel candies that you chop yourself. Avoid hard caramels or very thin sauces, as they might melt away too quickly or not provide the desired texture. If using homemade caramel sauce, ensure it’s very thick and has cooled completely before folding it into the dough.
- Flaky Sea Salt for the Win: The flaky sea salt isn’t just for show; it’s crucial for balancing the sweetness and enhancing the caramel flavor. I love to sprinkle it on top of the dough balls before baking for some melt and sparkle, and sometimes after baking too, for an extra pop of flavor and crunch.
- Don’t Overbake: These cookies are best when they are slightly underbaked in the center. The edges should be golden brown, but the centers should still look soft and perhaps a little glossy. They will continue to set as they cool on the baking sheet, ensuring a perfectly chewy interior.
- Chill the Dough (Optional, but Recommended): If you have the time, chilling the dough for at least 30 minutes (or up to 24 hours) can make a significant difference. It helps the flavors meld, prevents the cookies from spreading too much, and results in a thicker, chewier cookie.
- Make Them Uniform: Use a cookie scoop to ensure all your cookies are roughly the same size. This helps them bake evenly, preventing some from being overdone while others are still raw.
- Personalize Your Cookies: While these are fantastic on their own, feel free to get creative! A handful of chocolate chips (milk or dark) folded into the dough makes for a delightful salted caramel chocolate chip cookie. Or, after baking, drizzle them with a bit of melted chocolate.
Storage
Once you’ve baked a batch of these irresistible Salted Caramel Cookies, you’ll want to make sure they stay fresh for as long as possible. Here’s how I store mine:
- At Room Temperature:
- Once the cookies have cooled completely to room temperature, store them in an airtight container. I like to place a piece of parchment paper between layers if I’m stacking them to prevent them from sticking, especially if they have a caramel drizzle on top.
- They will stay fresh and deliciously chewy for up to 3-4 days at room temperature. After a day or two, if they start to lose a little softness, you can pop one in the microwave for 10-15 seconds for that fresh-out-of-the-oven warmth and gooey caramel.
- Freezing Baked Cookies:
- If you’ve baked a large batch or want to save some for later, these cookies freeze beautifully. Once they are completely cool, arrange them in a single layer on a baking sheet and freeze for about an hour until firm.
- Transfer the frozen cookies to a freezer-safe airtight container or heavy-duty freezer bag. They will keep well in the freezer for up to 2-3 months.
- To thaw, simply take them out of the freezer and let them come to room temperature on the counter for a couple of hours, or warm them gently in the microwave or a low oven for a few minutes.
- Freezing Cookie Dough:
- This is one of my favorite meal prep tricks! You can freeze the cookie dough balls to have freshly baked cookies on demand.
- Scoop the dough into individual balls and place them on a parchment-lined baking sheet. Freeze until solid (about 1-2 hours).
- Transfer the frozen dough balls to a freezer-safe airtight container or bag. They will last for up to 2-3 months in the freezer.
- When you’re ready to bake, you can bake them directly from frozen. Just add an extra 2-4 minutes to the baking time. No need to thaw! This is perfect for those sudden cookie cravings.
Final Thoughts
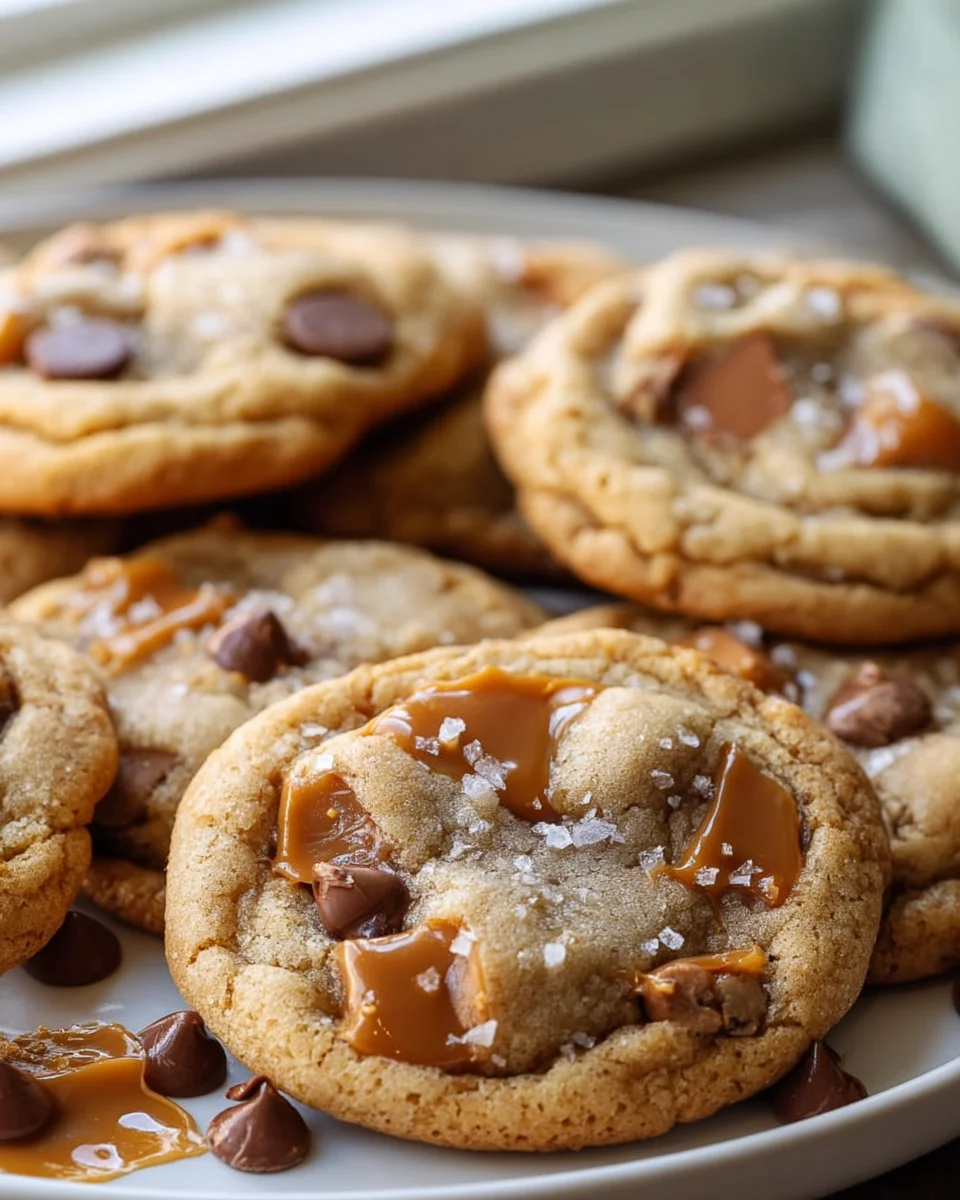
There’s something truly magical about a homemade cookie, and I honestly believe this Salted Caramel Cookie Recipe encapsulates that magic perfectly. The way the golden-brown edges give way to a soft, chewy center, each bite bursting with that irresistible blend of rich, buttery caramel and a delightful hint of sea salt – it’s pure bliss. This isn’t just any cookie; it’s an experience, a moment of sweet indulgence that truly satisfies. I promise you, once you taste these, you’ll understand why this Salted Caramel Cookie Recipe is an absolute keeper. It’s the perfect treat to brighten any day, impress your friends, or simply enjoy with a warm cup of coffee or a non-alcohol alternative beverage. Go on, give it a try – you deserve this deliciousness!

Leave a Comment