
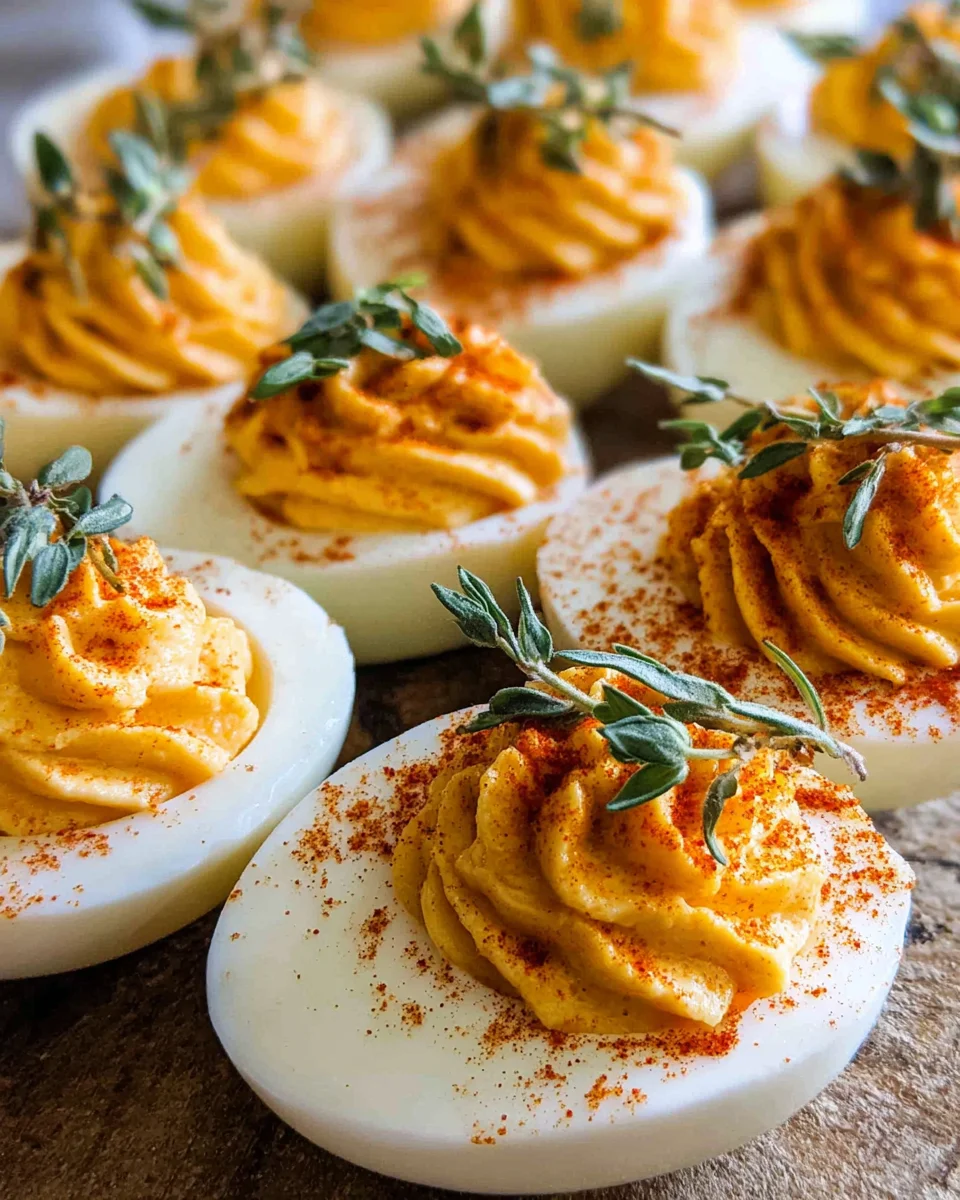
Thanksgiving Deviled Eggs are about to become the unexpected star of your holiday spread! I know what you might be thinking – deviled eggs for Thanksgiving? Absolutely! While traditional Thanksgiving dishes often steal the spotlight, I’m here to tell you that this innovative take on a beloved classic is not just a delightful appetizer, but a smart way to kick off your festive feast. Deviled eggs themselves have a rich history, dating back to ancient Rome, evolving over centuries into the ubiquitous potluck and party staple we know and love today. They are adored for their creamy texture, savory punch, and the sheer convenience of a bite-sized delight that’s easy to mingle with. This specific rendition, however, infuses all the comforting, warm flavors of autumn and the holiday season, creating a harmonious bridge between your pre-dinner snacks and the main event. Get ready to impress your guests and elevate your appetizer game, as this recipe for Thanksgiving Deviled Eggs offers a delightful twist that’s sure to become a cherished new tradition.
Ingredients:
- 12 large eggs
- ½ cup good quality mayonnaise (I personally love using a brand that’s rich and creamy for the best texture)
- 1 tablespoon Dijon mustard (or yellow mustard if you prefer a classic, milder tang – but Dijon really elevates Thanksgiving Deviled Eggs!)
- 1 teaspoon white vinegar or apple cider vinegar (just a touch of acid brightens everything up)
- ¼ teaspoon celery salt (this is my secret ingredient for an extra layer of savory depth!)
- ¼ teaspoon smoked paprika, plus extra for garnish (the smoked paprika brings that wonderful, warm, autumnal flavor, perfect for Thanksgiving Deviled Eggs)
- Salt and freshly ground black pepper to taste
- 4 slices bacon, cooked crispy and finely crumbled
- 2 tablespoons fresh chives, finely minced, plus extra for garnish
Hard-Boiling the Eggs to Perfection
- Choose Your Eggs Wisely: First things first, let’s talk about the eggs themselves. While some old wives’ tales suggest using older eggs for easier peeling, I’ve found that proper cooking and an immediate ice bath are far more critical. I always start with large, fresh eggs straight from the refrigerator.
- The Cold Start Method: Carefully place your 12 large eggs in a single layer at the bottom of a large saucepan. You want them to fit snugly but not be overcrowded. Now, fill the pan with cold water, ensuring that the water covers the eggs by at least one inch. This cold start method helps prevent cracking and ensures even cooking.
- Bringing to a Boil: Place the saucepan on your stovetop over high heat. Bring the water to a rapid, rolling boil. As soon as the water reaches this point, immediately turn off the heat. Do not remove the pan from the burner.
- The “Sit and Rest” Phase: Cover the saucepan tightly with a lid and let the eggs sit in the hot water for exactly 12 minutes. This controlled resting period allows the residual heat to perfectly cook the yolks without overcooking them, which can lead to that unsightly green ring around the yolk – something we definitely want to avoid for our beautiful Thanksgiving Deviled Eggs!
- The Crucial Ice Bath: While your eggs are resting, prepare a large bowl filled with ice water. Once the 12 minutes are up, use a slotted spoon to carefully transfer the eggs from the hot water directly into the ice bath. Let them cool completely for at least 10-15 minutes. This rapid cooling stops the cooking process instantly and causes the egg whites to contract, making them significantly easier to peel. This step is absolutely essential for smooth, pristine egg whites, which are the foundation of spectacular Thanksgiving Deviled Eggs.
- Peeling Your Eggs: Once cooled, gently tap each egg on a hard surface to crack the shell all around. Start peeling under cool running water; the water helps to slip the shell off effortlessly and removes any tiny shell fragments. Take your time here – a perfectly peeled egg is a joy to behold. Once peeled, pat the eggs dry with a paper towel.
Preparing the Crispy Bacon & Creamy Filling
- Crisping the Bacon: While your eggs are cooking or cooling, it’s the perfect time to prepare the bacon. I like to cook my bacon in a skillet over medium heat until it’s wonderfully crispy. Alternatively, you can bake it on a foil-lined baking sheet at 400°F (200°C) for 15-20 minutes, which makes for easier cleanup and evenly cooked strips. Once crispy, transfer the bacon to a plate lined with paper towels to drain any excess grease. Let it cool completely, then crumble it finely. This crispy, salty bacon is a crucial component that screams “Thanksgiving Deviled Eggs” to me!
- Halving the Eggs: Once your eggs are peeled and dry, carefully slice each egg in half lengthwise using a sharp knife. You’ll want to get a nice, clean cut right down the middle.
- Scooping the Yolks: Gently scoop out the bright yellow yolks from each egg white half and place them into a medium-sized mixing bowl. Be careful not to tear the egg white cups – they are our vessels for the delicious filling! Arrange the empty egg white halves on a serving platter.
- Mashing the Yolks: Using a fork, thoroughly mash the egg yolks until they are completely smooth and free of lumps. I find a fork works best for achieving that perfect, creamy consistency without over-processing. For an extra smooth filling, some people push the yolks through a fine-mesh sieve or use a potato ricer, but honestly, a good old-fashioned fork does the trick beautifully for me.
- Building the Flavor Foundation: To the mashed yolks, add the mayonnaise, Dijon mustard, white vinegar (or apple cider vinegar), celery salt, and the initial ¼ teaspoon of smoked paprika. These are the core flavors that will make your Thanksgiving Deviled Eggs truly sing.
- Seasoning and Mixing: Now, season the mixture with salt and freshly ground black pepper to taste. Remember, it’s always easier to add more seasoning than to take it away, so start with a little and adjust as you go. Mix everything together really well, ensuring all ingredients are fully incorporated and the filling is smooth and creamy. Give it a taste test! This is your moment to adjust any seasonings. Do you want a little more tang? Add a tiny splash more vinegar or mustard. More spice? A pinch more smoked paprika. Make it perfect for your palate!
- Incorporating Freshness: Finally, fold in about half of the finely minced fresh chives and about two-thirds of the crumbled crispy bacon into the yolk mixture. These additions provide incredible texture and a burst of fresh flavor that complements the richness of the yolk filling perfectly. You’ll reserve the rest for garnishing later.
Assembling Your Thanksgiving Deviled Eggs
-
Filling the Egg Whites – The Piping Method: For a professional and elegant look, I highly recommend using a piping bag fitted with a star tip (or any decorative tip you like, even a wide round tip works well) to fill the egg whites. This method makes your Thanksgiving Deviled Eggs look truly special and holiday-ready.
- To fill the piping bag, fold down the top edge of the bag to create a cuff. Use a rubber spatula to carefully scoop the creamy yolk mixture into the bag, pushing it down towards the tip.
- Twist the top of the bag to secure the filling and prevent it from spilling out.
- Now, holding the bag firmly, pipe generous swirls or mounds of the filling into each empty egg white half. Aim for a beautiful, uniform presentation.
-
Filling the Egg Whites – The Spoon Method: If you don’t have a piping bag, no worries at all! You can absolutely spoon the filling into the egg white halves.
- Simply use two small spoons, or one spoon, to carefully scoop and mound the yolk mixture into each egg white half.
- While it might not have the elaborate swirls of a piped egg, a spooned deviled egg has a wonderful rustic charm that is equally inviting, especially for a casual Thanksgiving spread.
Garnishing and Serving Your Holiday Treat
-
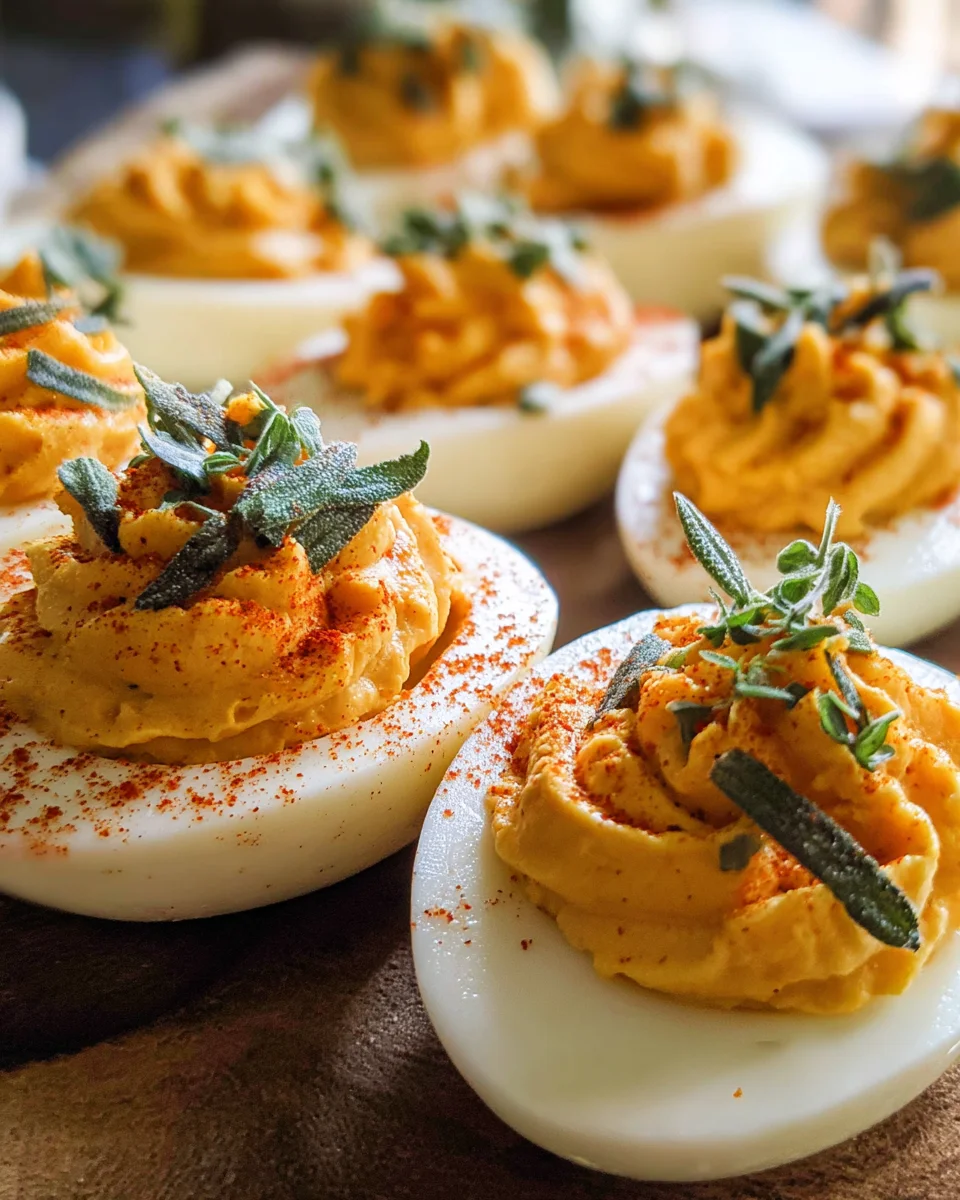
The Final Flourish: Once all the egg white halves are filled, it’s time for the finishing touches that truly make these “Thanksgiving Deviled Eggs” shine.
- Smoked Paprika Dusting: Lightly dust the tops of all your filled deviled eggs with the remaining smoked paprika. Not only does this add another layer of that lovely smoky flavor, but the vibrant red color provides a beautiful contrast against the yellow filling, making them incredibly appealing.
- Crispy Bacon Sprinkle: Sprinkle the remaining crumbled crispy bacon over the tops of the eggs. This adds a fantastic textural crunch and a burst of salty, savory flavor that everyone loves.
- Fresh Chive Garnish: Finally, scatter the remaining finely minced fresh chives over the deviled eggs. The bright green chives offer a pop of color and a fresh, oniony aroma that brightens the entire dish.
- Chilling for Flavor: For the best flavor and texture, I highly recommend chilling your Thanksgiving Deviled Eggs in the refrigerator for at least 30 minutes before serving. This allows the flavors to meld beautifully and ensures they are perfectly cold and refreshing. If you’re making them ahead of time, they can be covered loosely with plastic wrap and stored in the fridge for up to 2 days. For longer storage, it’s best to store the filling and egg whites separately and assemble just before serving.
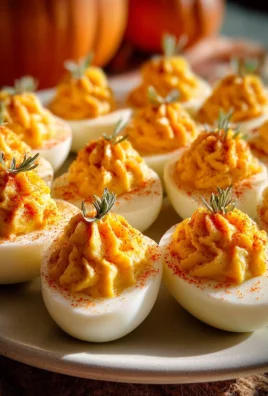
- Presenting with Pride: Arrange your beautiful Thanksgiving Deviled Eggs artfully on a serving platter. They are always a showstopper and disappear incredibly quickly at any holiday gathering. These creamy, savory bites with their smoky bacon and fresh chive garnish are truly the ultimate holiday appetizer and a testament to how fantastic “Thanksgiving Deviled Eggs” can be! Enjoy watching them vanish!
Conclusion:
Well, there you have it! I truly hope you’re feeling inspired and excited to whip up a batch of these incredible bites. After all, what we’ve just explored isn’t just a recipe; it’s an opportunity to create something truly special, something that consistently garners rave reviews and disappears from the platter faster than you can say “more, please!” I’ve found that the secret lies in the perfect marriage of creamy texture, a delightful tang, and just the right hint of savory depth that makes each bite utterly irresistible. It’s a dish that manages to be both wonderfully comforting and surprisingly elegant, striking that sweet spot for any gathering, from a casual weekend brunch to a festive holiday feast. Honestly, once you taste the exquisite balance and how effortlessly they come together, you’ll understand why I consider this a truly indispensable addition to any home cook’s repertoire. It’s more than just an appetizer; it’s a guaranteed crowd-pleaser that sparks joy and conversation.
Now, let’s talk about making them truly your own. While the core recipe is fantastic as is, there are so many delightful ways to personalize these gems. For a burst of freshness, try garnishing with finely chopped chives or dill – not only do they add a beautiful splash of green, but their aromatic notes really elevate the flavor profile. If you’re feeling adventurous and want to introduce a touch of heat, a tiny pinch of cayenne pepper mixed into the filling or a thin slice of jalapeño on top can add a welcome zing. For a smoky twist, a sprinkle of smoked paprika instead of sweet paprika, or even a tiny amount of finely crumbled, crispy bacon bits mixed into the filling, can transform them into something truly addictive. Think about the seasons too! In the fall, a whisper of nutmeg or a candied pecan half on top can add a unique, autumnal touch. For a more sophisticated presentation, consider piping the filling into the egg whites using a star tip; it just makes them look so much more professional and inviting. Don’t be afraid to experiment with different mustards either – a grainy mustard can add texture and a more robust flavor, while a Dijon will offer a sharper, more piquant note. The possibilities are truly endless, and each variation simply enhances the inherent deliciousness of the base recipe.
So, please, don’t just read about it – go ahead and make them! This recipe is incredibly forgiving and truly a joy to prepare. Imagine the look on your guests’ faces when they discover these delightful treats. I promise, they’re not nearly as difficult as they might seem, and the reward for your efforts will be immensely satisfying. Whether you’re hosting a large family get-together, attending a potluck, or simply looking for a delicious snack to enjoy at home, these are absolutely perfect. Once you’ve made them, I would absolutely love to hear about your experience! Did you stick to the classic, or did you put your own unique spin on them? What did your friends and family think? Share your photos, your feedback, and your creative variations in the comments below or on social media! Your insights are invaluable, and it’s wonderful to see how everyone brings their personal touch to a recipe. And seriously, for your next holiday spread, especially if you’re looking for that standout appetizer, you absolutely must consider making these Thanksgiving Deviled Eggs. They’re a game-changer, and I can’t wait for you to discover just how wonderful they are. Happy cooking!
Thanksgiving Deviled Eggs
Thanksgiving Deviled Eggs are about to become the unexpected star of your holiday spread! This innovative take on a beloved classic infuses all the comforting, warm flavors of autumn and the holiday season. Get ready to impress your guests and elevate your appetizer game with this delightful twist that’s sure to become a cherished new tradition.
Ingredients
Instructions
Important Information
Nutrition Facts (Per Serving)
It is important to consider this information as approximate and not to use it as definitive health advice.
Allergy Information
Please check ingredients for potential allergens and consult a health professional if in doubt.


Leave a Comment