
Homemade Cheesy Garlic Bread Like A Pizzeria
Oh, my friends, prepare yourselves! If there’s one thing that brings instant joy, comfort, and a serious dose of deliciousness to any meal, it’s a perfectly crafted piece of cheesy garlic bread. But we’re not talking about just any garlic bread here. We’re talking about recreating that incredible, irresistible experience you get from your favorite pizzeria, right in your own kitchen!
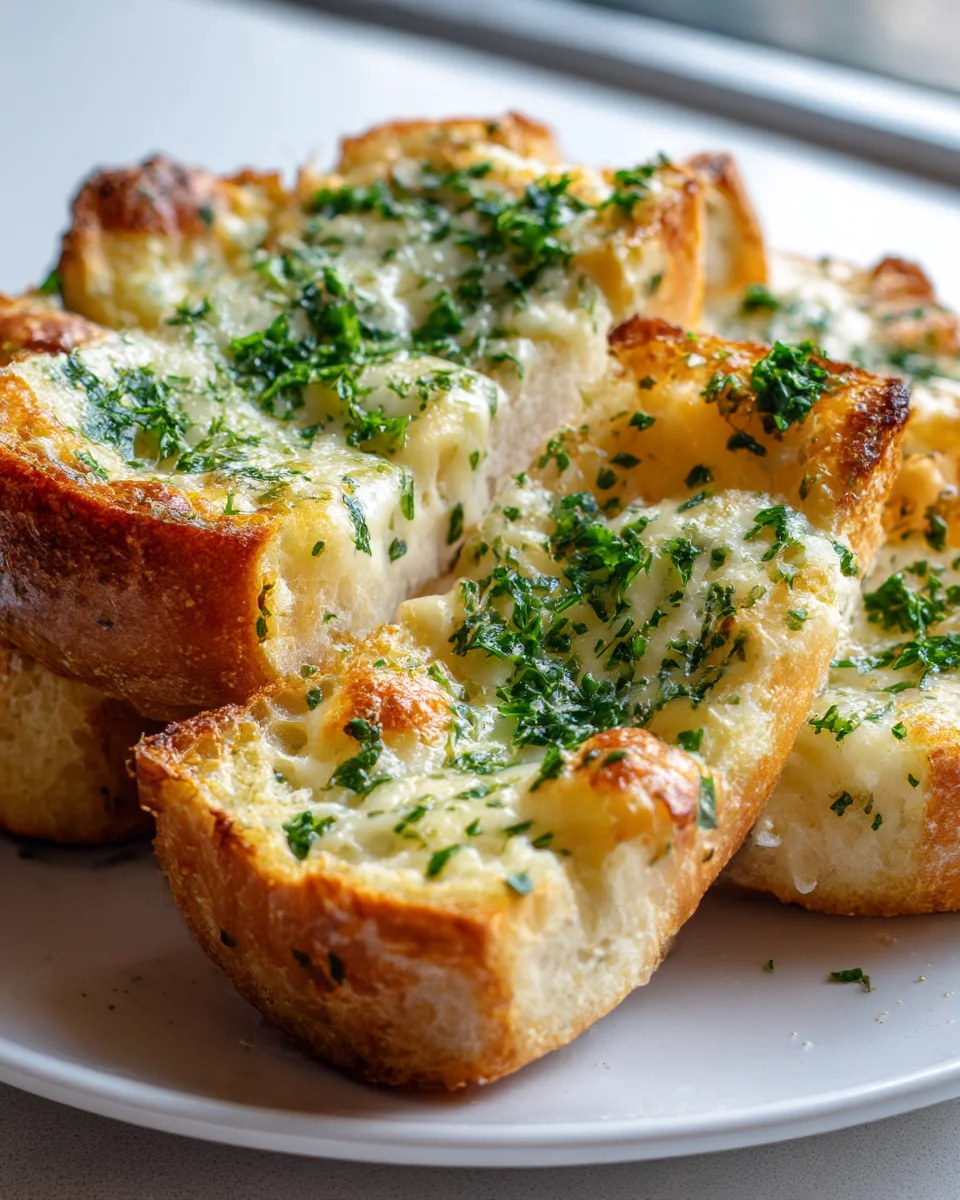
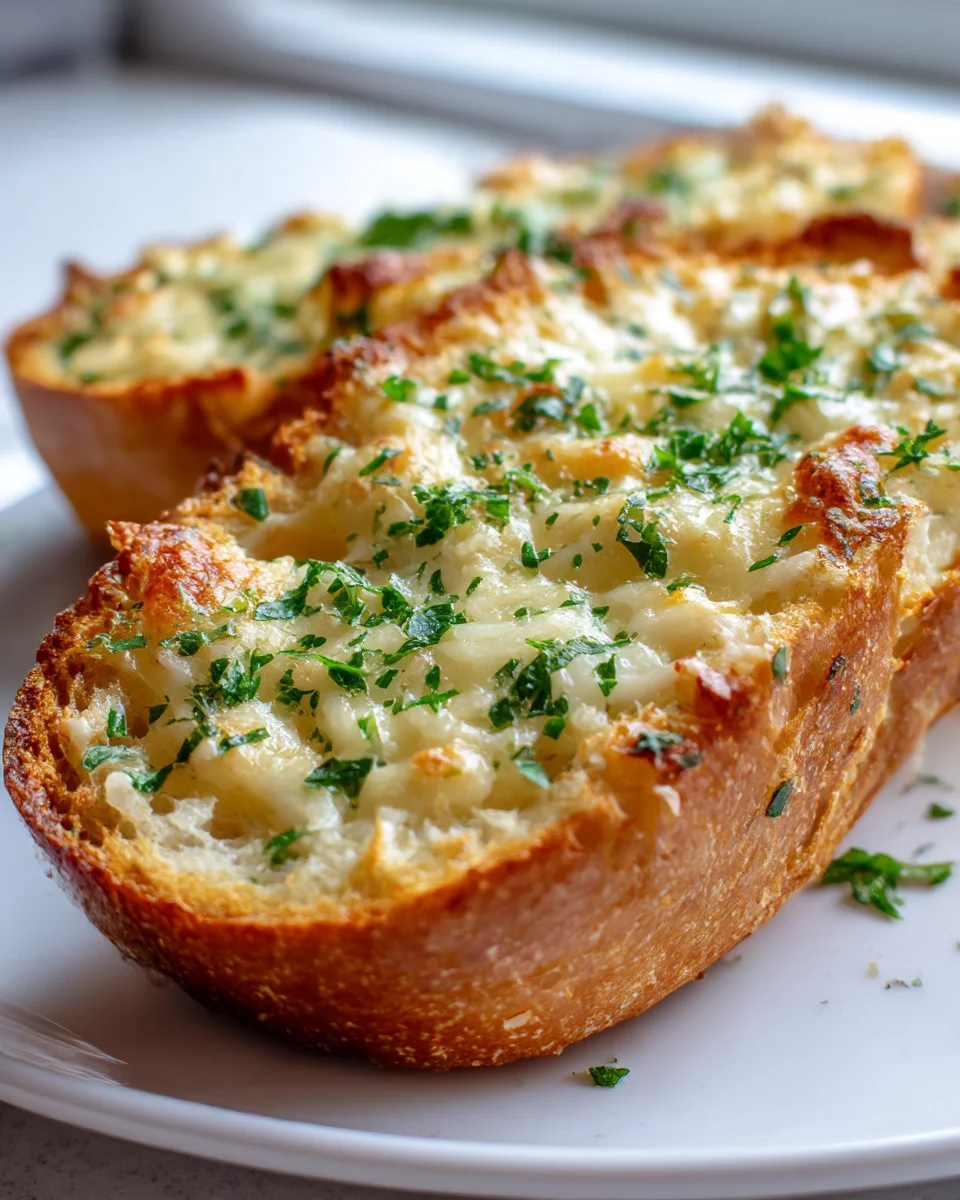
This recipe for Homemade Cheesy Garlic Bread Like A Pizzeria is truly special because it nails every single detail that makes takeout versions so addictive. Imagine: a beautifully crisp, golden crust that gives way to a tender, airy interior, absolutely loaded with a pungent, buttery garlic spread and a generous, bubbling layer of perfectly melted, stretchy cheese. The aroma alone will transport you straight to pizza heaven!
You’re going to love making this because it’s surprisingly straightforward, yet the results are incredibly impressive. Forget sad, soggy, or bland attempts; my method ensures you get that authentic balance of savory garlic, rich butter, and ultimate cheese pull every single time. It’s the ultimate sidekick for pasta night, the star of any movie marathon, or simply a magnificent snack when those cravings hit. Get ready to impress yourself and everyone else with a batch of garlic bread that tastes like it came straight from the brick oven!
Ingredient Notes
Making homemade cheesy garlic bread that truly rivals your favorite pizzeria’s version starts with selecting the right ingredients. It’s not just about slapping some butter and cheese on bread; it’s about understanding what each component contributes to that perfect bite – crispy, garlicky, melty, and utterly delicious. Here’s what I recommend:
- The Bread: This is your foundation! For that authentic pizzeria feel, you need a bread with a good crust and a soft, airy interior. My top picks are a fresh Italian loaf, a French baguette, or even a ciabatta. They hold up well to the butter and cheese without getting soggy, and the crust gets wonderfully crisp in the oven. Look for one that’s relatively wide if you want to slather on plenty of cheese.
- Fresh Garlic: Absolutely non-negotiable! This is “garlic bread,” after all. Skip the jarred minced garlic if you can; fresh cloves, finely minced, deliver a potent, aromatic punch that garlic powder simply can’t replicate. I typically use 4-6 cloves for a standard loaf, but feel free to adjust to your personal garlic preference – I’m a firm believer that you can never have too much!
- Unsalted Butter: I always go for unsalted butter because it gives me control over the final seasoning. Softened butter is key here, as it makes mixing with the garlic and herbs much easier and ensures an even spread. If all you have is salted, simply reduce the amount of added salt in your garlic butter mixture.
- The Cheese Blend: Ah, the “cheesy” part! This is where you truly capture that pizzeria magic. I find a blend works best for complex flavor, stretch, and melt.
- Low-Moisture, Part-Skim Mozzarella: This is your primary melting cheese. It provides that classic gooey stretch without releasing too much water and making your bread soggy.
- Provolone: A touch of provolone adds a lovely, slightly sharper tang and another layer of excellent melt.
- Parmesan (or Pecorino Romano): Finely grated Parmesan adds a salty, umami depth and a beautiful golden crust when baked.
- Substitution: If you can’t get all three, a good quality pre-shredded mozzarella blend (often labeled “pizza blend”) can work in a pinch, but fresh blocks you shred yourself will always melt smoother and taste better.
- Fresh Parsley: Minced fresh parsley adds a pop of color and a fresh, herbaceous note that balances the richness of the butter and cheese. It’s not just for garnish; it brightens the whole dish.
- Seasonings: Beyond salt and freshly ground black pepper (which you’ll add to taste), a pinch of dried oregano or Italian seasoning really helps tie in that classic pizzeria flavor profile. A tiny dash of red pepper flakes is fantastic if you like a little heat.
Step-by-Step Instructions
Get ready to transform simple ingredients into a show-stopping side dish! Here’s how I make my go-to cheesy garlic bread:
- Preheat Your Oven & Prep Your Bread: Preheat your oven to a hot 400°F (200°C). If you have a baking stone or steel, now is a good time to get it in there to preheat as well for an extra crispy bottom. Carefully slice your Italian loaf or baguette in half lengthwise. If it’s a very long loaf, you might want to cut it into shorter sections first to make it easier to handle.
- Make the Garlic Butter Mixture: In a small bowl, combine your softened unsalted butter. Add the finely minced fresh garlic, chopped fresh parsley, a pinch of dried oregano (if using), and a good sprinkle of salt and freshly ground black pepper. Mix thoroughly until everything is well combined. I like to mash it all together with a fork until it looks like a beautiful, pale green, garlicky paste.
- Butter Up the Bread: Generously spread the garlic butter mixture all over the cut sides of your bread halves. Don’t be shy here – this is where all that amazing flavor comes from! Make sure to get it right to the edges.
- First Bake for Crispness (Optional but Recommended): Place the buttered bread halves, cut-side up, directly on your oven rack or on a baking sheet. Bake for 5-7 minutes. This step helps the bread get slightly toasted and crispy before the cheese is added, preventing it from becoming soggy under the melted cheese.
- Add the Cheese: Carefully remove the bread from the oven. Evenly layer your cheese blend (mozzarella, provolone, and Parmesan) over the buttered surfaces. I usually pile it up pretty high – remember, we’re going for cheesy pizzeria style!
- Second Bake & Broil for Golden Perfection: Return the cheesy bread to the oven. Bake for another 8-12 minutes, or until the cheese is completely melted, bubbly, and starting to turn golden brown around the edges. For an extra browned and bubbly top, you can switch your oven to the broiler setting for the last 1-2 minutes, but watch it like a hawk – cheese can go from perfect to burnt in seconds!
- Serve Immediately: Carefully remove the hot, bubbling cheesy garlic bread from the oven. Let it cool for just a minute or two before slicing it into individual portions with a serrated knife. Garnish with a little extra fresh parsley, if desired. Serve hot and enjoy!
Tips & Suggestions
To truly nail that “pizzeria” vibe with your homemade cheesy garlic bread, I’ve picked up a few tricks over the years:
- Don’t Skimp on the Garlic: I mentioned it in the ingredients, but it bears repeating. Fresh garlic is the star. If you’re a true garlic lover, consider roasting a few cloves beforehand, mashing them, and incorporating them into your butter for a deeper, sweeter garlic flavor.
- Room Temperature Ingredients: Make sure your butter is truly softened to room temperature and your cheese isn’t ice cold. This helps everything melt and blend more evenly for a consistent texture.
- The Right Cheese Blend is Key: While mozzarella gives you the classic stretch, adding provolone for tang and Parmesan for a salty umami punch elevates it beyond basic cheesy bread. Experiment with other great melting cheeses like fontina or even a touch of white cheddar for variety.
- High Heat is Your Friend: Baking at a high temperature (400°F/200°C) ensures your bread gets crispy quickly and your cheese melts and bubbles beautifully without making the bread dry out.
- Broiler for the Win: Don’t be afraid of a quick broil at the very end. It’s the secret to getting those perfectly golden-brown, slightly crispy edges on the cheese, just like it came out of a pizza oven. Just remember to keep a very close eye on it!
- Add a Little Heat: A pinch of red pepper flakes in the garlic butter or sprinkled over the cheese before baking adds a fantastic, subtle warmth that makes it even more addictive.
- Serving Suggestion: This bread is fantastic on its own, but it’s also a perfect companion to pasta dishes, soups, or even dipped in warm marinara sauce.
Storage
While homemade cheesy garlic bread is absolutely best enjoyed fresh out of the oven, sometimes you end up with leftovers (a rare but possible occurrence!). Here’s how I handle storage and reheating to keep it as delicious as possible:
- Refrigeration: If you have any leftover cheesy garlic bread, let it cool completely to room temperature. Then, store it in an airtight container or wrap it tightly in aluminum foil. It will keep well in the refrigerator for up to 3-4 days. Be aware that the bread might lose some of its crispness and the cheese might firm up.
- Reheating for Best Results (Oven/Toaster Oven): The microwave is generally not recommended for reheating garlic bread, as it tends to make it soft and chewy instead of crispy.
- Oven: Preheat your oven to 350°F (175°C). Place the leftover bread directly on a baking sheet or wrap it loosely in foil to prevent excessive browning. Heat for 8-12 minutes, or until the cheese is melted and bubbly again and the bread is warmed through and slightly crisp.
- Toaster Oven: A toaster oven is perfect for individual slices! Use the “toast” or “bake” setting at around 350-375°F (175-190°C) for 5-7 minutes, watching carefully until heated through and crisp.
- Freezing (Before Baking): If you want to prepare ahead, you can freeze unbaked cheesy garlic bread. Prepare the bread with the garlic butter and cheese, then wrap the halves tightly in plastic wrap, followed by aluminum foil. Freeze for up to 1 month. When ready to bake, unwrap and bake directly from frozen at 375°F (190°C) for about 20-25 minutes, or until cooked through and golden. You may need to add a few minutes to the baking time.
- Freezing (After Baking): While possible, I don’t typically recommend freezing already baked garlic bread as it can alter the texture. If you must, let it cool completely, wrap it well, and freeze for up to 2-3 weeks. Reheat in the oven as described above, but expect a slightly less crisp texture.
Final Thoughts
There’s truly nothing quite like the aroma of freshly baked bread filling your kitchen, especially when it’s infused with garlic and generously layered with melted cheese. I hope you’ve enjoyed creating this incredible Homemade Cheesy Garlic Bread Like A Pizzeria. It’s more than just a side dish; it’s an experience!
From the perfectly golden crust to the bubbling, gooey cheese and the irresistible kick of garlic, every bite transports you straight to your favorite pizzeria, all from the comfort of your own home. This recipe truly delivers on its promise of pizzeria-quality garlic bread that will have everyone asking for more.
So, go ahead and share your masterpiece, or keep it all to yourself – no judgment here! I promise you, once you try this Homemade Cheesy Garlic Bread Like A Pizzeria, you’ll wonder why you ever settled for anything less. It’s a game-changer, a crowd-pleaser, and an absolute must-try for any garlic bread enthusiast. Enjoy every delicious moment!

Leave a Comment